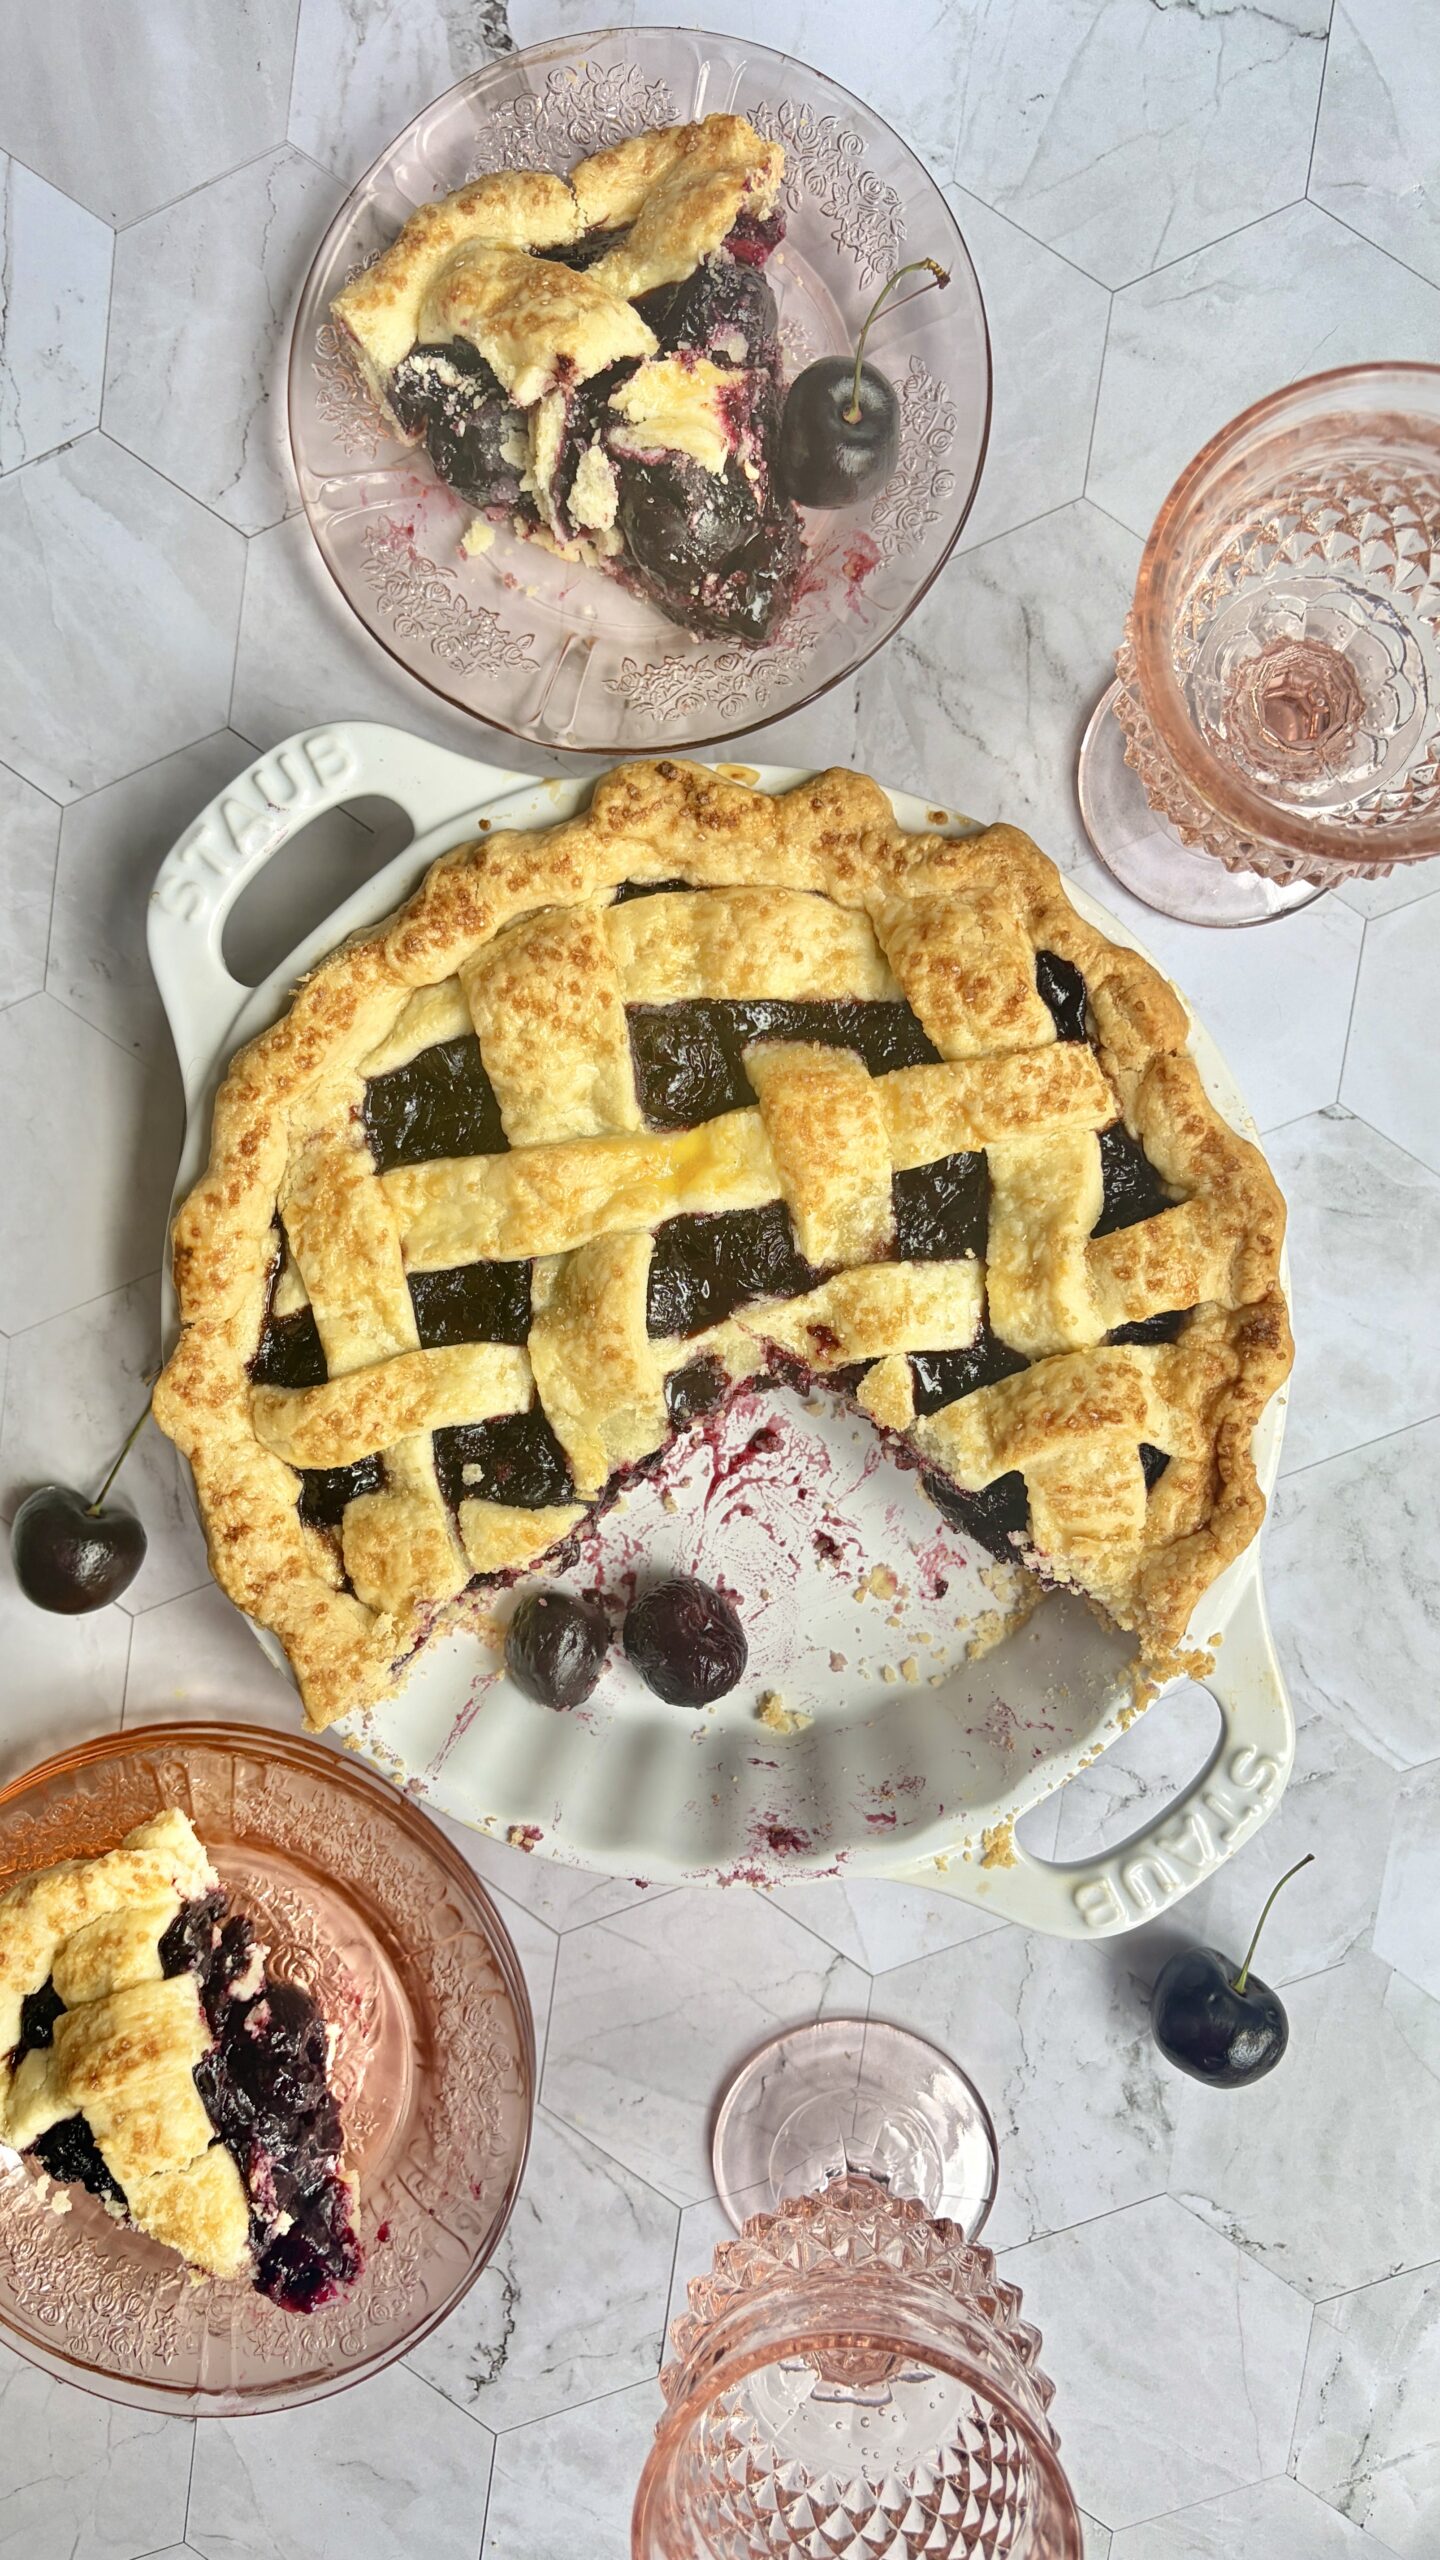
Classic Homemade Cherry Pie
There’s something so nostalgic about a homemade cherry pie. With its buttery, flaky crust and sweet, juicy cherry filling, it’s the kind of dessert that instantly brings comfort with every bite. Whether you’re baking it for a summer barbecue, a holiday gathering, or simply because cherry season has arrived, this pie is always a crowd favorite.
Unlike canned pie fillings, this recipe is made completely from scratch using fresh or frozen sweet cherries that are gently cooked into a thick, glossy filling while still leaving plenty of whole cherries for the perfect texture. Every slice is bursting with bright cherry flavor that’s balanced with just the right amount of sweetness and a touch of vanilla.
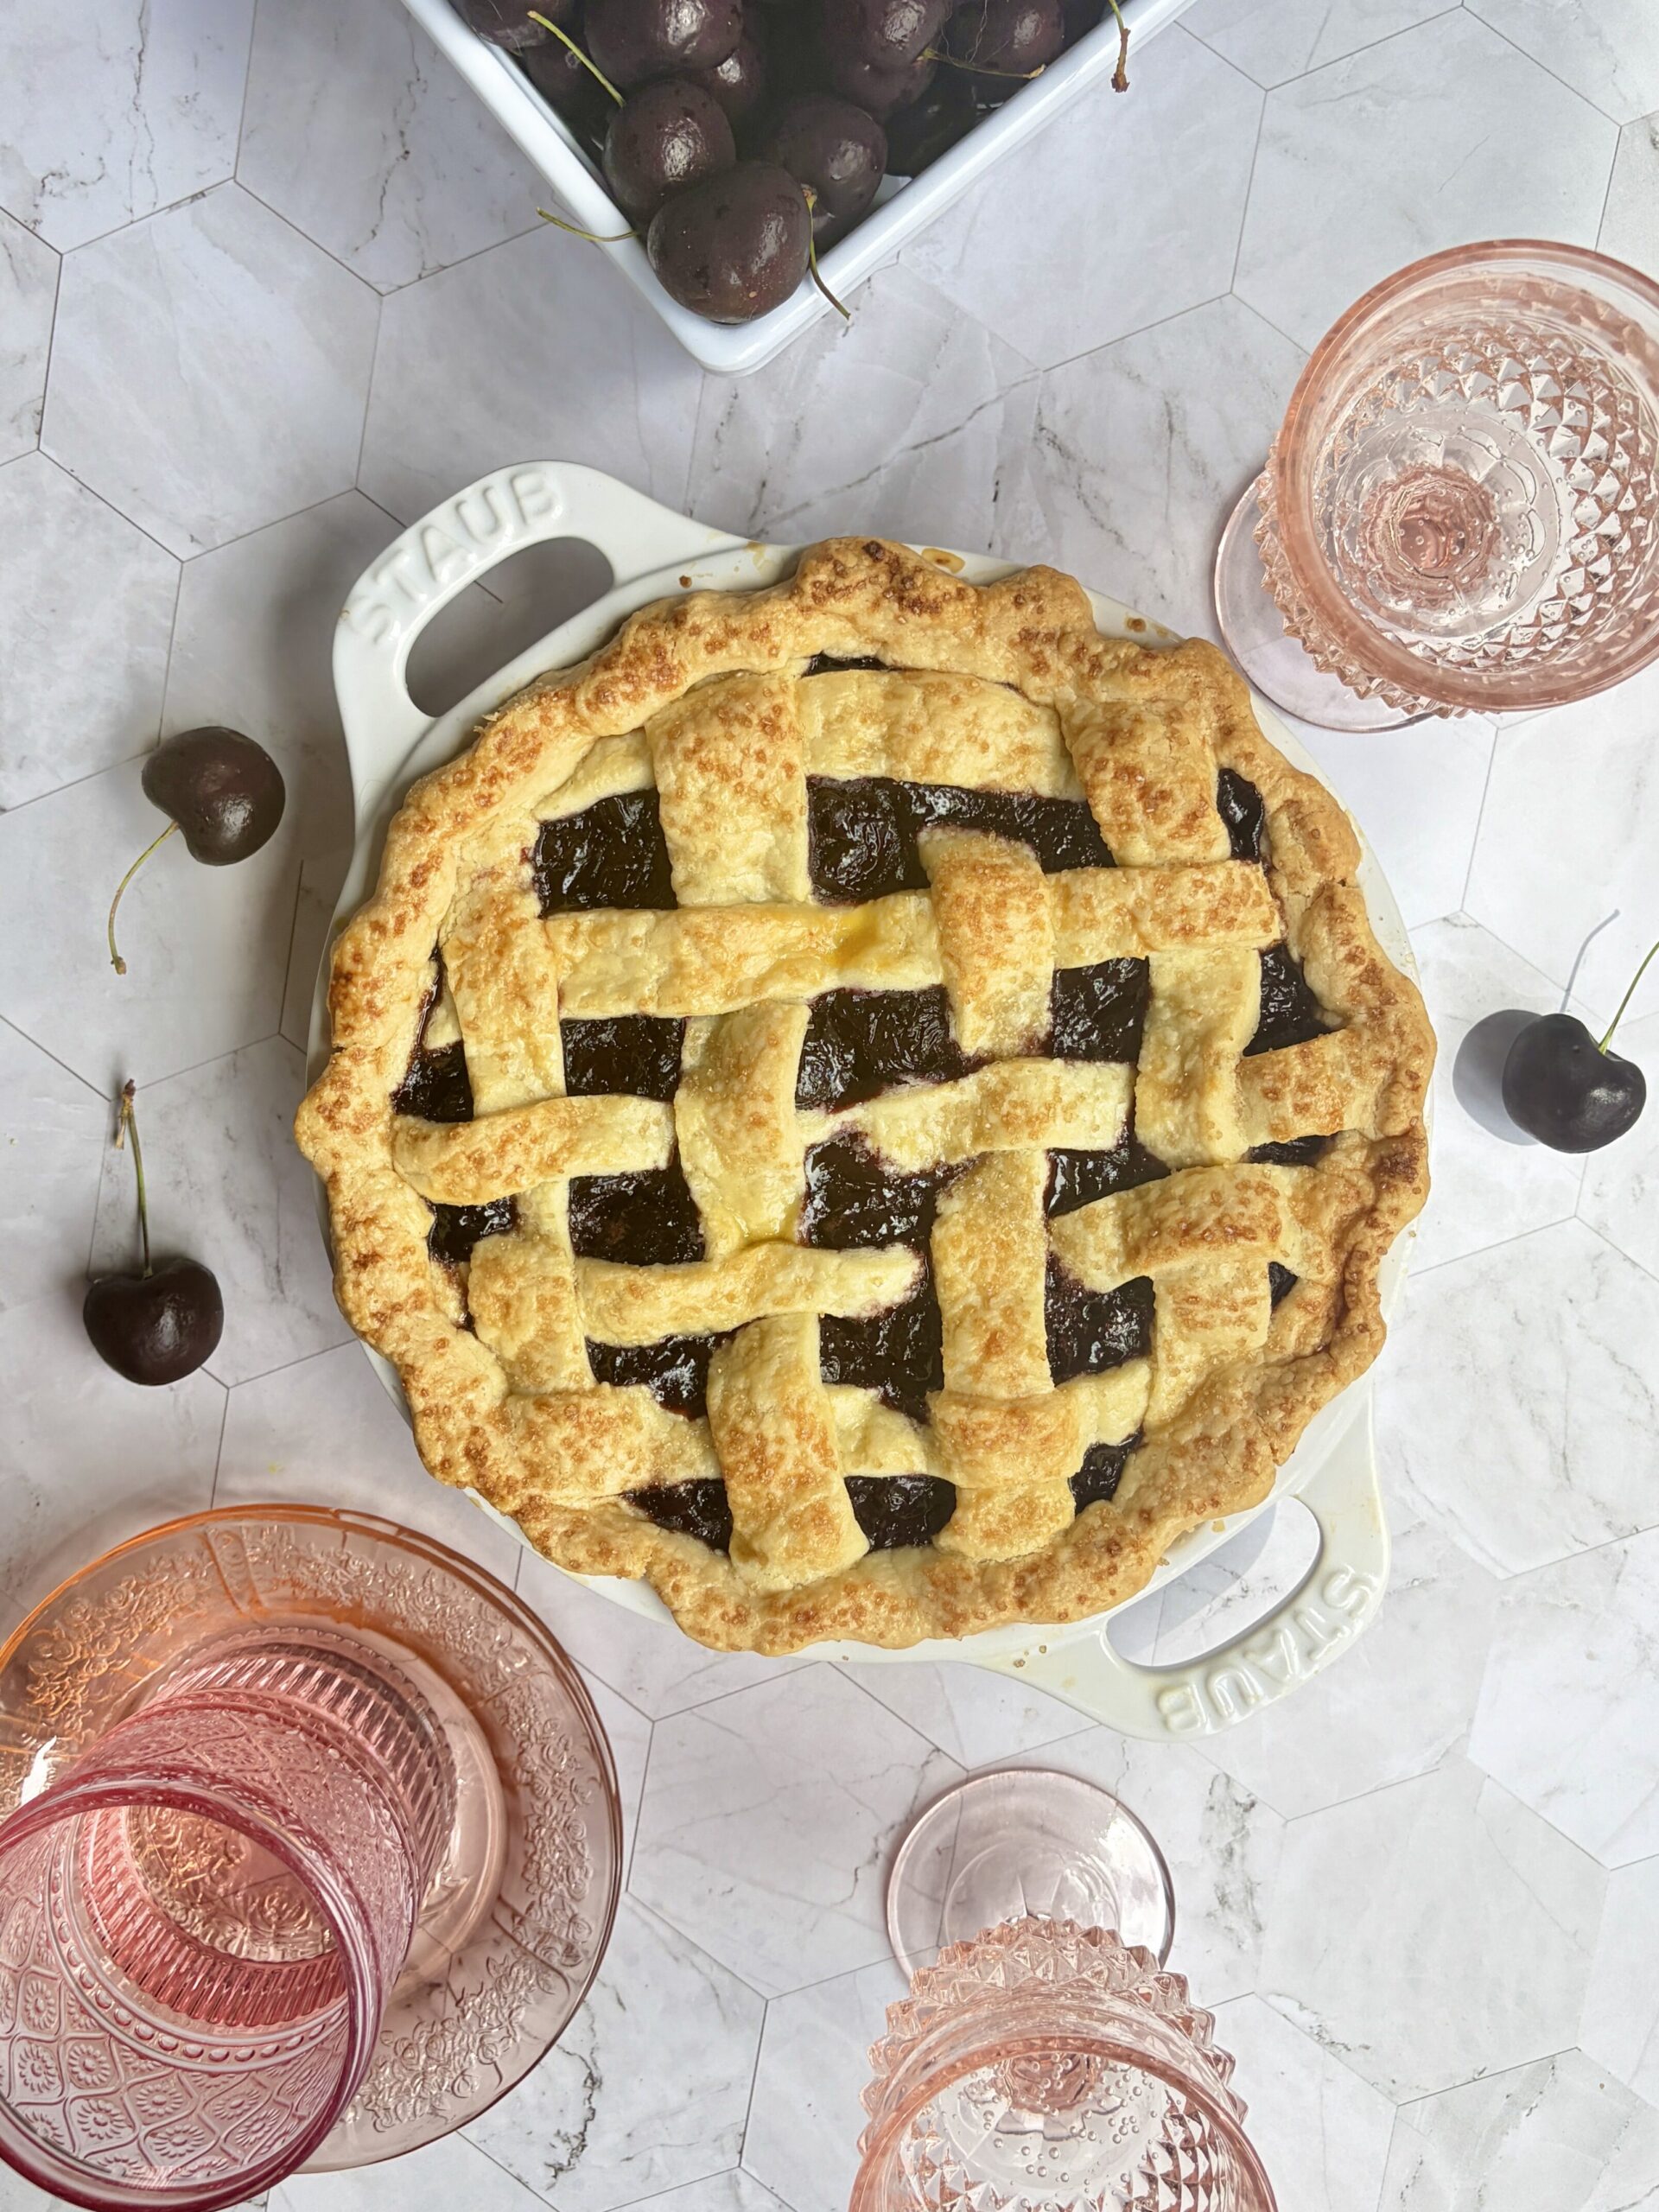
Paired with my flaky Homemade All-Butter Pie Crust, this cherry pie is one you’ll find yourself making year after year. Serve it slightly warm with a scoop of vanilla ice cream, or enjoy it all on its own—either way, it’s a timeless dessert that’s guaranteed to disappear quickly.
Why You’ll Love This Recipe
- Made completely from scratch with simple ingredients
- Juicy homemade cherry filling—no canned pie filling here!
- Flaky, buttery all-butter pie crust
- Packed with fresh cherry flavor
- Perfect balance of jammy filling and whole cherries
- Beautiful lattice crust that’s easier than it looks
- Perfect for summer gatherings, holidays, and celebrations
- Tastes even better with a scoop of vanilla ice cream
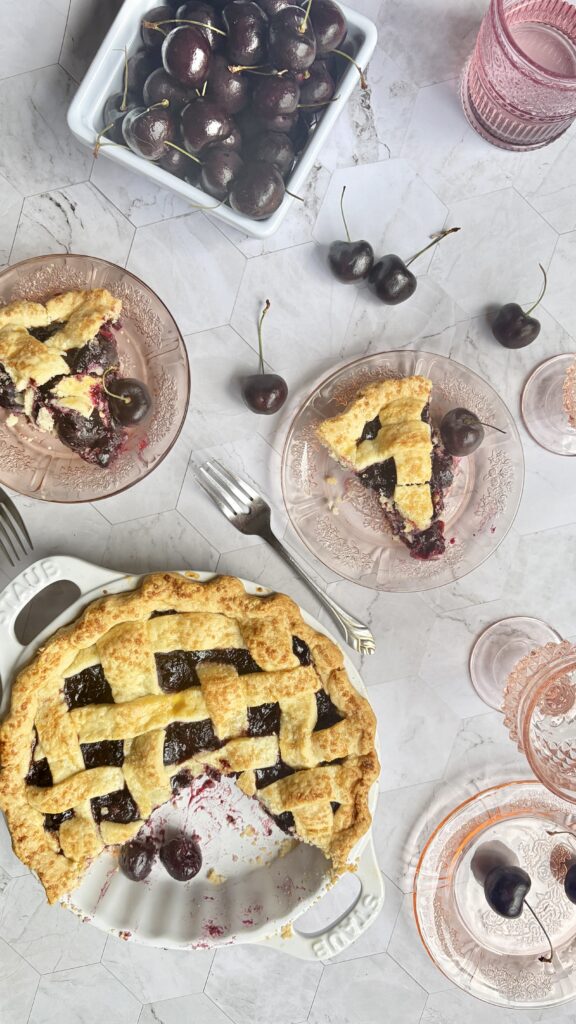
Ingredient Notes
Homemade All-Butter Pie Crust
Instead of including a separate pie dough recipe here, you’ll use my Homemade All-Butter Pie Crust recipe. It’s incredibly flaky, buttery, and easy to work with, making it the perfect crust for fruit pies.
The link is included below! 👇
Sweet Cherries
Fresh sweet cherries are my favorite when they’re in season, but frozen cherries work just as well. If using frozen cherries, thaw them first and drain away any excess liquid.
Vanilla Extract
A generous amount of vanilla enhances the natural sweetness of the cherries and adds a warm bakery-style flavor that makes the filling even more delicious.
Arrowroot Starch
Arrowroot starch helps create a beautifully glossy filling that sets perfectly without becoming gummy. Cornstarch works as a great substitute if that’s what you have on hand.
Granulated Sugar
The amount of sugar you’ll need depends on how sweet your cherries are. If they’re perfectly ripe, 2 tablespoons is usually enough. If they’re slightly tart, use 3 tablespoons.
Expert Baking Tips
- Use ripe, sweet cherries. The better the cherries, the better the pie! If your cherries are especially sweet, stick with 2 tablespoons of sugar. If they’re a little tart, add the full 3 tablespoons.
- Cook only half of the cherries. This creates a thick, jammy base while leaving the remaining cherries whole, giving every bite the perfect texture.
- Let the filling cool before assembling. Adding hot filling to the pie crust can soften the butter in the dough, making the crust less flaky.
- Chill the assembled pie before baking. This helps the butter stay cold, resulting in a crisp, flaky crust that holds its shape beautifully.
- Bake until the filling is bubbling. Don’t rely on the crust color alone—the bubbling filling tells you the starch has activated and the pie will set properly.
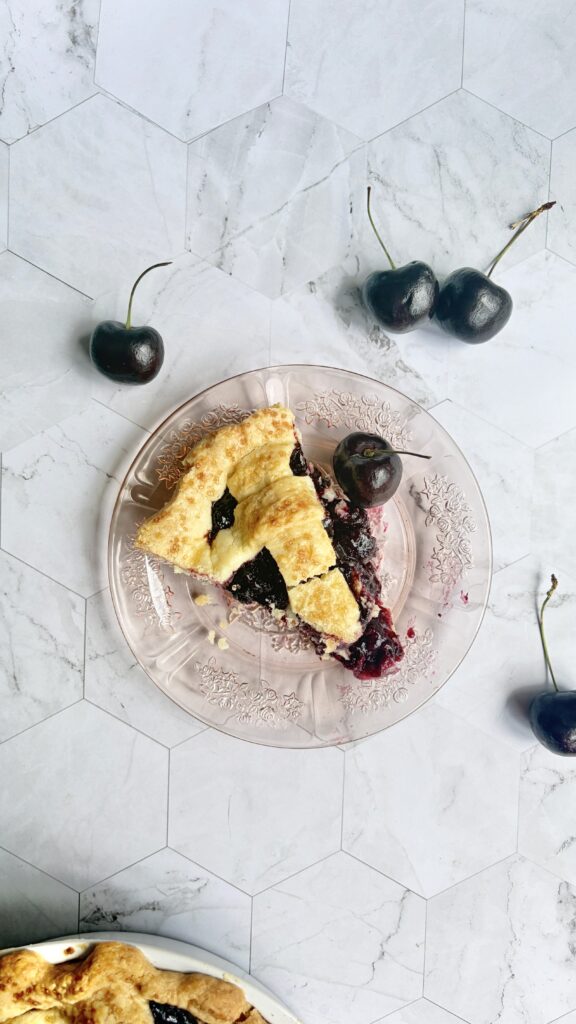
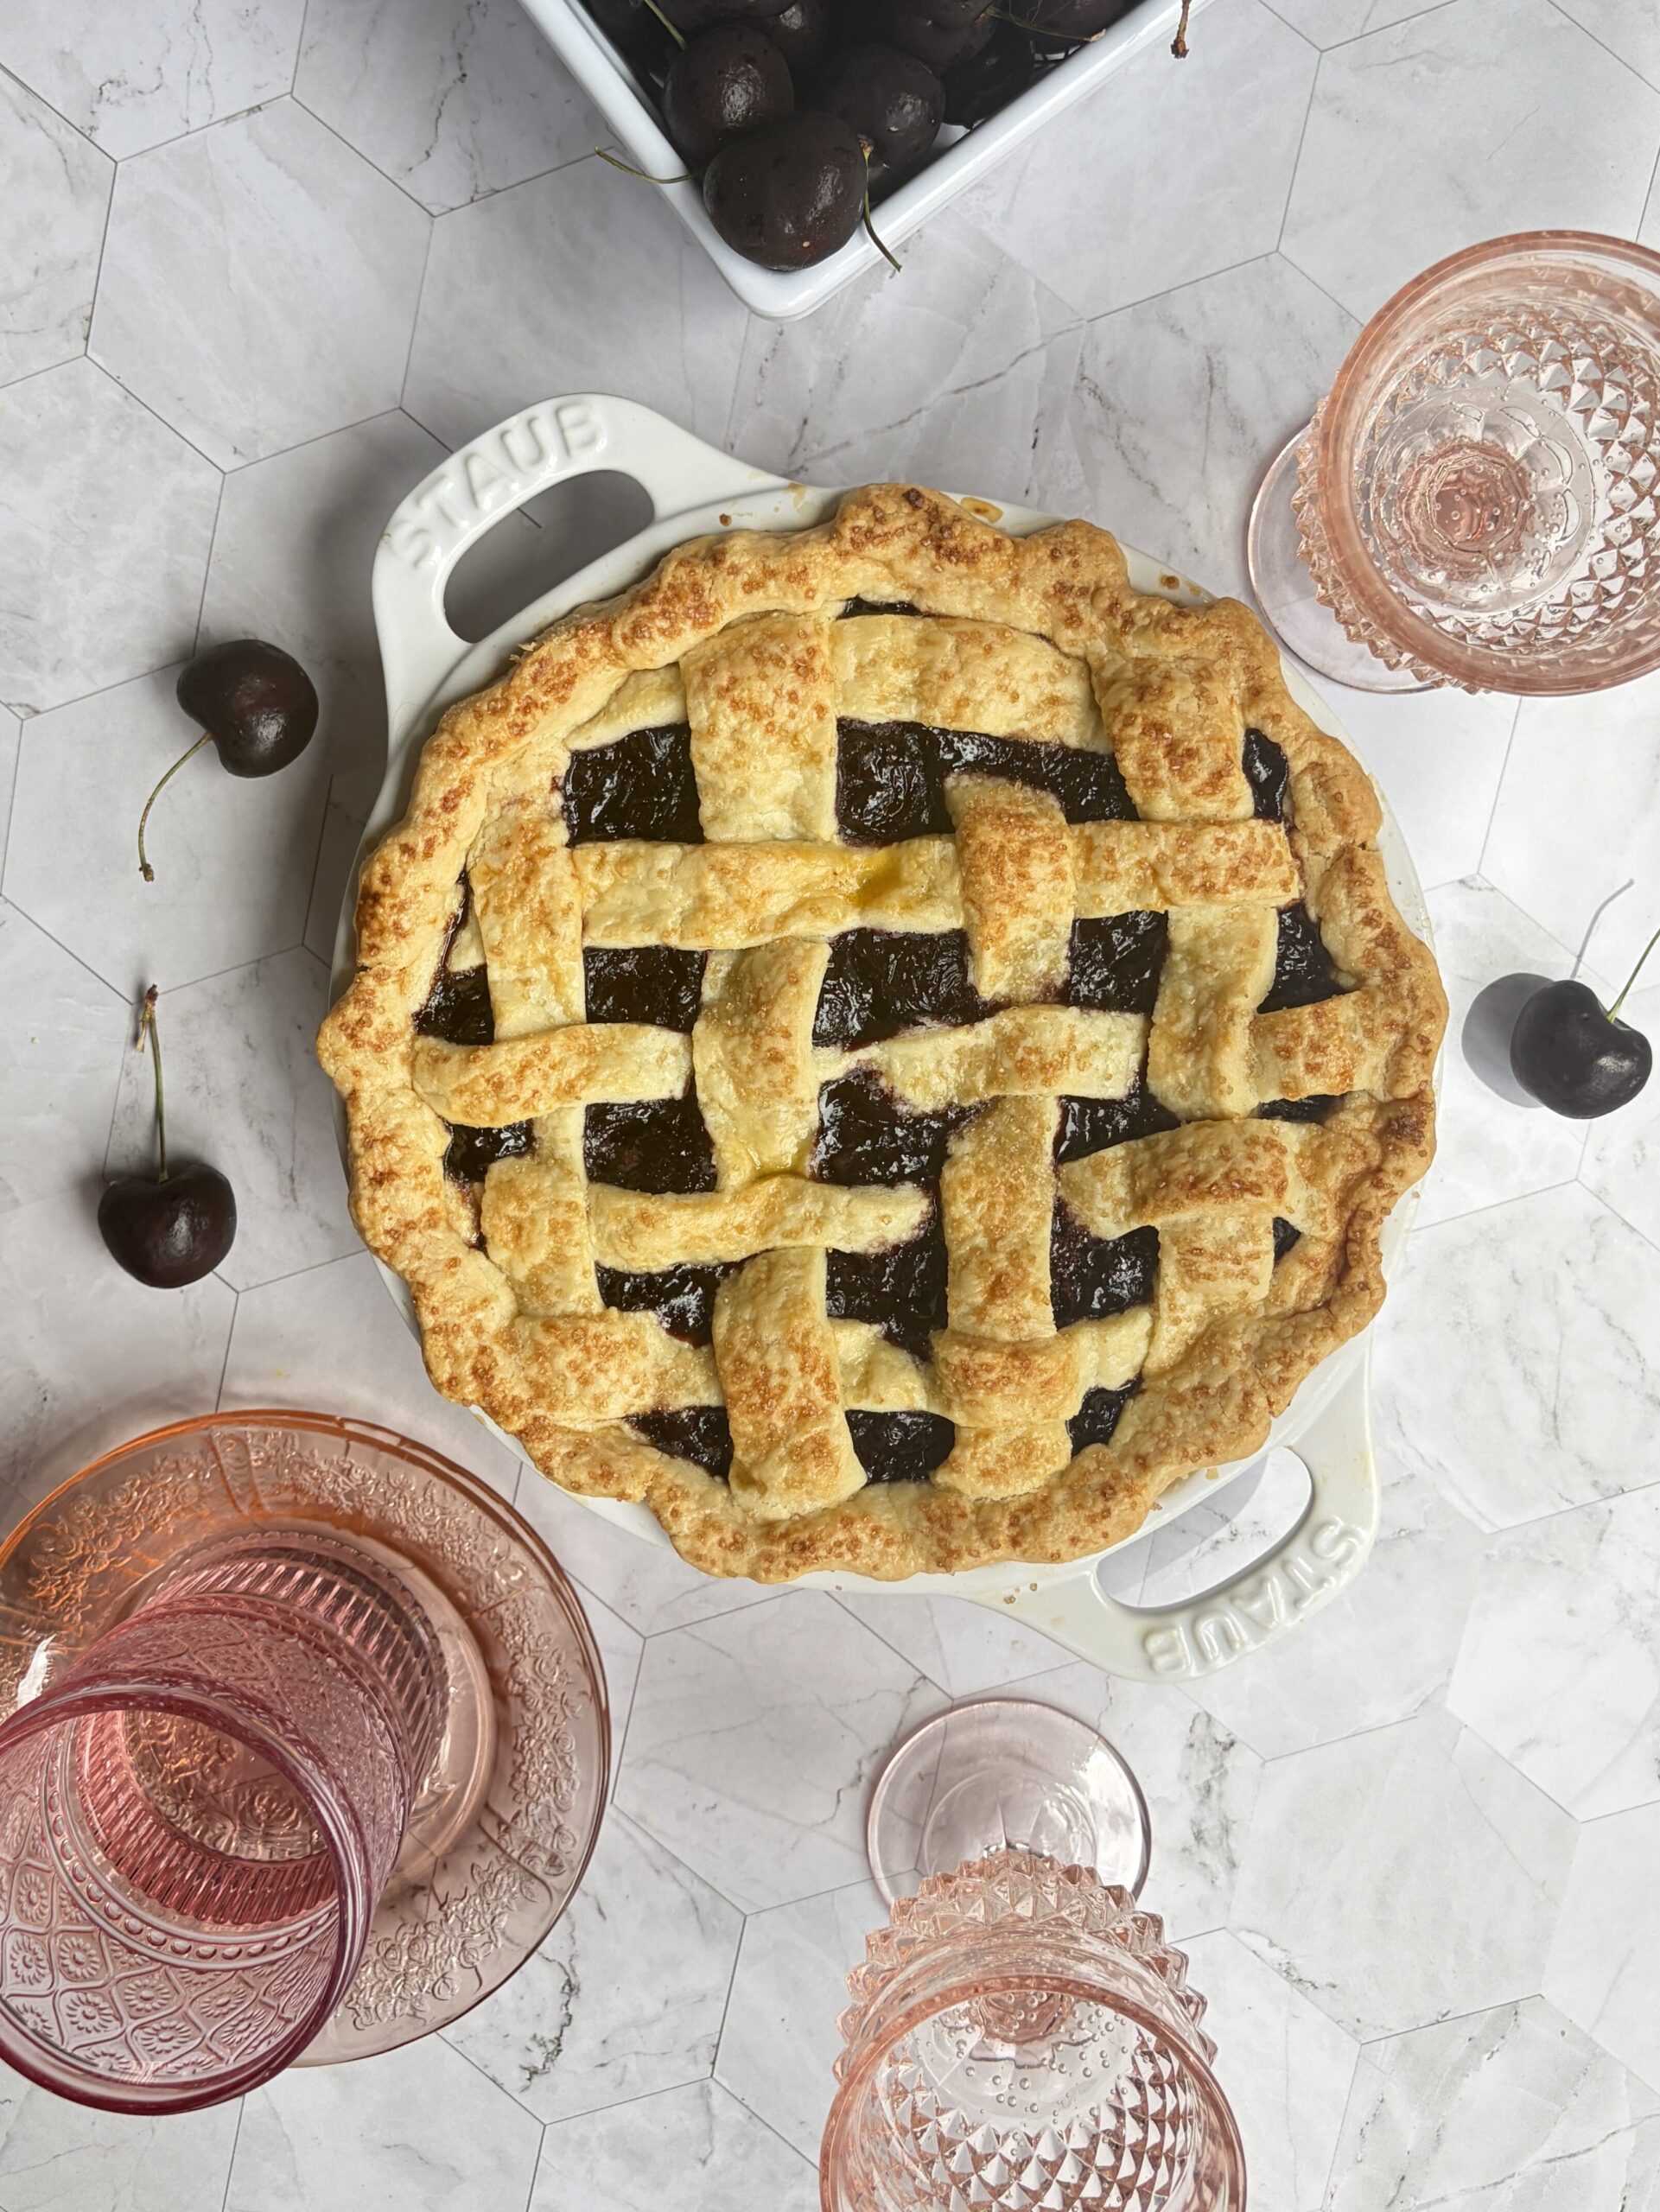
- Allow plenty of time to cool. I know it’s tempting to cut into it right away, but letting the pie cool for at least 3 hours gives the filling time to fully set for clean, beautiful slices.
Frequently Asked Questions
Can I use frozen cherries?
Absolutely! Frozen cherries work just as well as fresh. Simply thaw them first and drain off any excess liquid before making the filling.
Can I substitute cornstarch for arrowroot starch?
Yes! Cornstarch works perfectly in this recipe. Use the same amount as the arrowroot starch.
Can I make this pie ahead of time?
Yes! Cherry pie is actually a wonderful make-ahead dessert. Bake it up to one day in advance and store it covered at room temperature until ready to serve.
How do I know when my cherry pie is done baking?
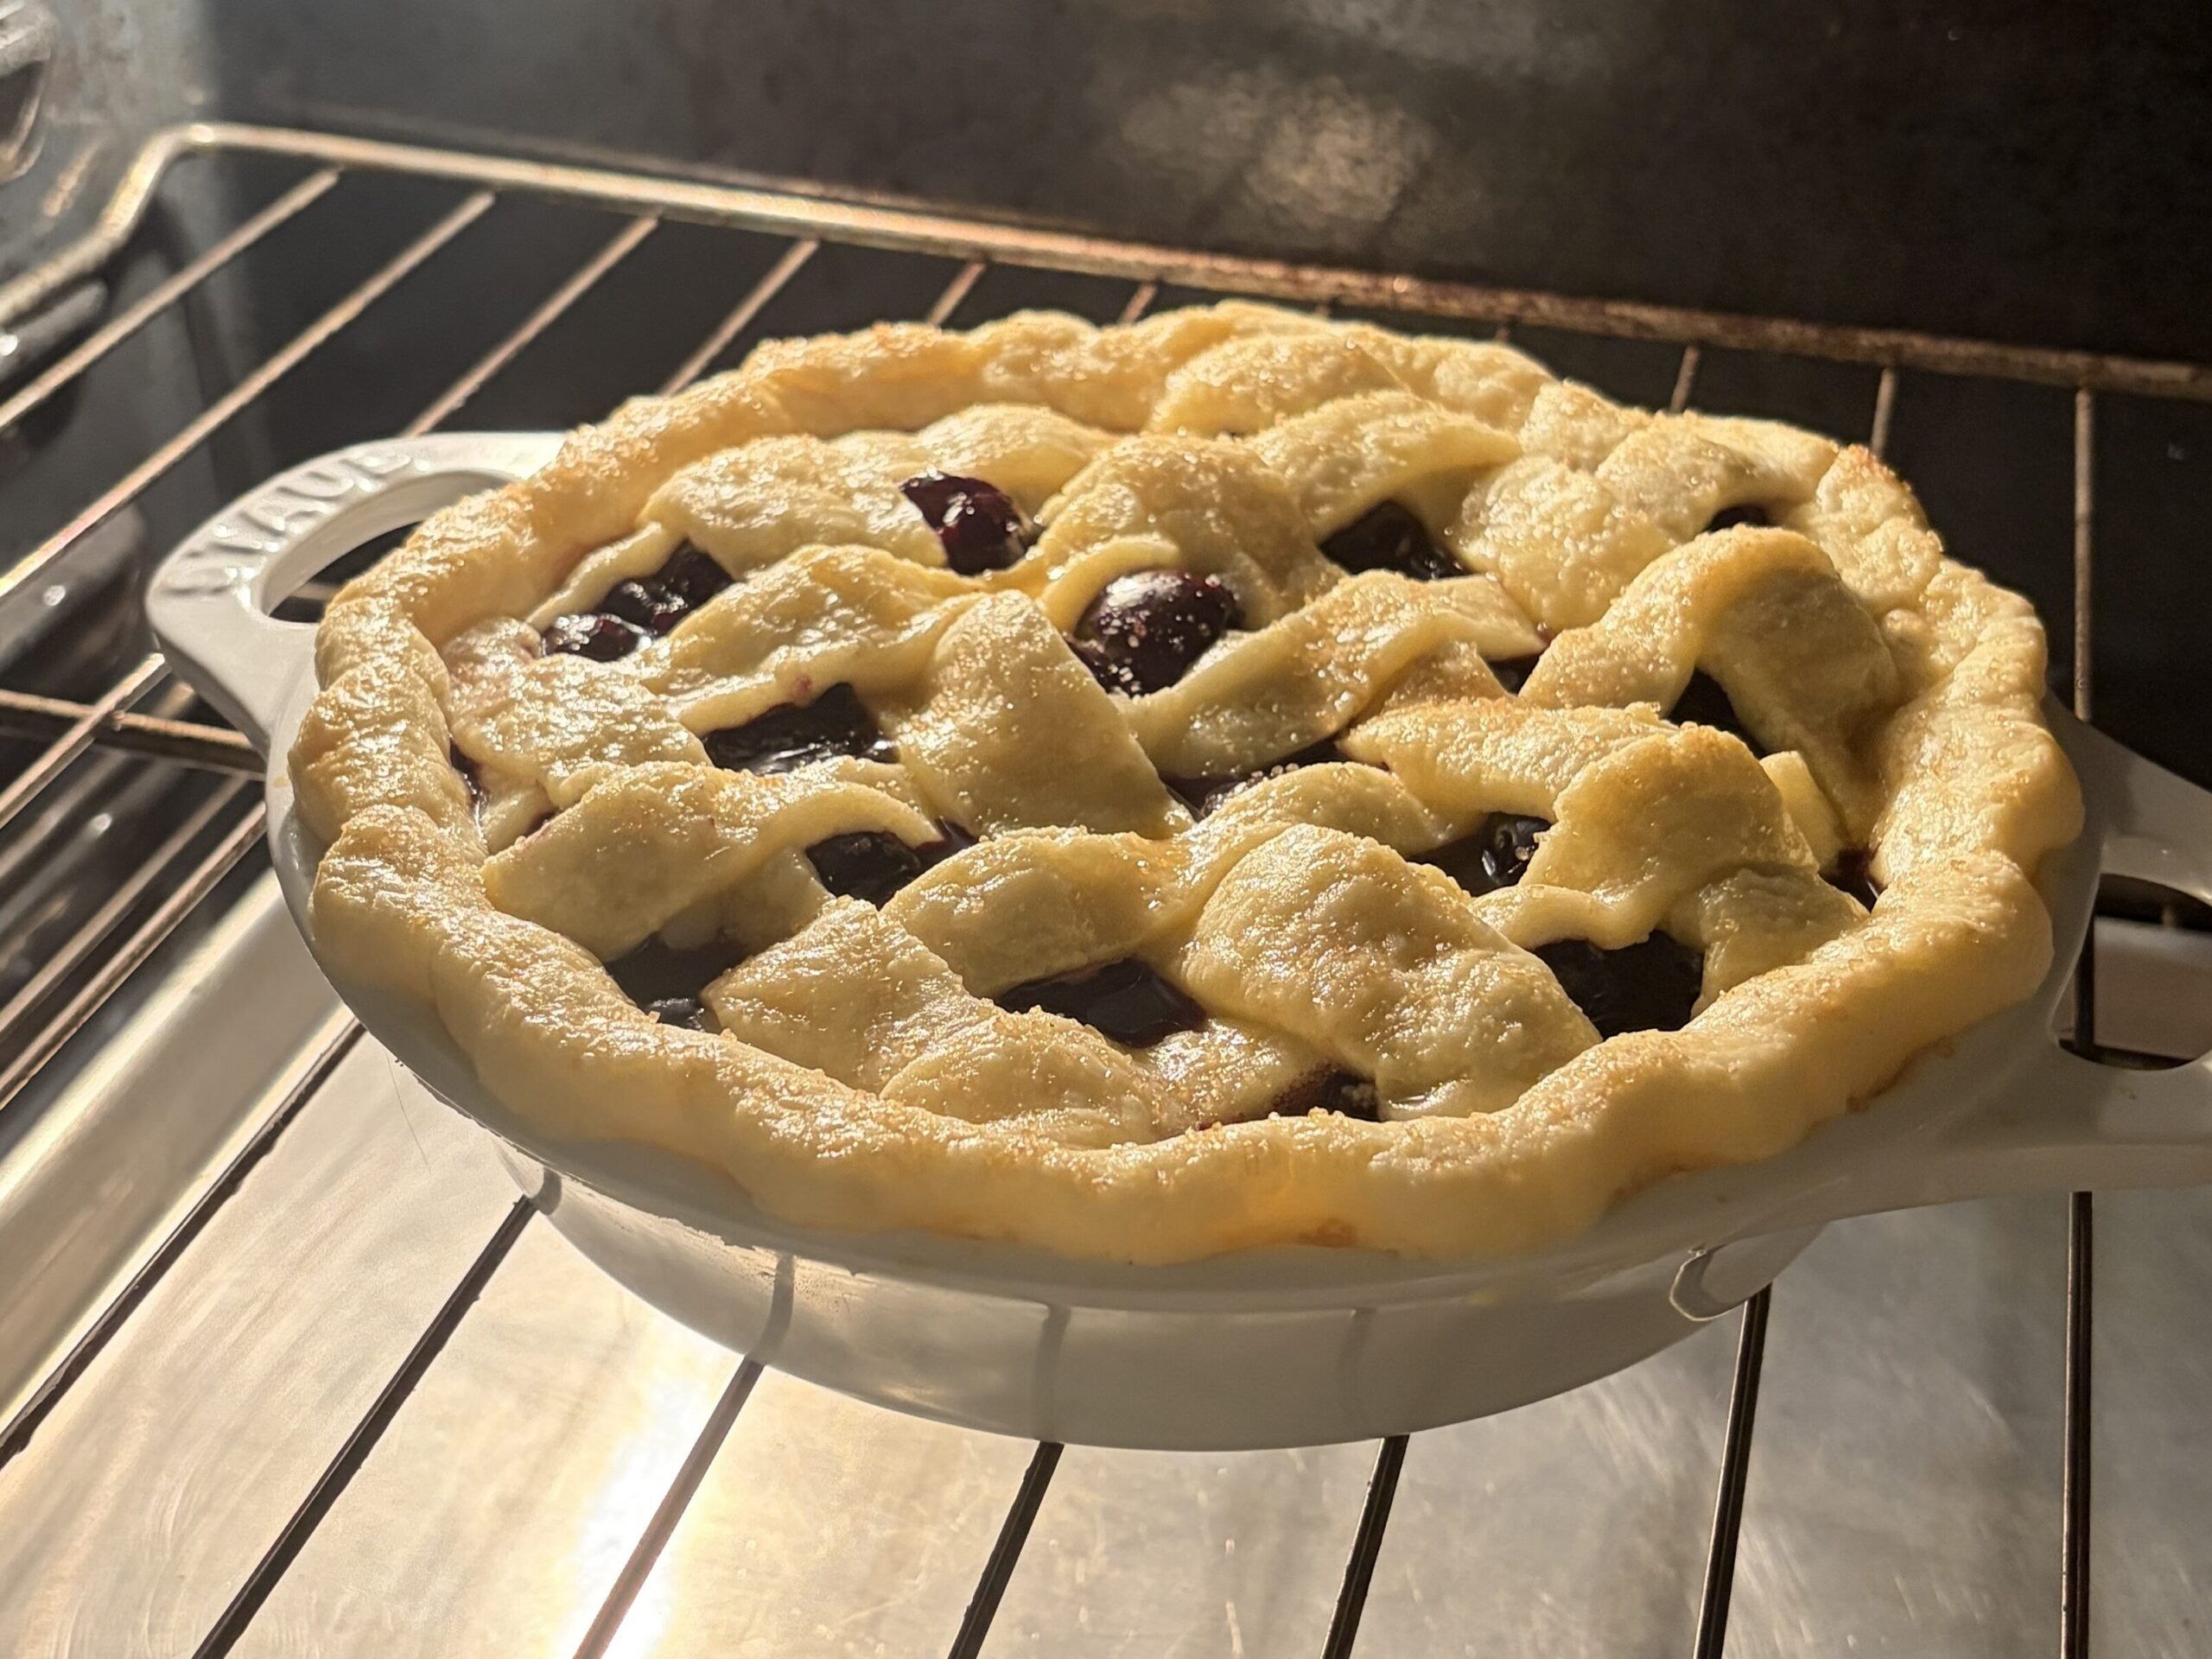
The crust should be a deep golden brown, and the cherry filling should be bubbling through the lattice in several spots. If the filling isn’t bubbling yet, it needs a little more time.
Why is my pie filling runny?
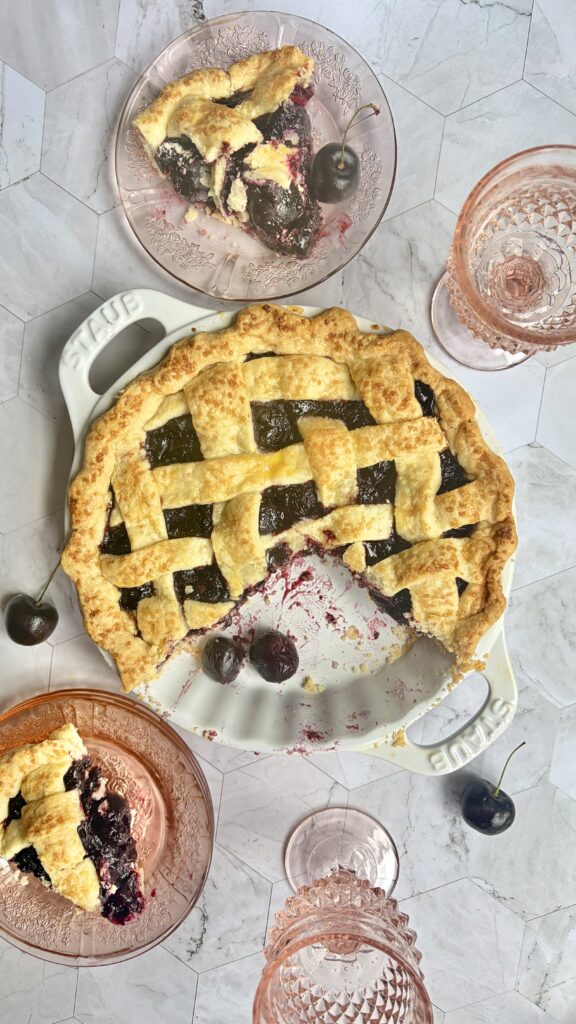
The most common reason is slicing into the pie before it’s completely cooled. Letting it cool for at least 3 hours allows the filling to finish setting.
Can I make this without a lattice crust?
Of course! You can cover the pie with a full top crust instead. Just be sure to cut a few slits in the top to allow steam to escape while baking.
Storage
Store leftover cherry pie loosely covered at room temperature for up to 2 days.
For longer storage, refrigerate the pie in an airtight container or tightly covered with plastic wrap for up to 5 days.
Freezing
This cherry pie freezes beautifully!
To Freeze After Baking
Allow the pie to cool completely before wrapping it tightly in plastic wrap followed by aluminum foil. Freeze for up to 3 months.
Thaw overnight in the refrigerator and warm in a 300°F oven for about 15–20 minutes before serving.
To Freeze Before Baking
Assemble the pie completely, then wrap tightly and freeze.
Bake directly from frozen, adding approximately 15–20 extra minutes to the baking time.
Amazon Favorites
Amazon Favorites
These are the kitchen tools I used to make this homemade cherry pie. As an Amazon Associate, I earn from qualifying purchases. If you choose to purchase through the affiliate links below, I may earn a small commission at no additional cost to you. Thank you so much for supporting Bonia Bakery—it truly helps me continue creating and sharing free recipes for you.
🥧 9-Inch Pie Dish: The perfect pie dish for baking evenly with beautifully golden, flaky crusts every time.
🍒 Cherry Pitter
Makes pitting pounds of fresh cherries quick, easy, and much less messy.
🥐 Pastry Cutter
Perfect for cutting cold butter into the flour when making homemade pie dough.
📏 Rolling Pin
Helps roll out an even pie crust for both the bottom and lattice top.
⚖️ Digital Kitchen Scale
One of my favorite baking tools for measuring ingredients accurately every time.
Ingredients
Homemade Pie Crust
- One batch of The Best Homemade Pie Crust
Cherry Filling
- 2 pounds fresh or frozen sweet cherries, pitted (about 5 cups)
- 2–3 tablespoons granulated sugar
- 1 tablespoon arrowroot starch, divided (or cornstarch)
- ¼ teaspoon salt
- ½ tablespoon vanilla extract
Instructions
Step 1: Prepare the Pie Dough
Prepare one batch of my Homemade All-Butter Pie Crust according to the recipe instructions. Divide the dough into two discs, wrap tightly, and chill until ready to use.
While the dough chills, prepare the cherry filling.
Step 2: Make the Cherry Filling
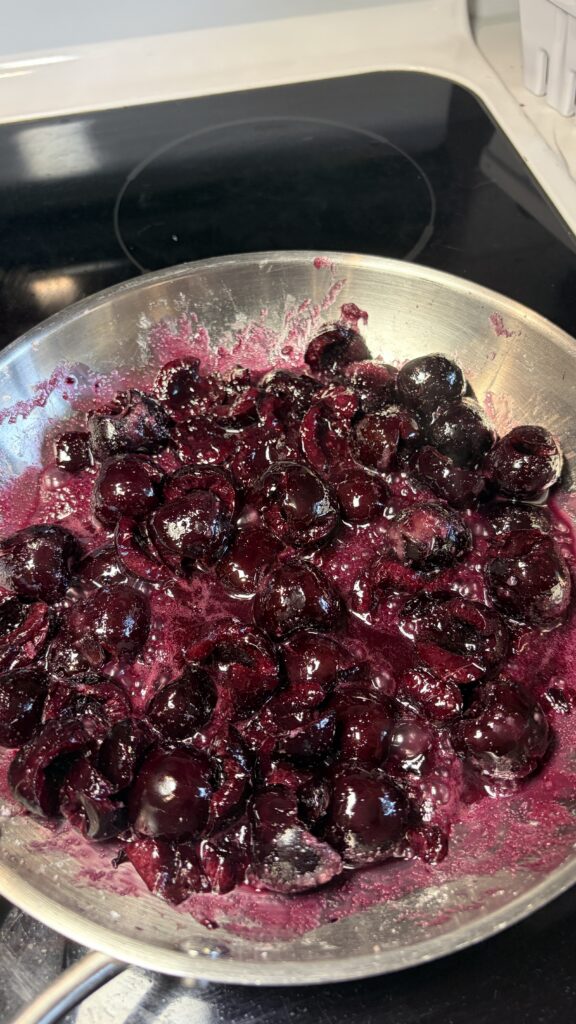
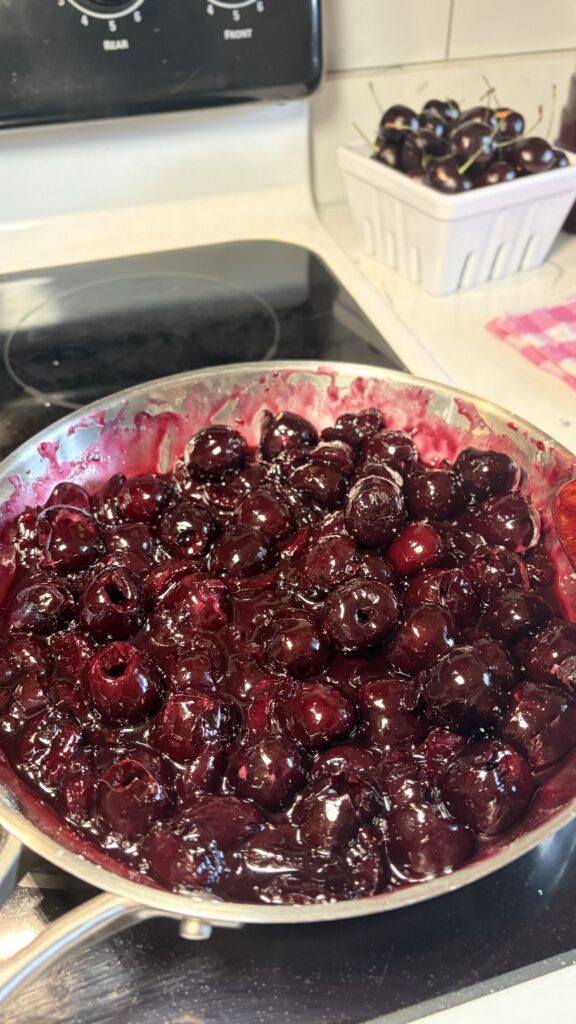
In a medium saucepan over medium heat, combine half of the cherries, the granulated sugar, ½ tablespoon of the arrowroot starch, and the salt.
Bring the mixture to a gentle simmer, stirring occasionally. Reduce the heat to low and continue cooking for about 8 minutes, stirring frequently, until the cherries begin to break down into a thick, jammy consistency.
Remove the saucepan from the heat and stir in the vanilla extract along with the remaining ½ tablespoon of arrowroot starch until fully incorporated.
Fold in the remaining cherries and allow the filling to cool while you assemble the pie.
Step 3: Roll Out the Bottom Crust
Preheat your oven to 350°F (175°C).
Remove one disc of pie dough from the refrigerator and let it sit for about 5 minutes to slightly soften.
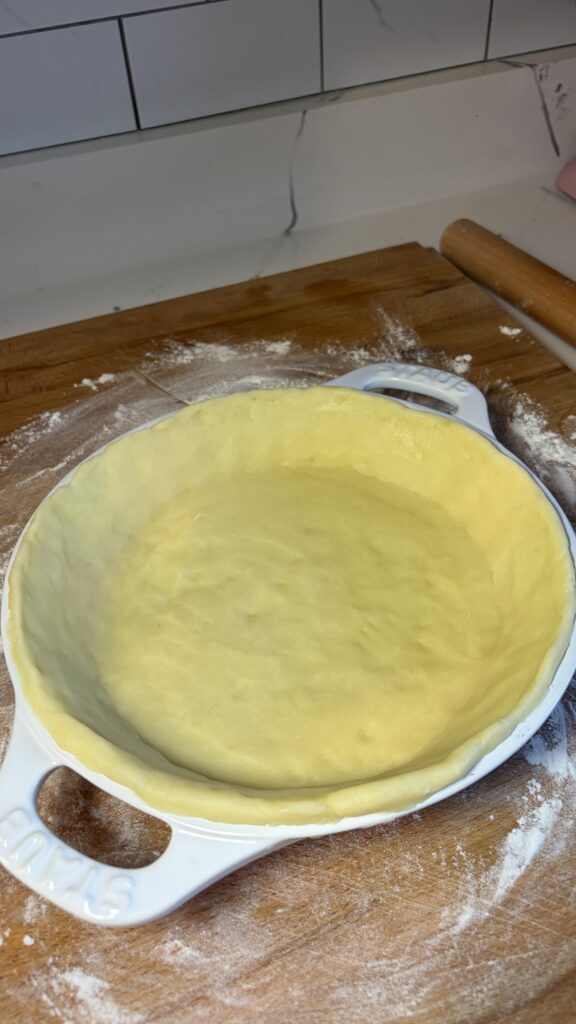
On a lightly floured surface, roll the dough into a 12-inch circle. Carefully transfer it to a 9-inch pie dish, gently pressing it into the bottom and up the sides.
Trim any excess dough, leaving about a ½-inch overhang.
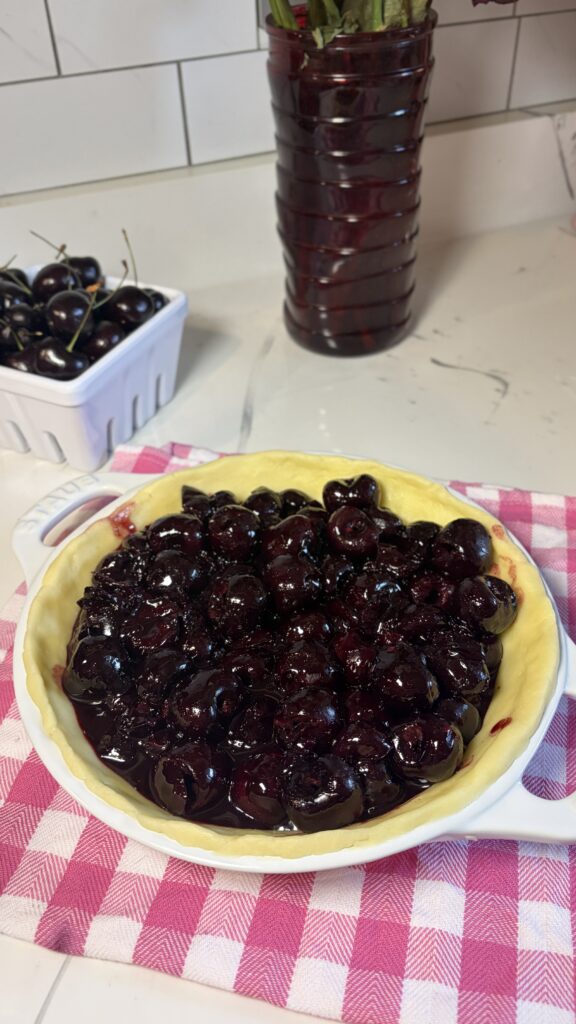
Pour the cooled cherry filling into the prepared crust and spread it into an even layer.
Step 4: Create the Lattice Top
Roll the second disc of pie dough into another 12-inch circle.
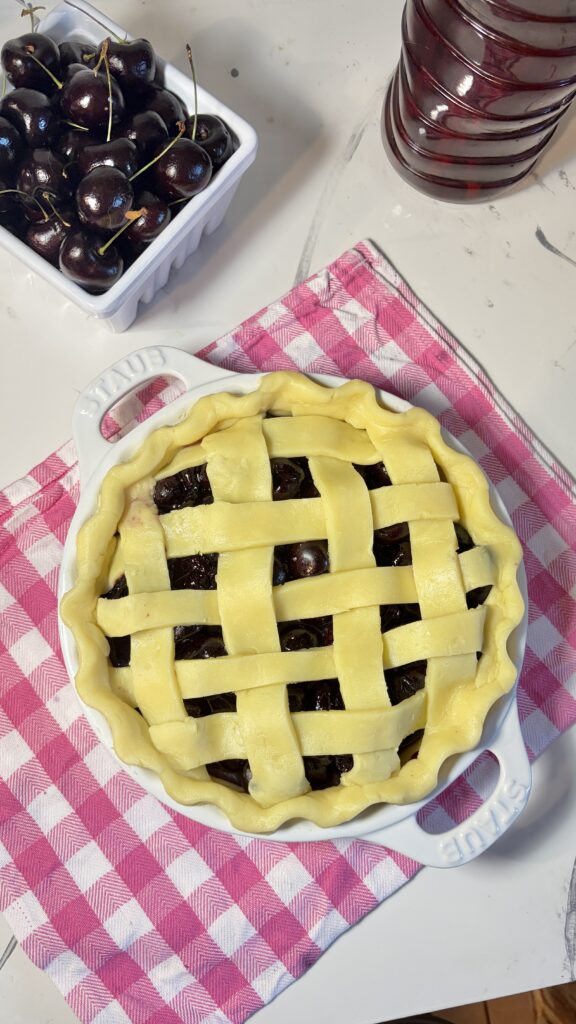
Using a pastry cutter or sharp knife, cut the dough into approximately ¾-inch strips.
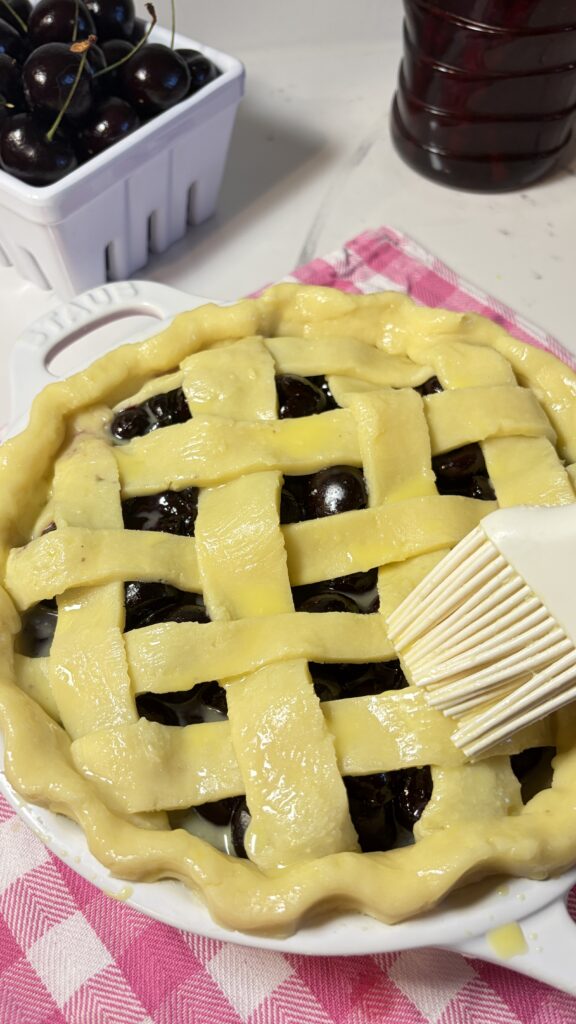
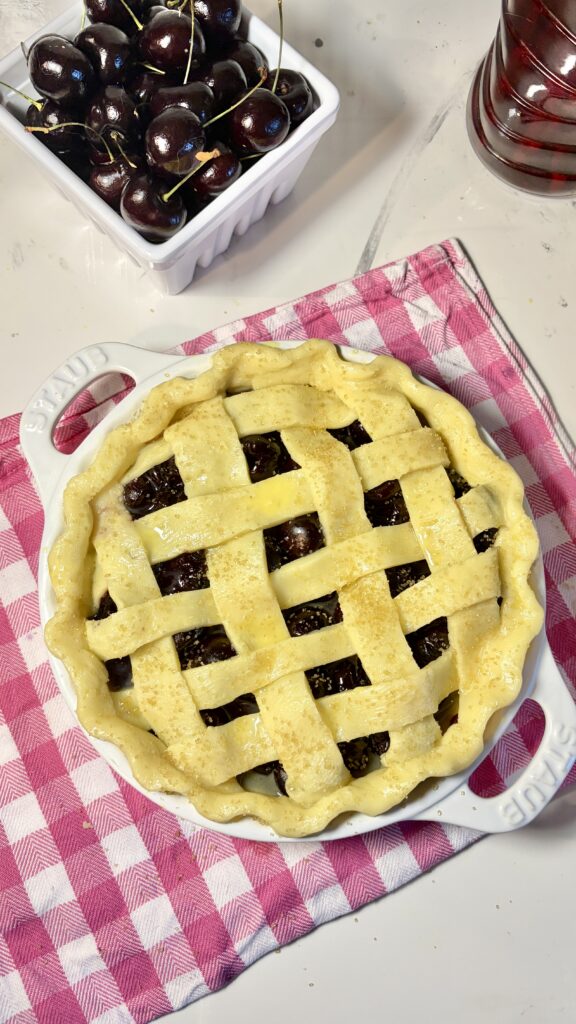
Lay half of the strips across the pie. Fold every other strip back halfway, place one strip perpendicular across the center, then unfold the folded strips over it. Continue weaving the remaining strips until you’ve created a lattice pattern.
Trim any excess dough, tuck the edges underneath the bottom crust, and crimp the edges using your fingers or your favorite crimping technique.
Brush the top crust lightly with milk or your preferred egg wash.
Place the assembled pie in the refrigerator while the oven finishes preheating.
Step 5: Bake
Place a large baking sheet on the lower oven rack to catch any bubbling juices.
Bake the pie on the center rack for 55–65 minutes, or until the crust is deeply golden brown and the filling is bubbling through the lattice.
If the edges begin browning too quickly, loosely cover them with aluminum foil during the last 15–20 minutes of baking.
Step 6: Cool Before Serving
Remove the pie from the oven and allow it to cool completely on a wire rack for at least 3 hours.
This allows the filling to fully set, making it much easier to slice cleanly.
Serve at room temperature or slightly warm with vanilla ice cream or freshly whipped cream.