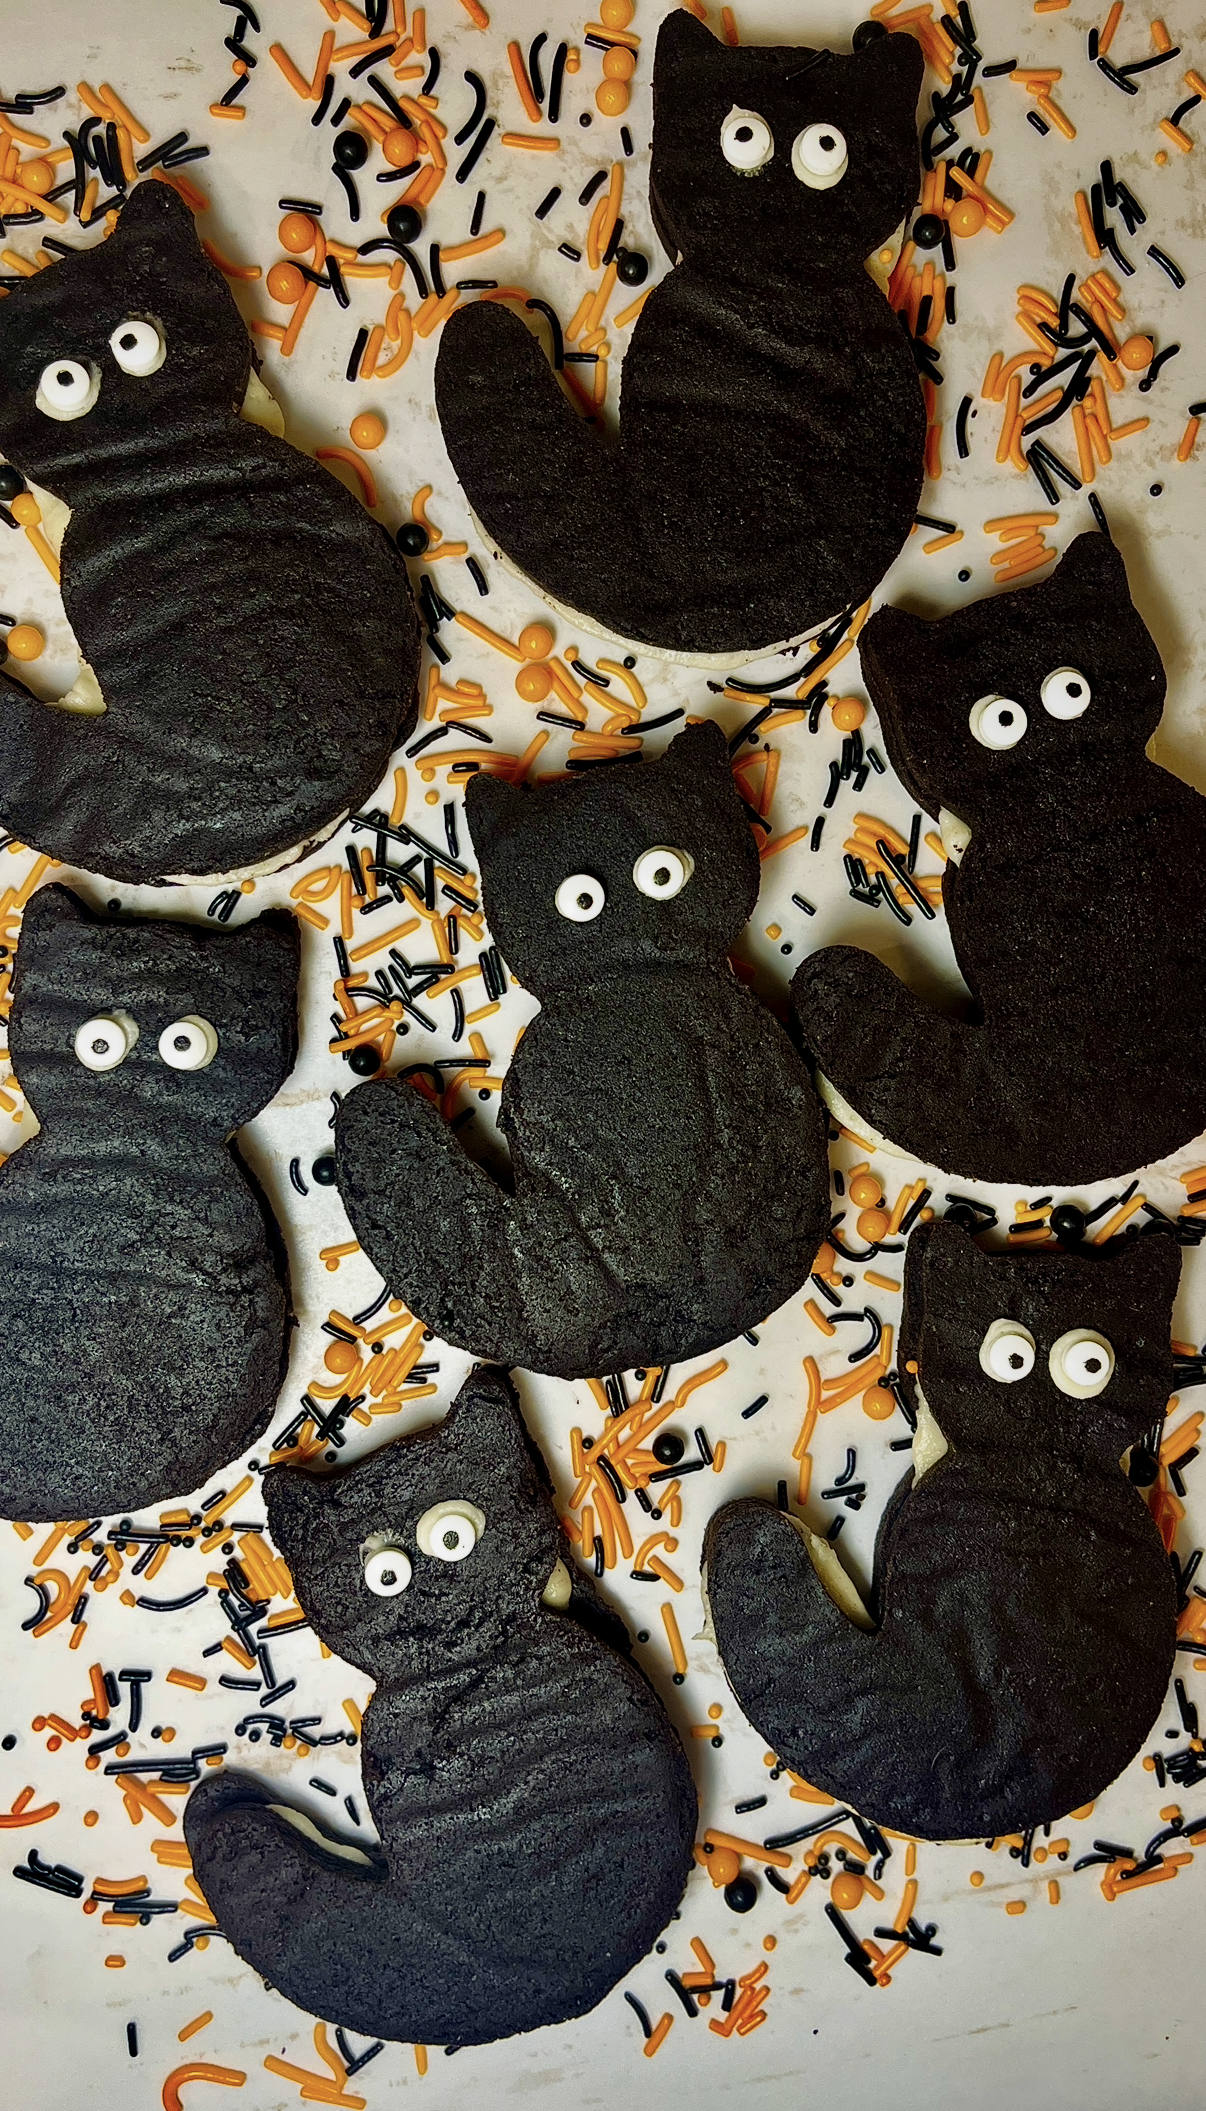
Black Cat Halloween Cookies
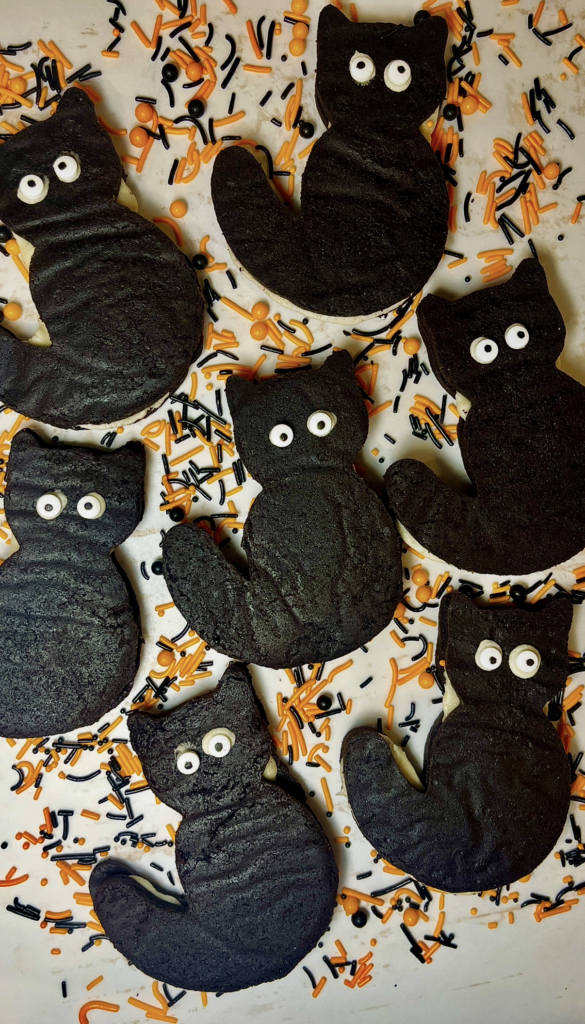
These little sandwich cookies are shaped like mischievous cats, filled with a creamy vanilla frosting, and finished with a pair of candy eyeballs that make them look like they’re peeking out of the shadows. They’re deeply chocolatey, soft (but with that signature Oreo snap around the edges), and absolutely perfect for this time of year.
These Black Cat Oreo Cookies are one of those bakes that just feel like fall — cozy, playful, and a little bit mischievous. They’re the purrfect way to start your Halloween baking countdown. 🐈⬛🎃
Why You’ll Love These
- They’re spooky-cute and totally Halloween-party ready.
- They taste like homemade Oreos — but softer, richer, and way more fun.
- The recipe is small-batch, making just 8 cookies — perfect for a cozy baking night, a small get-together, or a treat-yourself weekend.
- The whole recipe comes together easily and looks so impressive.
What Ingredients You’ll Need
These spooky black cat sandwich cookies are made with a rich black cocoa cookie dough and a sweet, creamy vanilla buttercream filling!
For the Black Cat Cookies
- All-purpose flour: Provides structure and helps the cookies hold their adorable cat shapes.
- Black cocoa powder: Gives these cookies their deep black color and rich, Oreo-like chocolate flavor without needing food coloring.
- Granulated sugar: Adds sweetness and helps create the perfect cookie texture.
- Light brown sugar: Adds a touch of moisture and a subtle caramel-like sweetness.
- Unsalted butter: Cold, cubed butter creates a rich, tender cookie dough.
- Vanilla extract: Enhances the chocolate flavor.
- Salt: Balances the sweetness and brings out the rich cocoa flavor.
- Eyeball sprinkles: Give these spooky little cats their adorable personalities!
For the Vanilla Buttercream Filling
- Unsalted butter: Room-temperature butter creates a smooth, creamy filling.
- Powdered sugar: Sweetens and thickens the buttercream.
- Milk: Helps create a soft, spreadable consistency.
- Vanilla extract: Adds a delicious vanilla flavor that pairs perfectly with the chocolate cookies.
- Salt: Balances the sweetness of the filling.
Tips for Making the Best Black Cat Sandwich Cookies
Keep your butter cold. Using cold, cubed butter for the cookie dough helps create the right consistency.
Use black cocoa powder. This is what gives the cookies their signature spooky appearance and rich chocolate flavor.
Don’t roll the dough too thin. Keeping the dough evenly rolled helps the cookies bake consistently and makes them easier to assemble.
Avoid overbaking. Black cocoa cookies are naturally very dark, so follow the baking time closely rather than relying on color.
Cool completely before filling. Warm cookies can melt the buttercream, so make sure they’re fully cooled before assembling.
Have fun with the decorations! The candy eyeballs give each cookie its own personality, so don’t worry about making them all look identical!
FAQS
What is black cocoa powder?
Black cocoa powder is a heavily Dutch-processed cocoa powder that gives baked goods a deep, almost black color and a rich, Oreo-like flavor. It’s perfect for Halloween baking!
Can I use regular cocoa powder instead?
Yes! However, your cookies will have a lighter brown color instead of the signature spooky black appearance. The flavor will also be slightly different.
Can I make these cookies ahead of time?
Absolutely! You can prepare the cookie dough ahead of time and refrigerate it until you’re ready to roll, cut, and bake. You can also bake the cookies in advance and fill them closer to serving.
Do I need a stand mixer?
A stand mixer makes preparing the dough and buttercream easier, but you can also use a hand mixer.
Storage & Make Ahead
Room temperature: Store assembled cookies in an airtight container in a cool room for up to 2 days.
Refrigerator: Keep the assembled sandwich cookies in an airtight container in the refrigerator for up to 5 days. Allow them to come to room temperature before serving for the best texture.
Freezer: Freeze the unfilled, baked cookies in a freezer-safe container for up to 2 months. Thaw completely before adding the buttercream filling.
Make ahead: Prepare the cookie dough up to 2 days in advance and keep it tightly wrapped in the refrigerator. The vanilla buttercream can also be prepared ahead of time and refrigerated for up to 3 days. Bring it to room temperature and whip again before assembling.
My Favorite Baking Tools
Having the right tools makes baking these adorable Halloween cookies even easier! Here are a few of my kitchen favorites that I use when making this recipe.
This post contains Amazon affiliate links, which means I may earn a small commission from qualifying purchases at no additional cost to you.
Digital Kitchen Scale: My favorite way to measure ingredients accurately for consistent baking results.
KitchenAid Stand Mixer: Makes mixing the cookie dough and whipping up the creamy vanilla buttercream a breeze.
Parchment Paper: Prevents the cookies from sticking to the baking sheet and makes cleanup easy.
Baking Sheet: Perfect for baking the cookies evenly while helping them maintain their shapes.
Silicone Spatulas: Great for scraping down the mixing bowl and making sure every bit of dough and buttercream gets used.

Ingredients (Yields 16 sandwich cookies)
For the Black Cocoa Cookies
1 ¼ cups (160 g) all-purpose flour
⅔ cup (about 60 g) black cocoa powder, plus more for rolling out the dough
5 tbsp granulated sugar
5 tbsp packed light brown sugar
10 tbsp (140 g) unsalted butter, cold and cubed
1 tbsp vanilla extract
1 tsp salt
4 tsp eyeball-shaped sprinkles
For the Vanilla Buttercream Filling
4 tbsp (57 g) unsalted butter, room temperature
1 cup powdered sugar
1 ½ tsp milk
1 tsp vanilla extract
2 pinches of salt (about ⅛ tsp)
🕸️ Directions
Step 1: Make the cookies
In a stand mixer fitted with the paddle attachment, combine the flour, cocoa powder, granulated sugar, brown sugar, butter, vanilla extract, and salt. Beat on low speed until the mixture starts to clump together and form a dough, about 5 minutes.
The dough will look crumbly at first — don’t worry! Keep mixing until it starts to hold together when you squeeze it in your hand.
Turn the dough out onto a clean work surface and pat it into a flat oval disk, about 1 inch thick. Wrap tightly in plastic wrap and refrigerate for 1 hour (or up to 2 days) to firm up.
Step 2: Roll and cut
When you’re ready to bake, preheat your oven to 325°F (163°C) and line one or two baking sheets with parchment paper.
Lightly dust your work surface with black cocoa powder. Unwrap the dough and let it rest for about 5 minutes to soften slightly. Sprinkle a bit more cocoa over the top and roll the dough into a small thick circle, dusting as needed to prevent sticking.
Use a cat-shaped cookie cutter to cut out cat shapes from the dough. Carefully transfer the cookies to your prepared baking sheets, placing them about 1 inch apart.
Step 3: Bake
Bake for 10 minutes, or until the cookies are firm around the edges and fully set. Remove from the oven and allow them to cool on the sheet pan for 5 minutes, then transfer to a wire rack to cool completely — about 25 minutes more.
Step 4: Make the filling
In a stand mixer fitted with the paddle attachment, combine the butter, powdered sugar, milk, vanilla extract, and salt. Beat on low speed to combine, then increase to high speed and beat for about 45 seconds, just until creamy and smooth.
Don’t overbeat — you want the filling to stay dense and thick, like Oreo cream, not fluffy.
Transfer the filling to a piping bag fitted with a small round tip.
Step 5: Assemble your cats
Pipe about 1 teaspoon of filling onto the underside of one cookie, then top with another to make a sandwich. Repeat with the rest of the cookies.
Use the remaining frosting to pipe two small dots on top of each cookie and gently press on your eyeball sprinkles to create those adorable little kitty faces.
