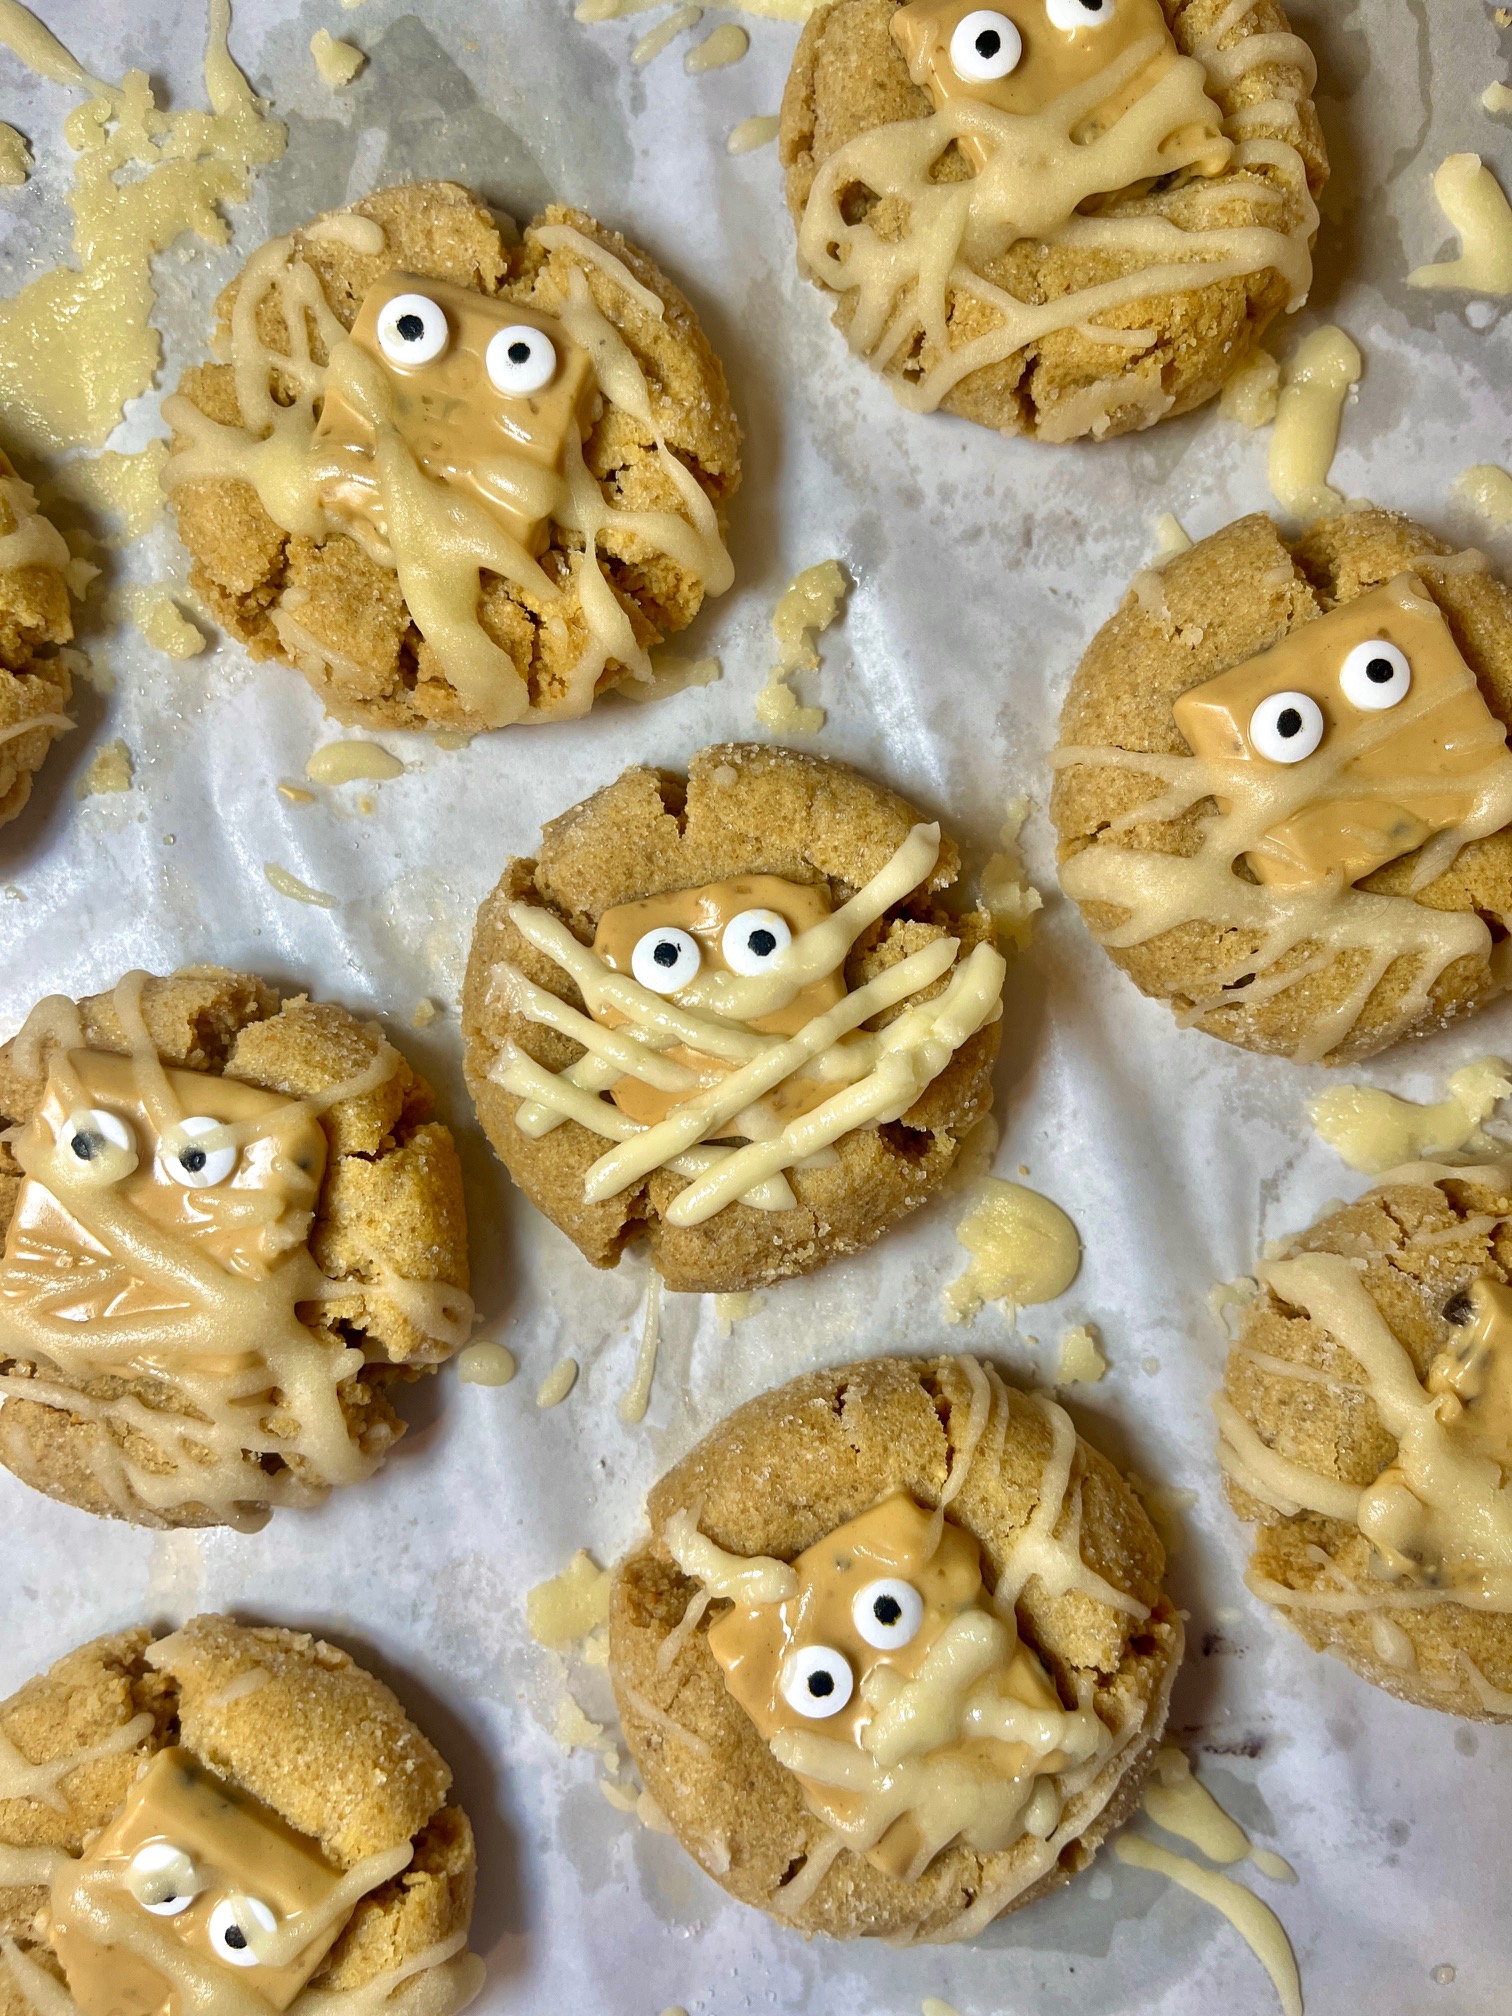
Peanut Butter Mummy Cookies
There’s something about Halloween baking that just brings out my inner child — the one who used to pick out pumpkin-shaped cookie cutters, sneak candy from the trick-or-treat bowl way too early, and insist that “spooky” treats taste better than normal ones. And honestly? I still stand by that.
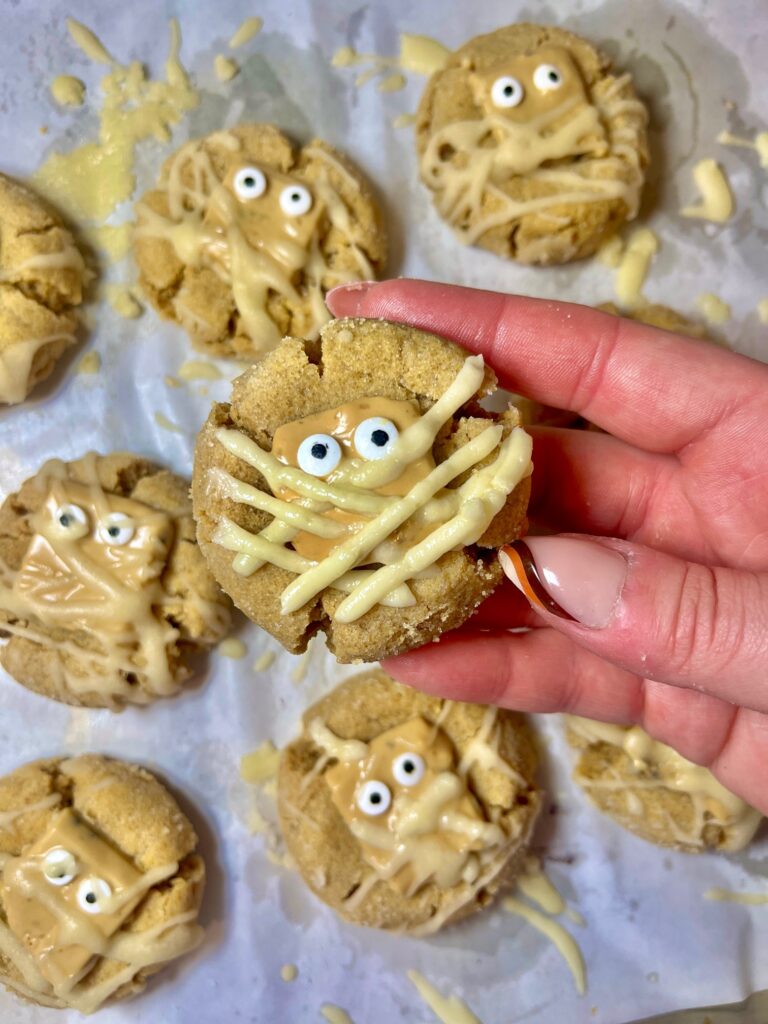
These Peanut Butter Mummy Cookies are the perfect mix of cute and creepy — soft, chewy peanut butter cookies wrapped up in sweet mummy bandages with candy eyes peeking out. They’re festive, fun to make, and somehow even better with a cup of coffee or a mug of hot chocolate while you watch your favorite Halloween movie for the fifteenth time.
🎃 A Love Letter to Halloween Baking
I don’t know what it is about October, but the second the calendar flips over, my brain goes full “spooky baker mode.” I suddenly want to drizzle chocolate on everything, add googly eyes to my desserts, and play “Monster Mash” while the oven preheats.
There’s just so much joy in Halloween baking. It’s not about perfection — it’s about playfulness. You can make something completely silly, like a cookie that looks like it escaped from a tomb, and it instantly becomes the star of your dessert table. These mummy cookies are that kind of treat. They’re the cookies everyone reaches for first — the ones that make people say “Oh my gosh, look how cute!” before they take a bite.
And the best part? They’re peanut butter cookies. Which means even without the white chocolate “bandages,” they’d already be delicious. The fact that they also happen to be adorably spooky? That’s just the Halloween bonus.
👻 The Vibe
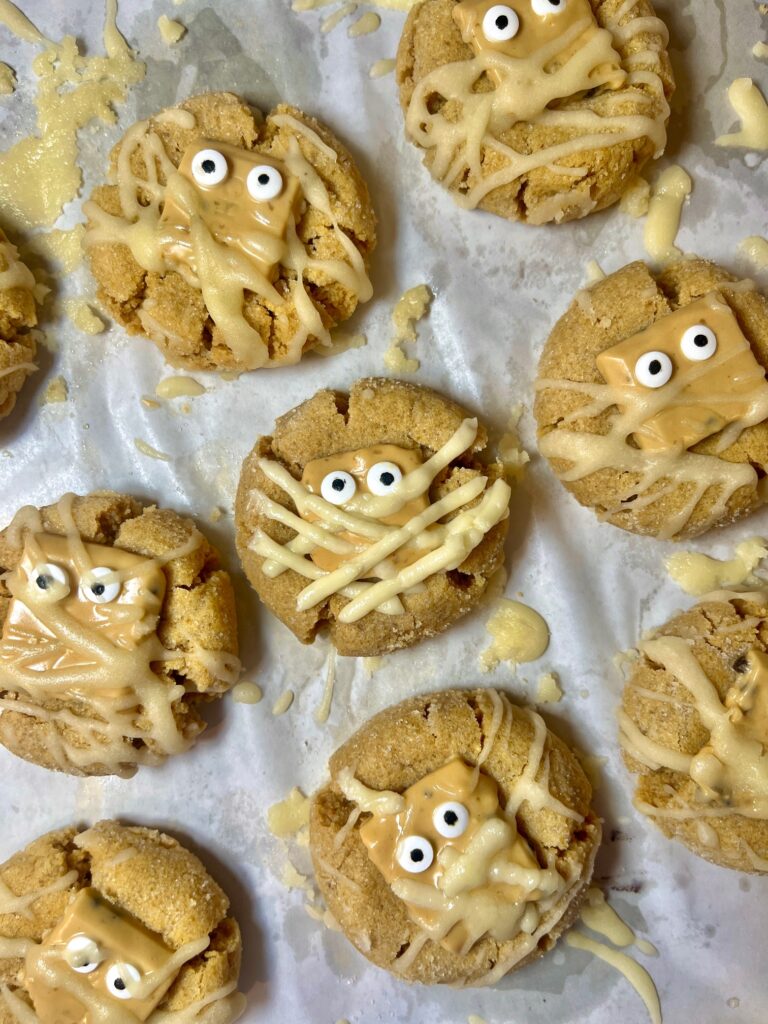
Picture this: it’s late October, the air smells like caramel apples and bonfires, and you’re baking with your favorite playlist humming in the background. You’re piping little mummy bandages across golden peanut butter cookies, sticking on candy eyes that somehow give each one its own personality — some cute, some suspiciously judgmental, some a little cross-eyed and chaotic.
That’s the fun of these cookies. They don’t have to be perfect; the messier the better. Every mummy turns out a little different, and that’s what makes them so charming. They’re the edible version of dressing up in a last-minute Halloween costume — a little thrown together, but full of spirit.
🕸️ Why I Love These So Much
Halloween baking is about making people smile. Sure, fancy desserts are great, but I’ll always have a soft spot for treats that make people laugh or say “awww.” These mummy cookies do both. They look like they belong in a haunted bakery window display — but when you bite in, it’s just the soft, cozy, peanut-buttery goodness we all know and love.
Plus, they’re so easy to make and decorate that you can get kids involved, have a little Halloween cookie night with friends, or just bake them solo while watching Hocus Pocus and pretending you’re in Salem.
🧙♀️ Final Thoughts
There’s something about baking during Halloween that makes the kitchen feel extra warm and happy — even if you’ve got a few candy eyes rolling around the counter. These Peanut Butter Mummy Cookies are the perfect mix of spooky and sweet, cozy and creative.
They’re festive without being fussy, nostalgic without being old-fashioned, and the kind of treat that makes every October evening feel just a little more magical.
So wrap up your cookies, cue the Halloween music, and let your inner spooky baker shine — these mummies are waiting to come alive. 🎃👀🕸️
Ingredients
(Makes about 12 cookies)
For the Peanut Butter Cookies
- ½ cup (113g) unsalted butter, softened
- ¾ cup (200g) creamy peanut butter
- ¾ cup (150g) packed brown sugar
- ¼ cup (50g) granulated sugar
- 1 large egg
- ½ teaspoon vanilla extract
- 1 tablespoon (13ml) milk
- ⅛ teaspoon salt
- 1 teaspoon baking soda
- 1 ¾ cups (217g) all-purpose flour
For Decorating the Mummies
- 1 cup (about 6 oz) white chocolate or white candy melts
- 12 small squares of Hormbles Chormbles peanut butter chocolate (or any peanut butter chocolate squares)
- Candy eyes
Directions
- Preheat the Oven:
Preheat your oven to 350°F (177°C). Line a baking sheet with parchment paper or a silicone baking mat. - Cream the Butter & Sugars:
In a large bowl, beat together the butter, peanut butter, brown sugar, and granulated sugar for 2–3 minutes, until smooth and creamy. - Add the Wet Ingredients:
Beat in the egg, vanilla, and milk until fully combined. - Add the Dry Ingredients:
In a separate bowl, whisk together the flour, baking soda, and salt.
Gradually add the dry mixture to the wet mixture until a soft dough forms. - Shape & Bake:
Roll the dough into balls (about 2 tablespoons each) and place them on your prepared baking sheet, spacing them a couple inches apart.
Gently flatten the tops slightly with your fingers or the bottom of a glass. Bake for 9–11 minutes, or until the edges are lightly golden and the centers look just set.
Allow the cookies to cool on the baking sheet for 5 minutes, then transfer to a wire rack to cool completely. - Add the Chocolate Squares:
Once the cookies are mostly cooled (but still just slightly warm), gently press one Hormbles Chormbles peanut butter chocolate square into the center of each cookie.
Decorating Your Mummies 👻
- Melt the White Chocolate:
Melt the white chocolate or candy melts in 20–30 second bursts in the microwave, stirring between each, until smooth. - Pipe the Mummy Wraps:
Spoon or pipe the melted white chocolate in random drizzles over each cookie, creating “bandages” across the top (over and around the chocolate square). - Add the Eyes:
Press on two candy eyes before the chocolate sets — each cookie gets its own little personality! - Set & Enjoy:
Let the cookies sit for about 10–15 minutes, or until the chocolate drizzle is firm. Then serve, share, and watch them disappear faster than a ghost. 👀
Storage
- Room Temperature: Store in an airtight container for up to 5 days.
- Freezer: Freeze the plain cookies (without chocolate drizzle or eyes) for up to 2 months. Decorate after thawing.
- Make Ahead: Bake the cookies the day before decorating — they hold up perfectly overnight.