Homemade Red Velvet Cake with Cream Cheese Frosting
There’s something about red velvet cake that just feels special. Maybe it’s the rich cocoa flavor that’s somehow both comforting and elegant, or maybe it’s that striking red color that always makes a dramatic entrance at the dessert table. Either way, red velvet has been one of those cakes I never get tired of baking — and every Halloween, I can’t resist giving it a little eerie, spooky spin.
This is my homemade red velvet cake — tender, buttery, and deeply flavored with a touch of cocoa, frosted with the fluffiest cream cheese frosting, and (if you’re feeling festive) topped with a glossy drizzle of bloody red gel glaze that makes it look straight out of a gothic Halloween dream. The inside stays that perfect velvety red, while the outside can go from classic bakery-beautiful to haunted-house-glam with just one spooky swirl of red gel.
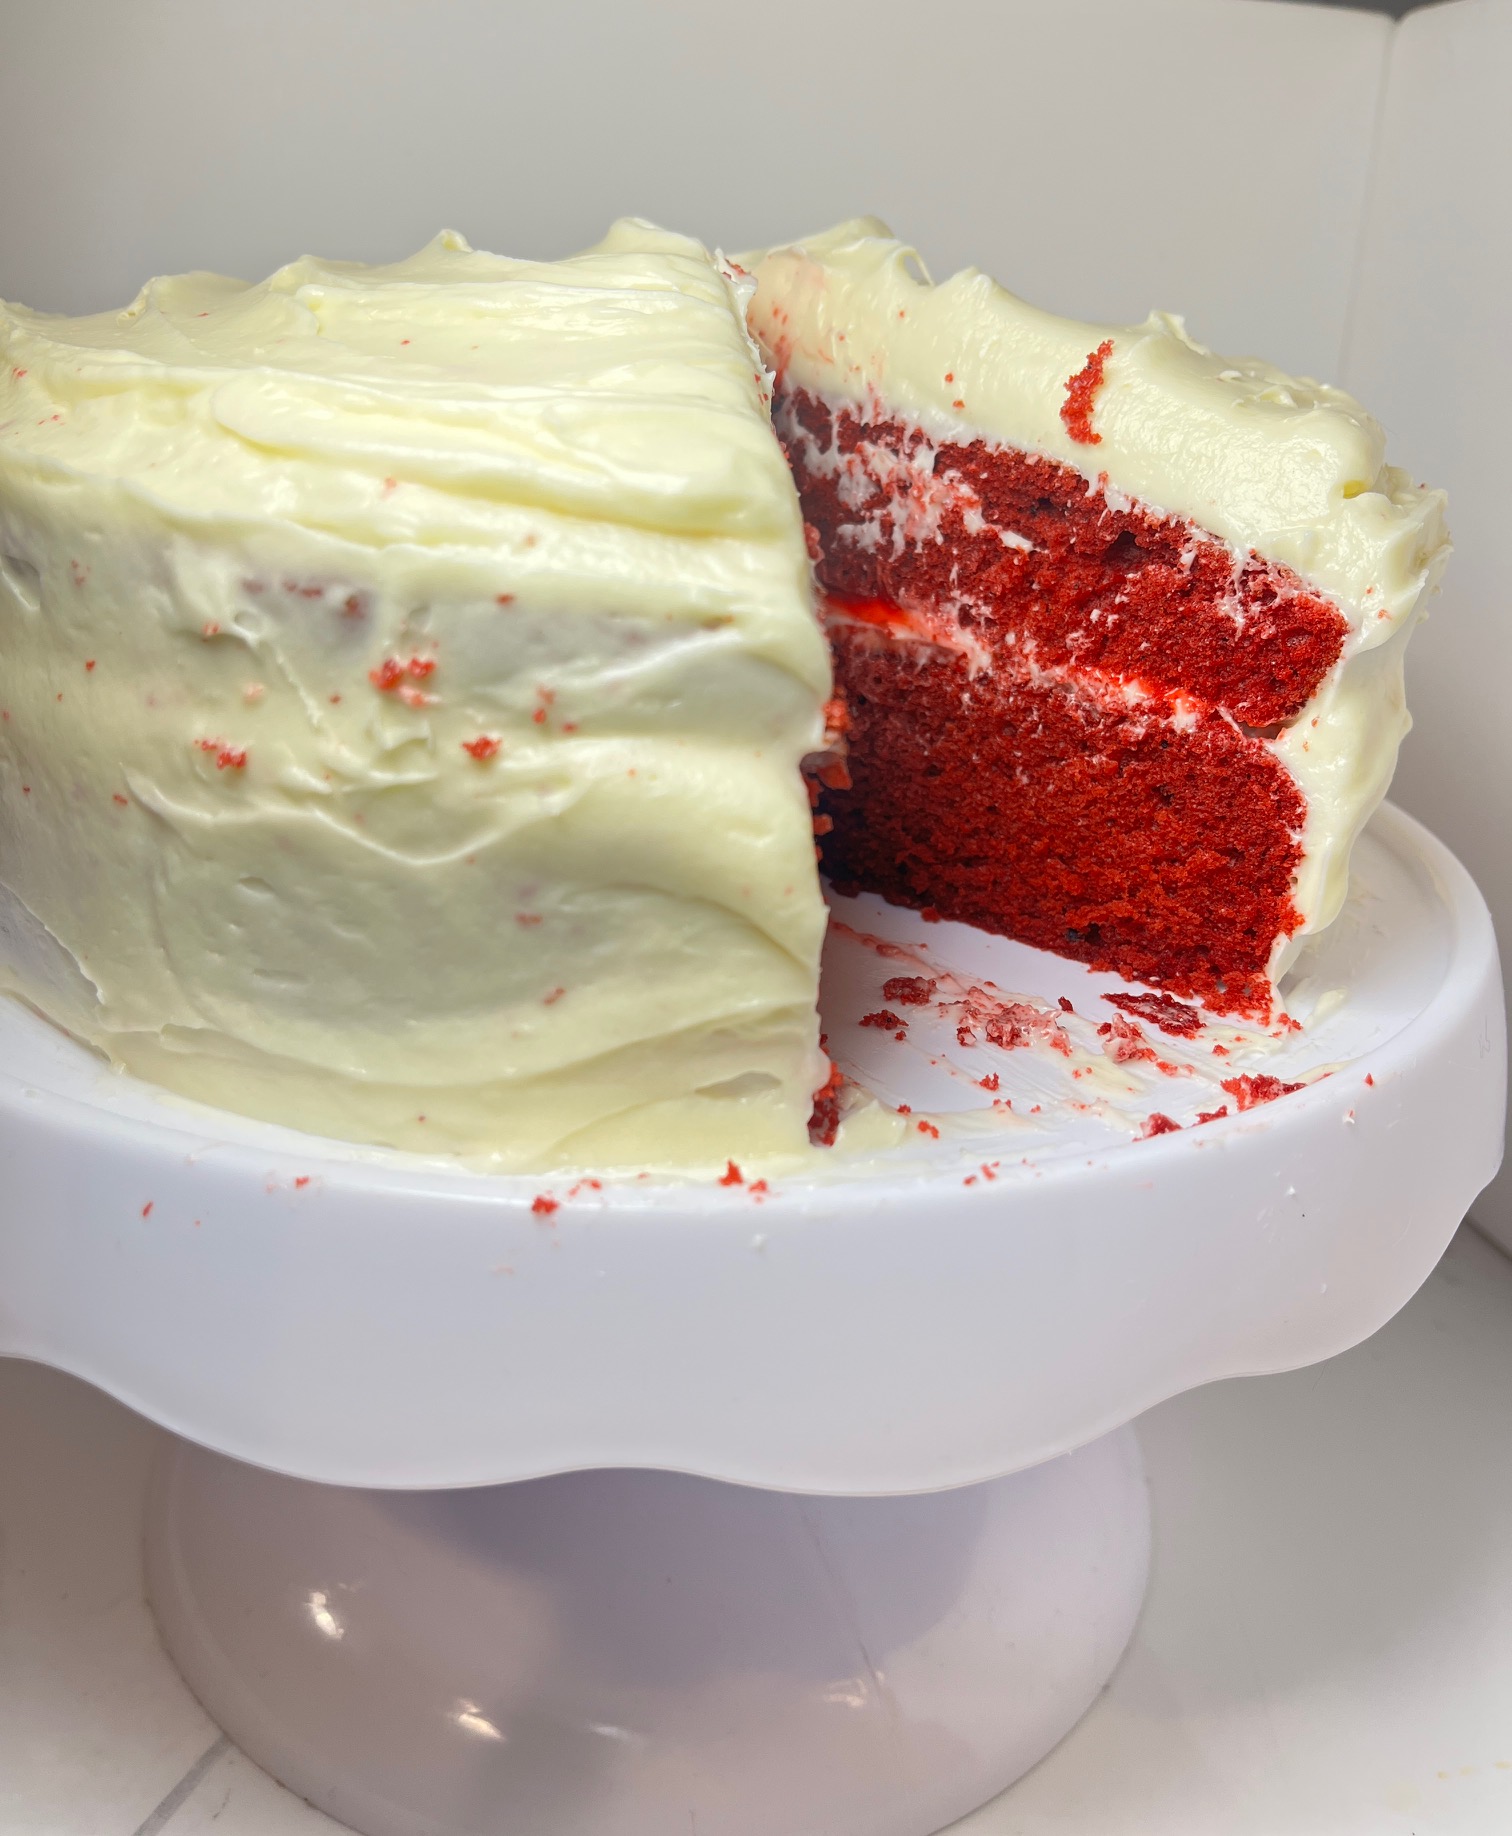
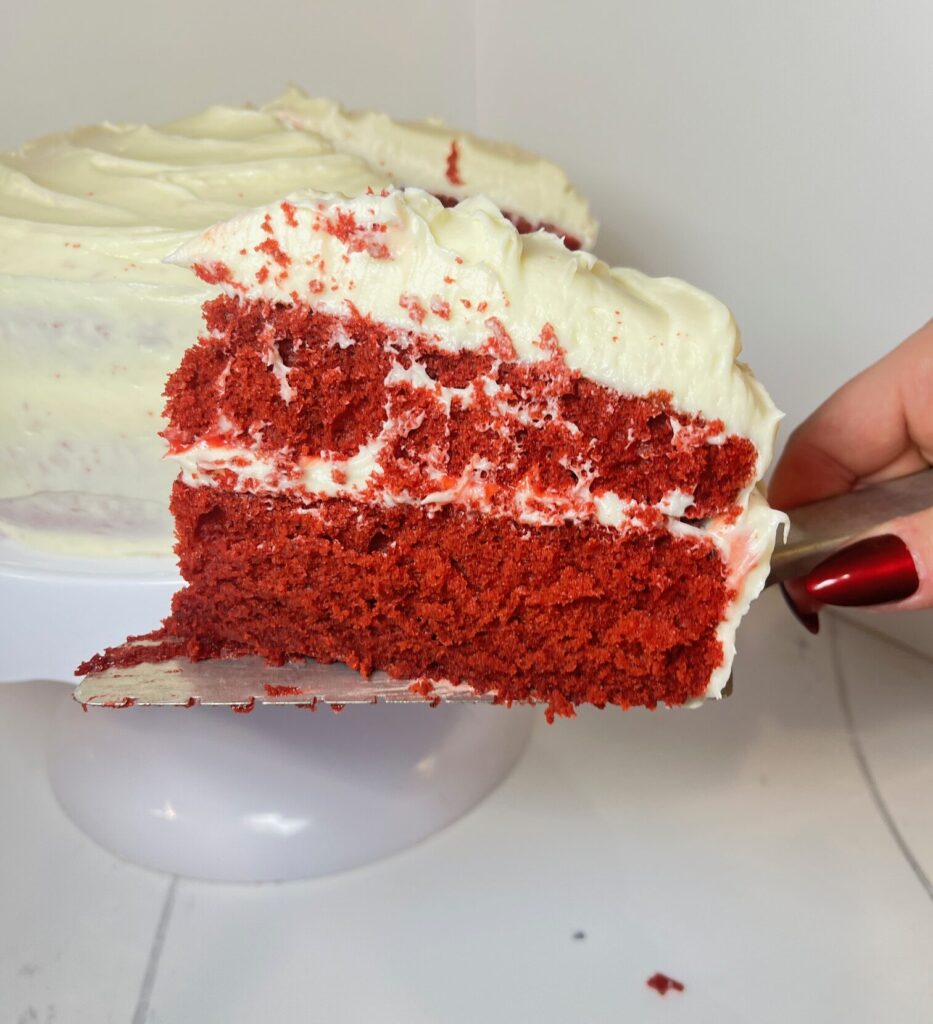
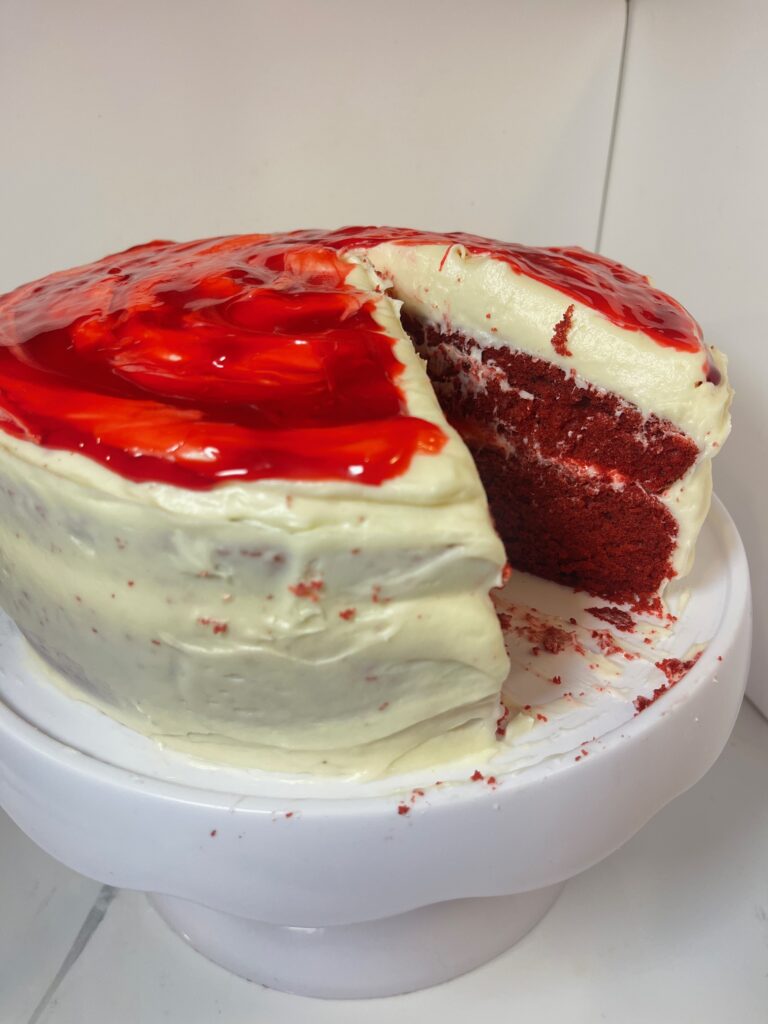
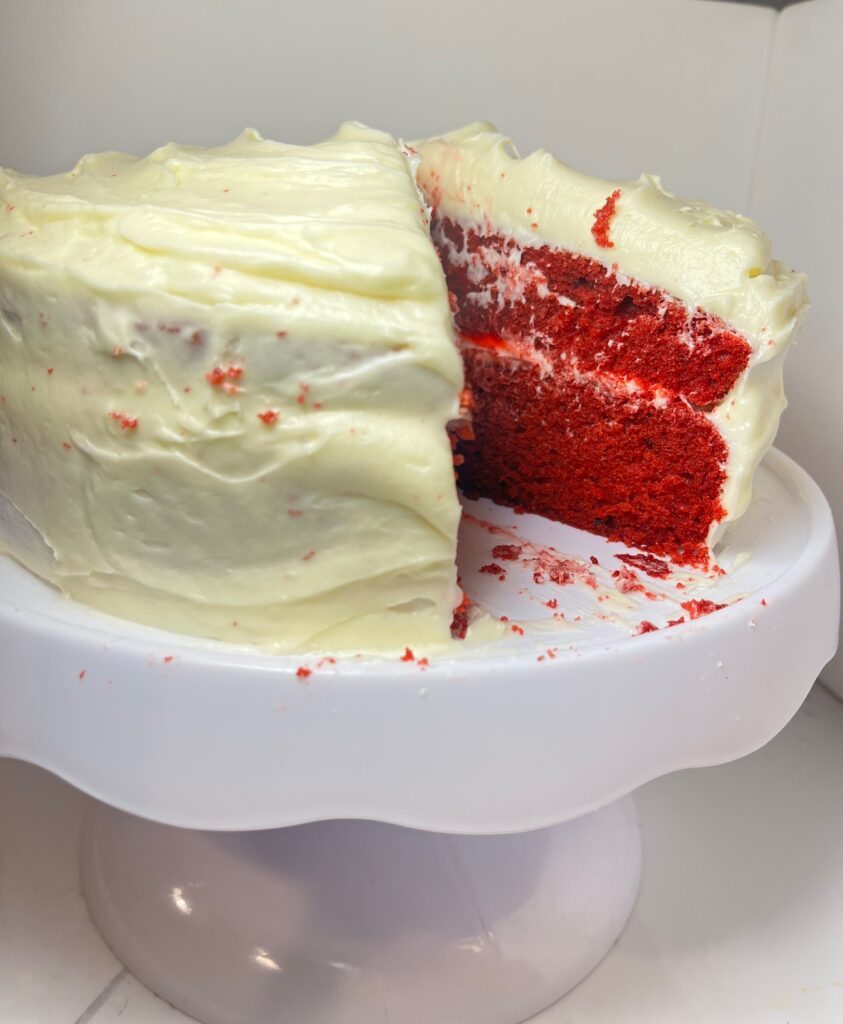
The cover photo for this post shows my cake sliced open, and honestly? That’s the best part — that dramatic reveal of the rich red crumb against the smooth white frosting. Then I had to get a close-up of the slice, because look at that texture! Soft, fluffy layers with just the right amount of cocoa depth. And finally, the pièce de résistance: that hauntingly beautiful shot of the top, covered in glossy red gel that looks like a baker’s version of fake blood. (For the record — mine’s from Wilton, and it works perfectly for this effect!)
What I love most about this cake is that it’s not just for Halloween. It’s a recipe you can keep year-round — just skip the red gel if you want a classic red velvet look. But around spooky season, when my kitchen is already covered in pumpkin purée, candy eyes, and orange sprinkles, I can’t resist turning this into something just a little bit wicked.
And honestly? It’s so easy to make from scratch. You don’t need any boxed mix here — just good, simple ingredients and a few tricks that make all the difference. The homemade buttermilk (made by combining milk and vinegar) gives the cake its soft, tender crumb and that subtle tangy flavor that red velvet is famous for. The mix of butter and oil keeps it rich and moist, and the red gel coloring gives it that vibrant shade that stays bold even after baking.
Then there’s that frosting — smooth, creamy, slightly tangy cream cheese frosting that’s pure heaven on a spoon. I always chill mine before spreading so it goes on thick and velvety and holds up beautifully under the red gel. Once the cake is frosted and chilled, the final touch — that glossy “bloody” drip — just transforms it into something magical and mysterious. It clings perfectly to the frosting, creating that shiny, dramatic effect without sliding off.
It’s the kind of cake that looks like it took hours, but it’s actually so straightforward to make. Perfect for a Halloween dinner party, a cozy scary movie night, or just a festive weekend bake. Slice into it and you get that gorgeous contrast — snowy white frosting against deep red cake — with just a little eerie flair that makes everyone say, “Wait… is that supposed to look like blood?” (Yes. Yes it is.)
Whether you go full spooky with the red gel or keep it classic and elegant, this red velvet cake is pure celebration in every bite. Soft, rich, perfectly balanced between sweet and tangy — and just a little bit haunting in the best way.
So grab your mixing bowls, a bottle of red gel (Wilton’s is my go-to!), and let’s bake something a little wickedly beautiful this Halloween. Because honestly? A homemade red velvet cake never goes out of style — it just gets spookier. 👻❤️🎂
Why You’ll Love This Recipe
This red velvet cake is soft, rich, and stunningly vibrant — the kind of bake that feels both nostalgic and a little fancy. The cocoa adds depth, the homemade buttermilk keeps it moist and tender, and the butter + oil combo gives it that perfect melt-in-your-mouth texture. The cream cheese frosting is velvety and tangy, the ideal balance to the sweet cake layers.
And if you’re in the Halloween spirit? That glossy red gel glaze transforms this cake into something spooky and dramatic — like a dessert straight out of a haunted patisserie. It’s simple, show-stopping, and an absolute crowd-pleaser whether you go full eerie or keep it classic.
Ingredients
For the Red Velvet Cake:
- 2 ½ cups all-purpose flour
- 2 tablespoons unsweetened cocoa powder
- 1 teaspoon baking soda
- 1 teaspoon salt
- ½ cup (1 stick) unsalted butter, room temperature
- ½ cup neutral oil (such as vegetable or canola)
- 1 cup granulated sugar
- 4 large eggs, room temperature
- 1 tablespoon vanilla extract
- 2 ½ teaspoons red gel food coloring (I use Wilton brand)
- 1 tablespoon white vinegar
- 1 ⅓ cups milk
For the Cream Cheese Frosting:
- 8 ounces cream cheese, room temperature
- 8 ounces unsalted butter, room temperature
- 1 tablespoon vanilla extract
- ½ teaspoon salt
- 3 ½ to 4 cups powdered sugar (use up to 4 cups if you’re adding the gel glaze for a slightly stiffer texture)
Optional for Halloween:
- Red gel food glaze (Wilton or similar brand) for the “bloody” effect
Directions
1. Preheat and Prepare
Preheat your oven to 350°F (177°C). Grease and line two 8-inch round cake pans with parchment paper.
2. Combine Dry Ingredients
In a medium bowl, whisk together the flour, cocoa powder, baking soda, and salt. Set aside.
3. Make the Homemade Buttermilk
In a separate small bowl, combine milk and vinegar. Stir and let it sit for 5–10 minutes, until slightly curdled — this creates a tangy, creamy buttermilk that makes your cake ultra-tender.
4. Cream Butter, Oil & Sugar
In your stand mixer fitted with the paddle attachment, beat butter, oil, and sugar on medium-high speed for 3–4 minutes, until pale and fluffy.
5. Add Eggs & Flavor
Beat in the eggs, one at a time, mixing well after each addition. Then add vanilla extract and red gel food coloring. Mix until your batter is evenly tinted a deep, vibrant red.
6. Combine Wet and Dry
On low speed, add the dry ingredients in three additions, alternating with the buttermilk, beginning and ending with the dry ingredients. Mix until just combined — don’t overmix!
7. Bake
Divide the batter evenly between your prepared pans. Bake for 28–32 minutes, or until a toothpick inserted in the center comes out clean.
Cool the cakes in their pans for 10 minutes, then transfer to a wire rack to cool completely before frosting.
Cream Cheese Frosting
- In your mixer bowl, beat the butter on medium-high speed for 2 minutes until light and creamy.
- Add the cream cheese and beat for 2–3 minutes until smooth and fluffy.
- Mix in the vanilla extract and salt.
- Gradually add the powdered sugar, about ½ cup at a time, beating on low speed until incorporated. Then beat on high for 1 minute until thick, creamy, and fluffy.
- For a stiffer frosting (especially if using red gel on top), add the full 4 cups of powdered sugar.
- Chill frosting in the fridge for 15–20 minutes before spreading — this helps it set beautifully.
Assembling the Cake
- Place one cooled cake layer on your cake stand or serving plate.
- Spread a generous layer of cream cheese frosting on top.
- Add the second cake layer, then frost the top and sides evenly with the remaining frosting.
- Chill the frosted cake for 30–45 minutes to help the frosting firm up.
Optional Halloween Touch 🎃
Once the cake is chilled and slightly firm, drizzle or spread your red gel glaze over the top for that “bloody” Halloween look. The gel will cling beautifully to the frosting, creating that glossy, eerie effect without sliding off.
Storage
- Refrigerator: Store the frosted cake covered in the fridge for up to 5 days. Bring to room temperature before serving so the frosting softens again.
- Freezer: You can freeze unfrosted cake layers, tightly wrapped, for up to 2 months. Thaw overnight in the fridge before frosting.
- Frosting: The cream cheese frosting can be made up to 3 days in advance and stored in the fridge. Rewhip before using for the fluffiest texture.
Baker’s Notes 🕯️
- Getting that perfect color: Red gel food coloring gives the most vibrant hue without watering down the batter. Start with 2 teaspoons and add the extra ½ if you want that bold, Halloween-deep red.
- Don’t skip the vinegar! It’s not just for the buttermilk — it actually reacts with the cocoa powder to enhance the cake’s color and texture.
- Texture tip: If your cakes dome a bit in the oven, you can gently level them once cooled — it makes for a clean, even layer when stacking.
- Frosting tip: Chill the cake before adding the red gel glaze — that’s the secret to keeping the gel perfectly shiny and drip-free.
- Make it your own: Skip the glaze for a classic red velvet look, or go all-in for Halloween with a “drippy” haunted vibe. You can even add candy knives, eyeball sprinkles, or black edible glitter for a gory-glam moment.