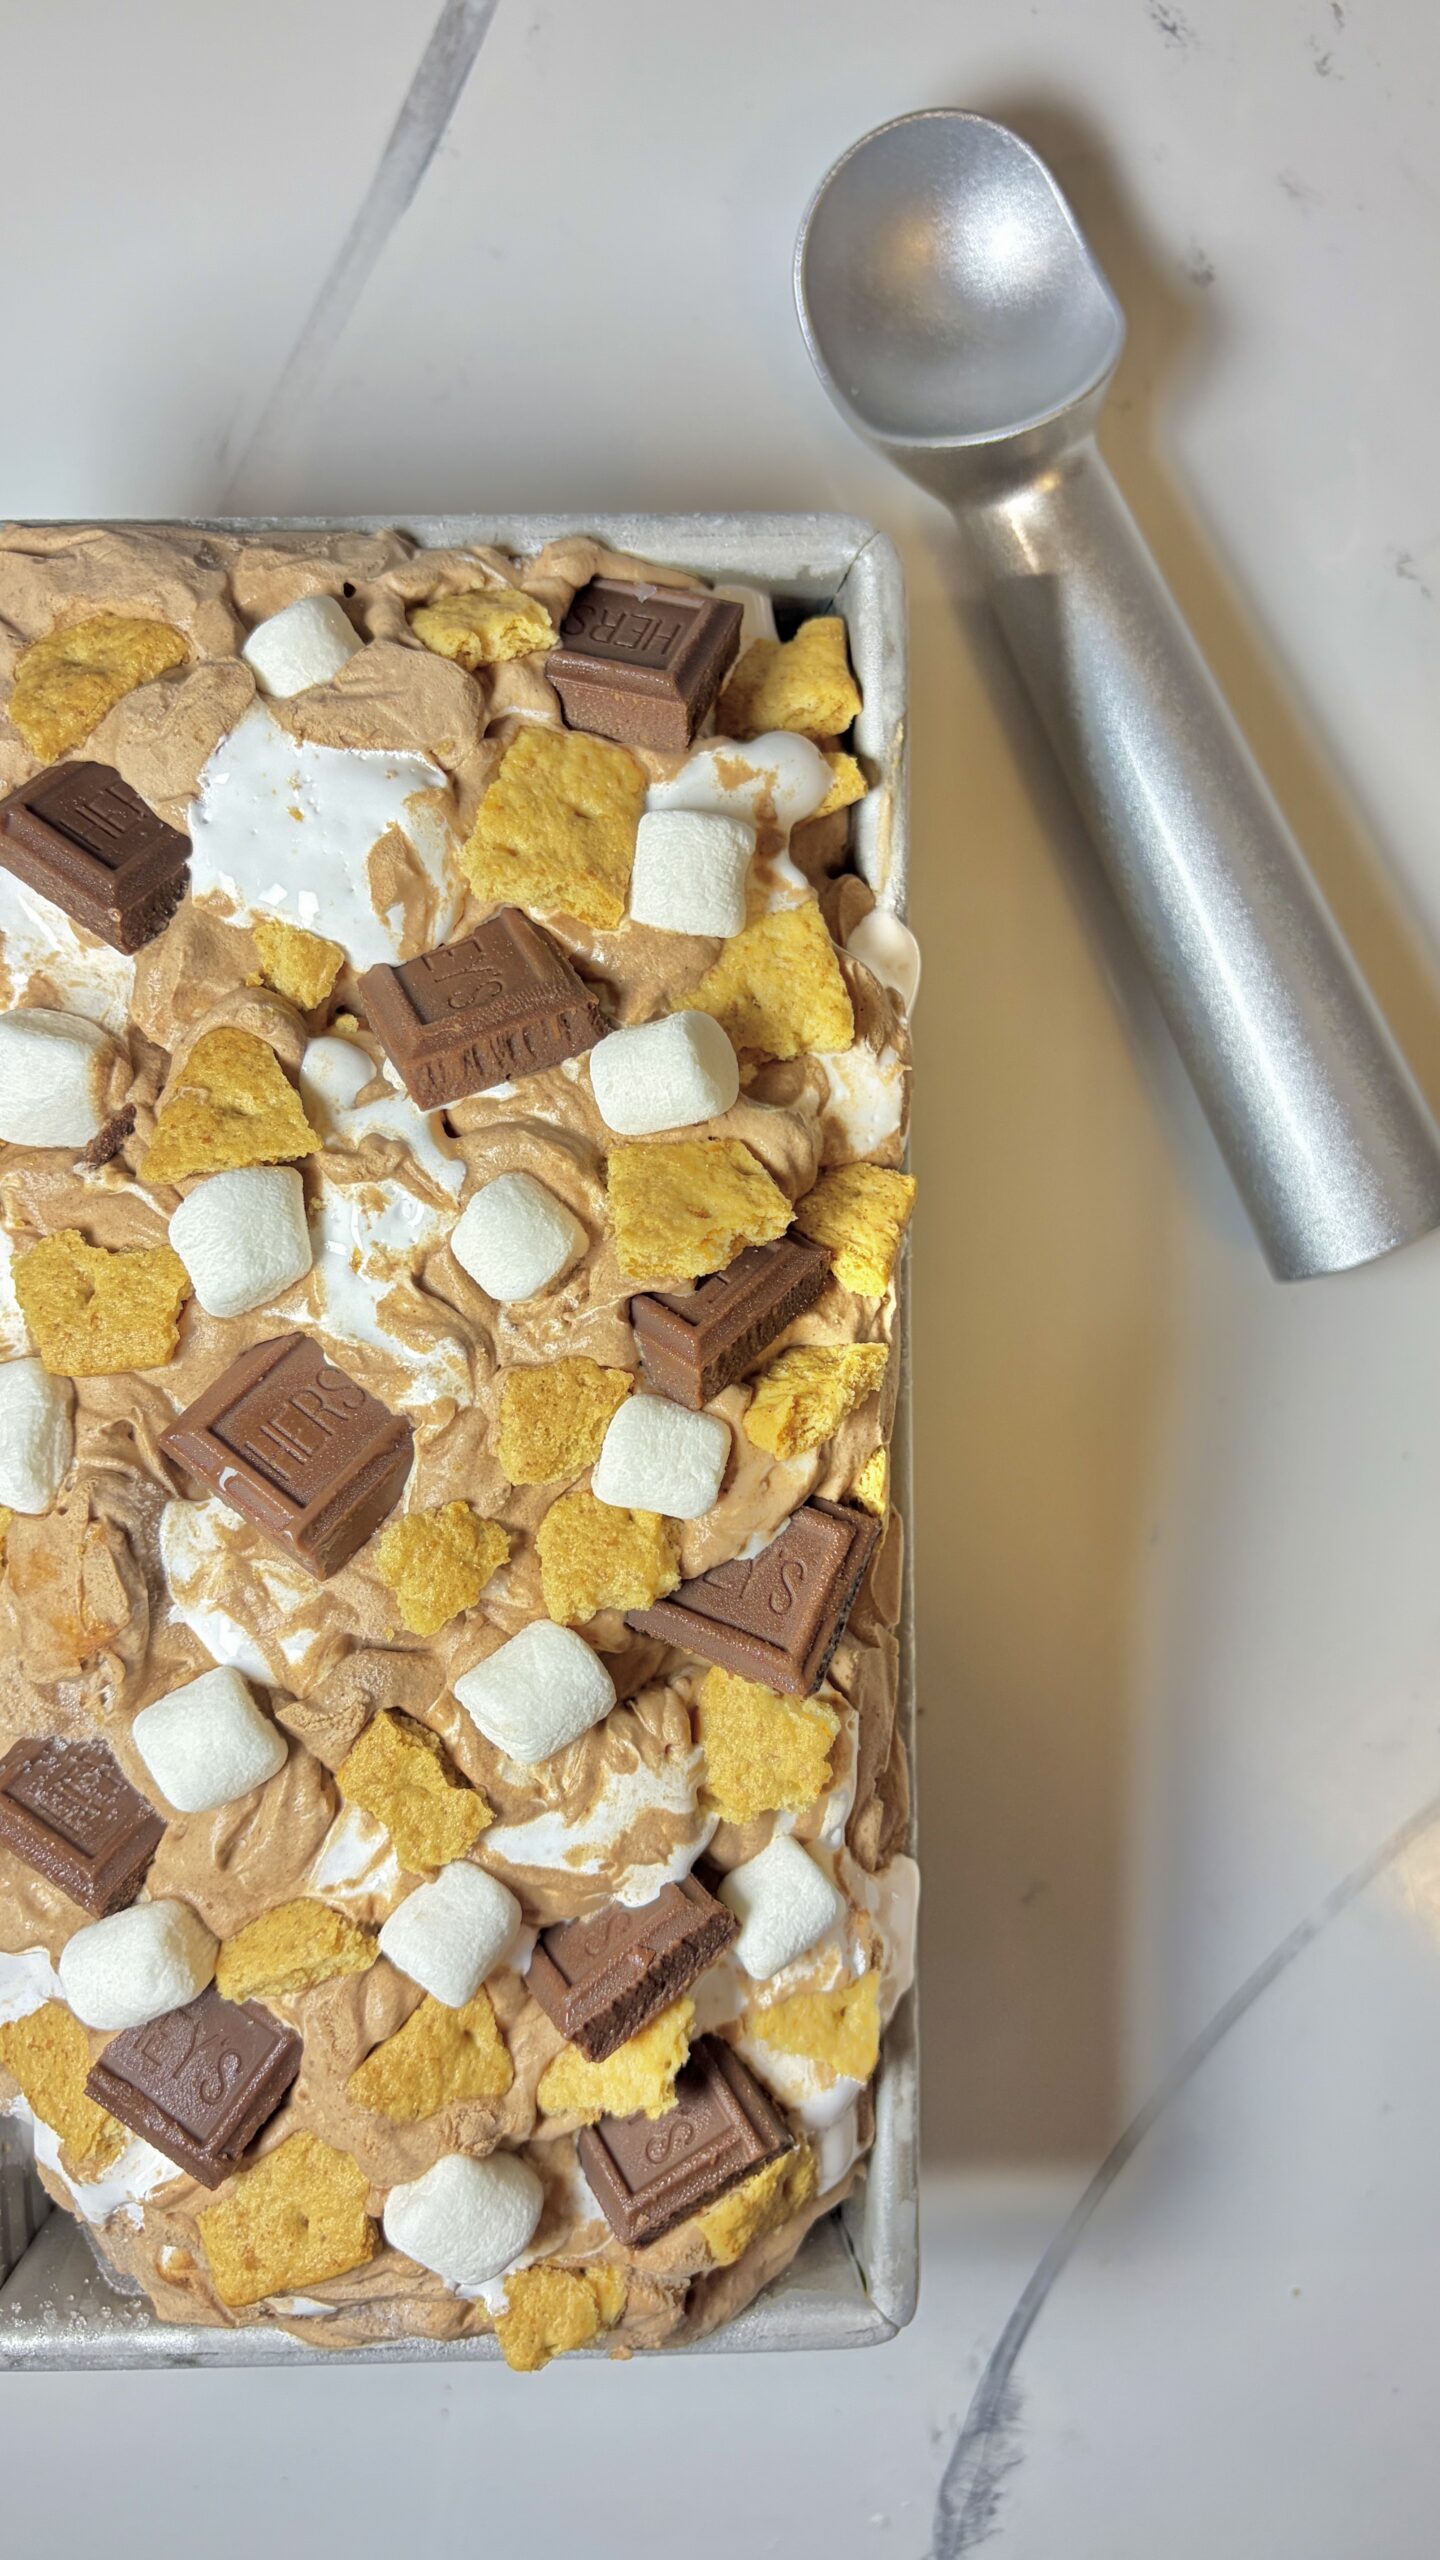
No-Churn S’mores Chocolate Ice Cream
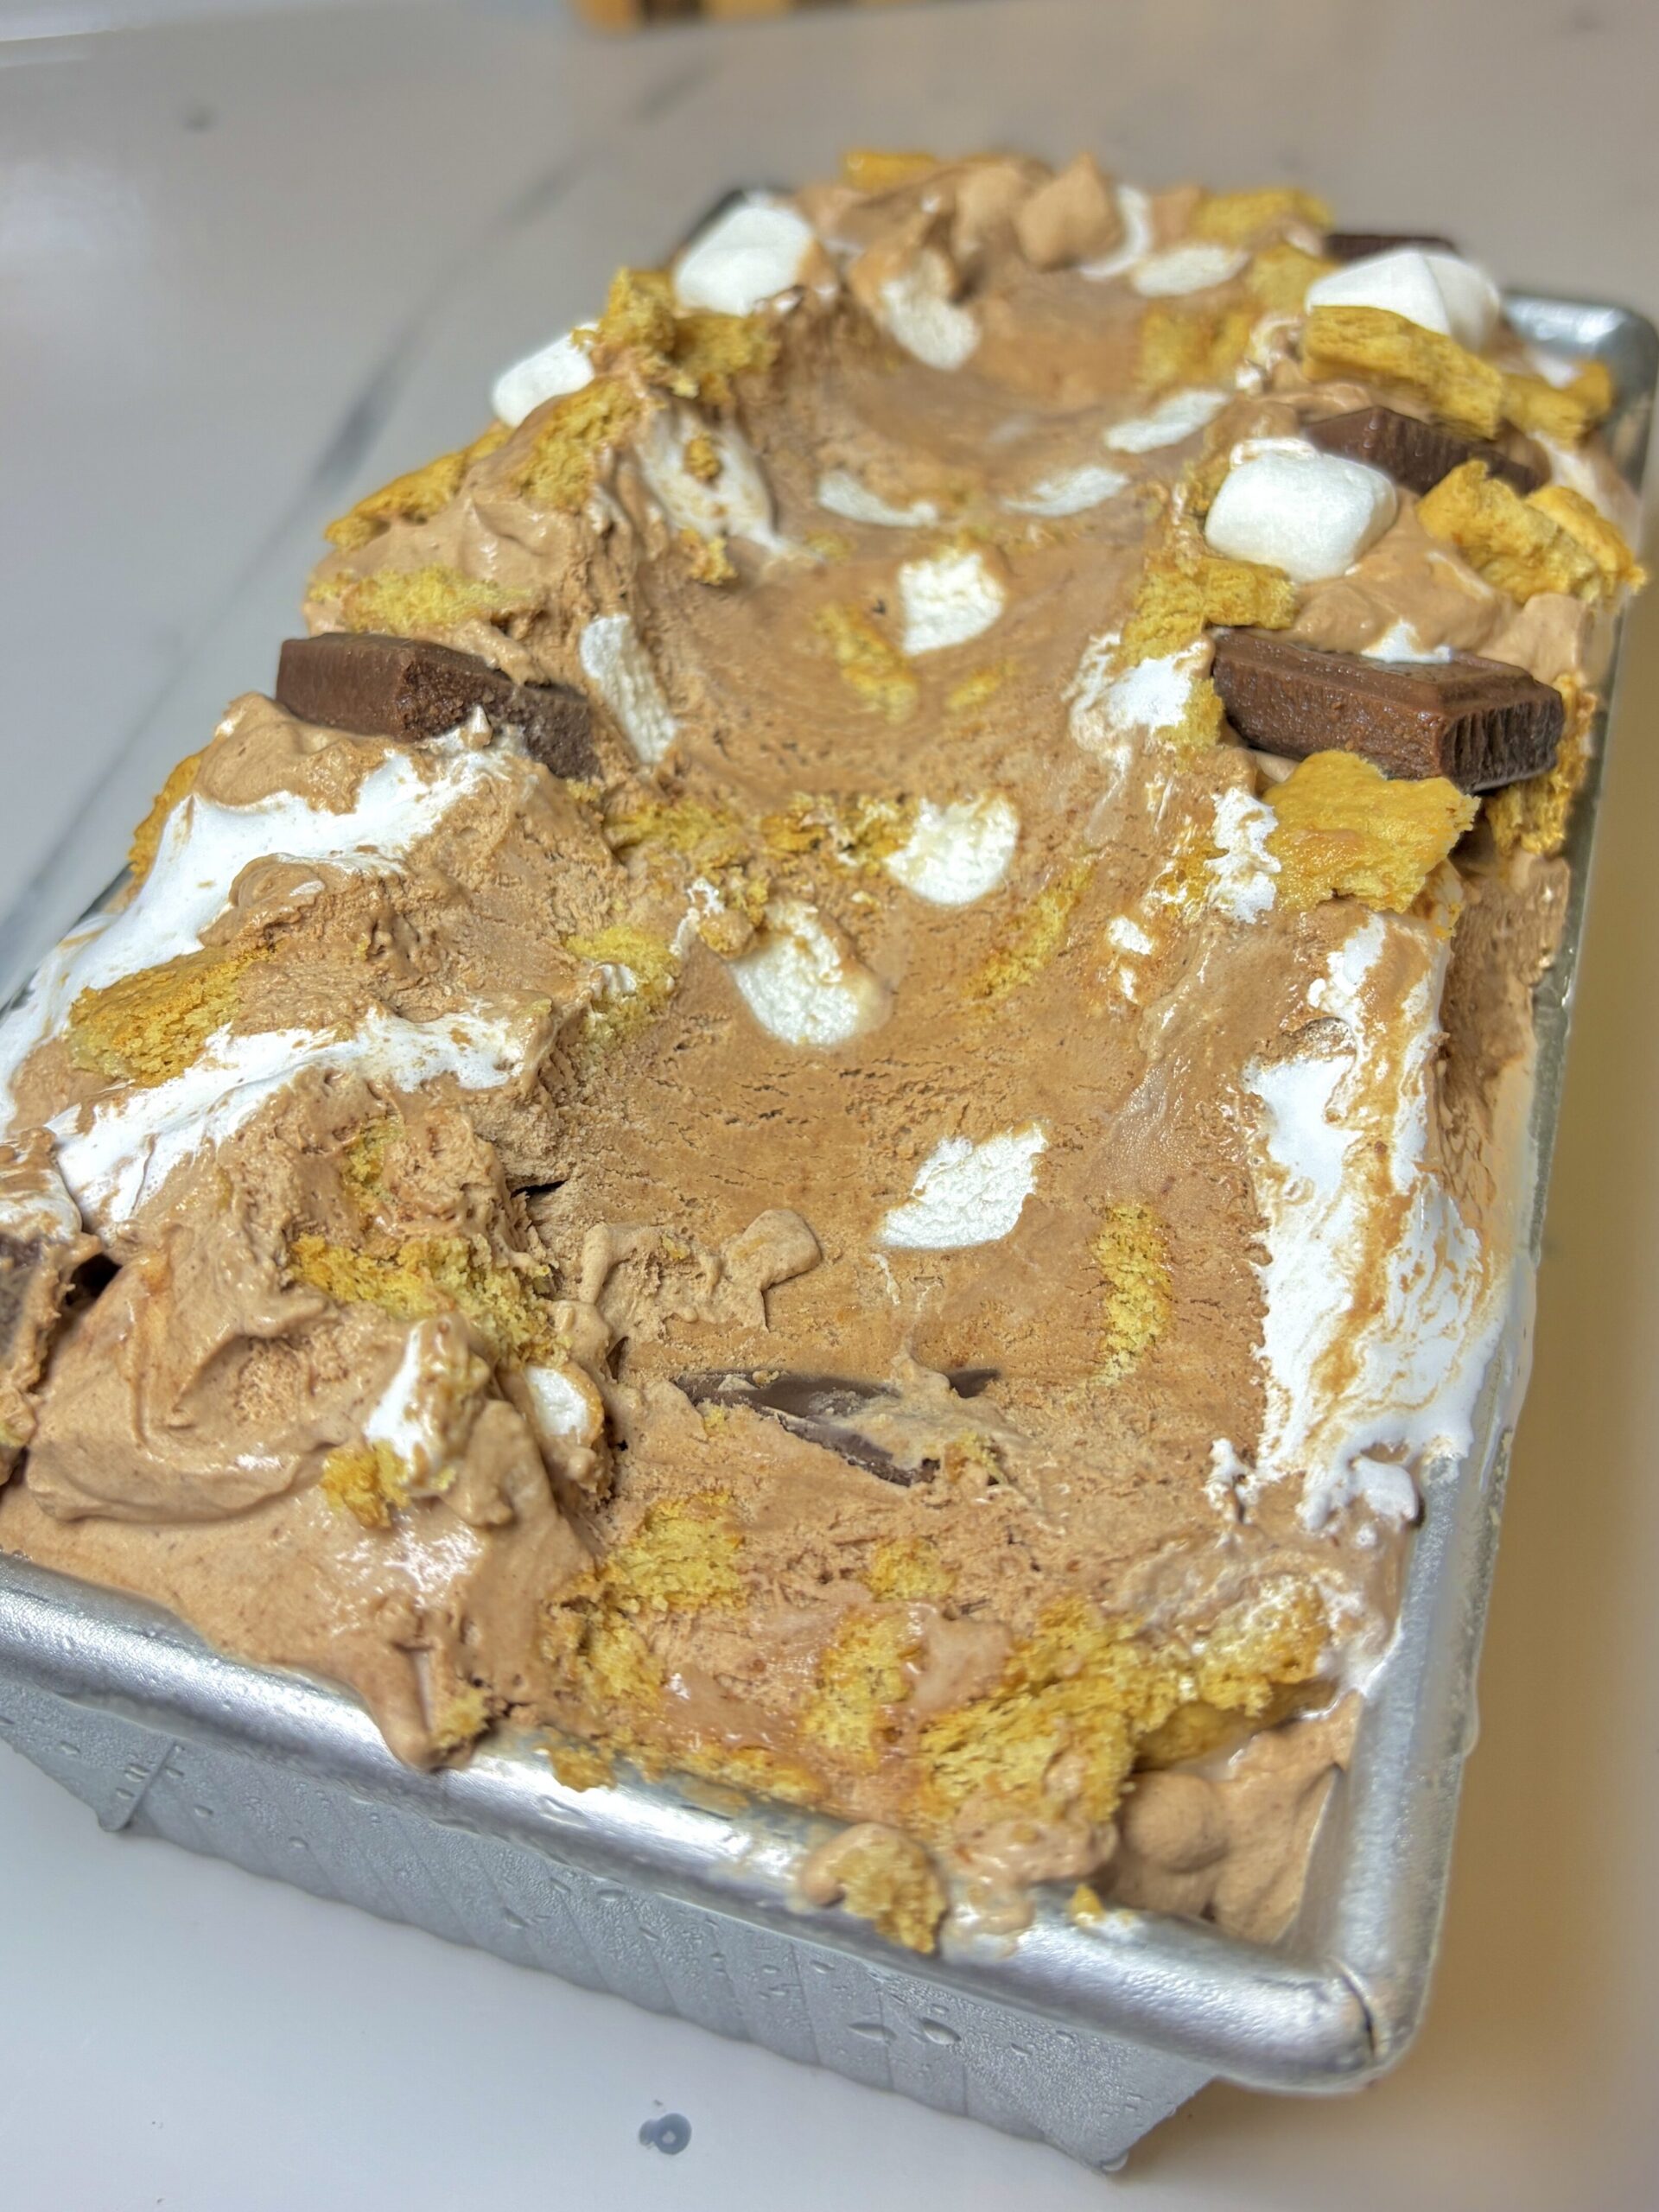
What’s better than an easy, no churn ice cream during these hot summer days?! I don’t think there’s anything! And the best part? It comes together with just a handful of simple ingredients and a few minutes of prep. A rich chocolate ice cream base is folded with crunchy graham crackers, chunks of chocolate, mini marshmallows, and ribbons of marshmallow fluff for the ultimate s’mores experience in every bite.
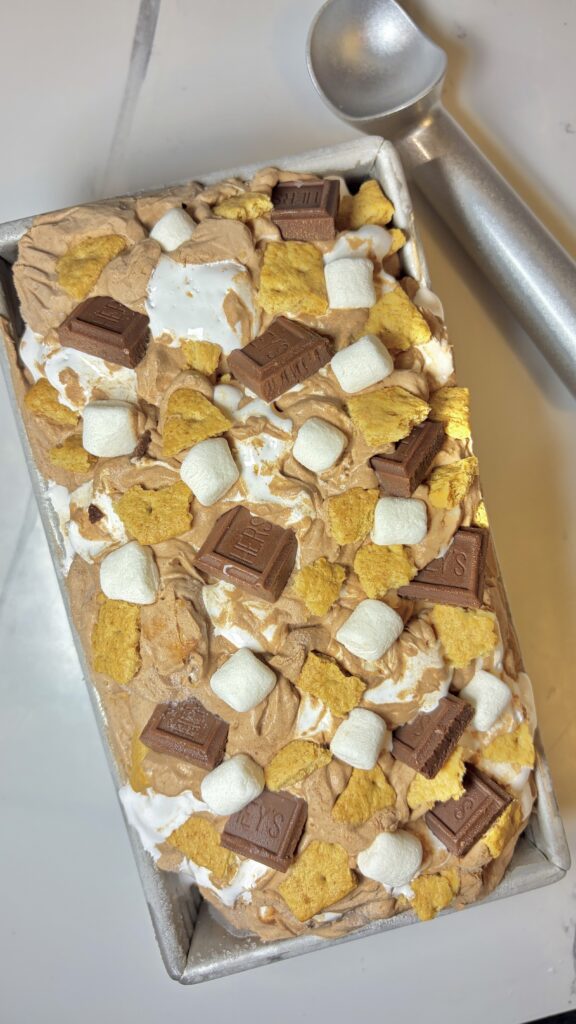
Whether you’re serving it at a summer barbecue, making it for a movie night, or simply keeping a batch in the freezer for late-night cravings, this homemade ice cream is guaranteed to disappear fast.
Why You’ll Love This Recipe
- No ice cream maker required
- Rich and creamy texture
- Loaded with classic s’mores flavors
- Easy enough for beginner bakers
- Perfect make-ahead summer dessert
- Ready for the freezer in just minutes
What Makes No-Churn Ice Cream So Creamy?
Traditional ice cream relies on churning to incorporate air and prevent large ice crystals from forming. No-churn ice cream achieves a similar texture by combining whipped heavy cream with sweetened condensed milk.
The whipped cream creates a light, airy texture while the sweetened condensed milk provides sweetness and helps keep the ice cream smooth and scoopable. Together, they create a rich homemade ice cream that tastes like it came from your favorite ice cream shop.
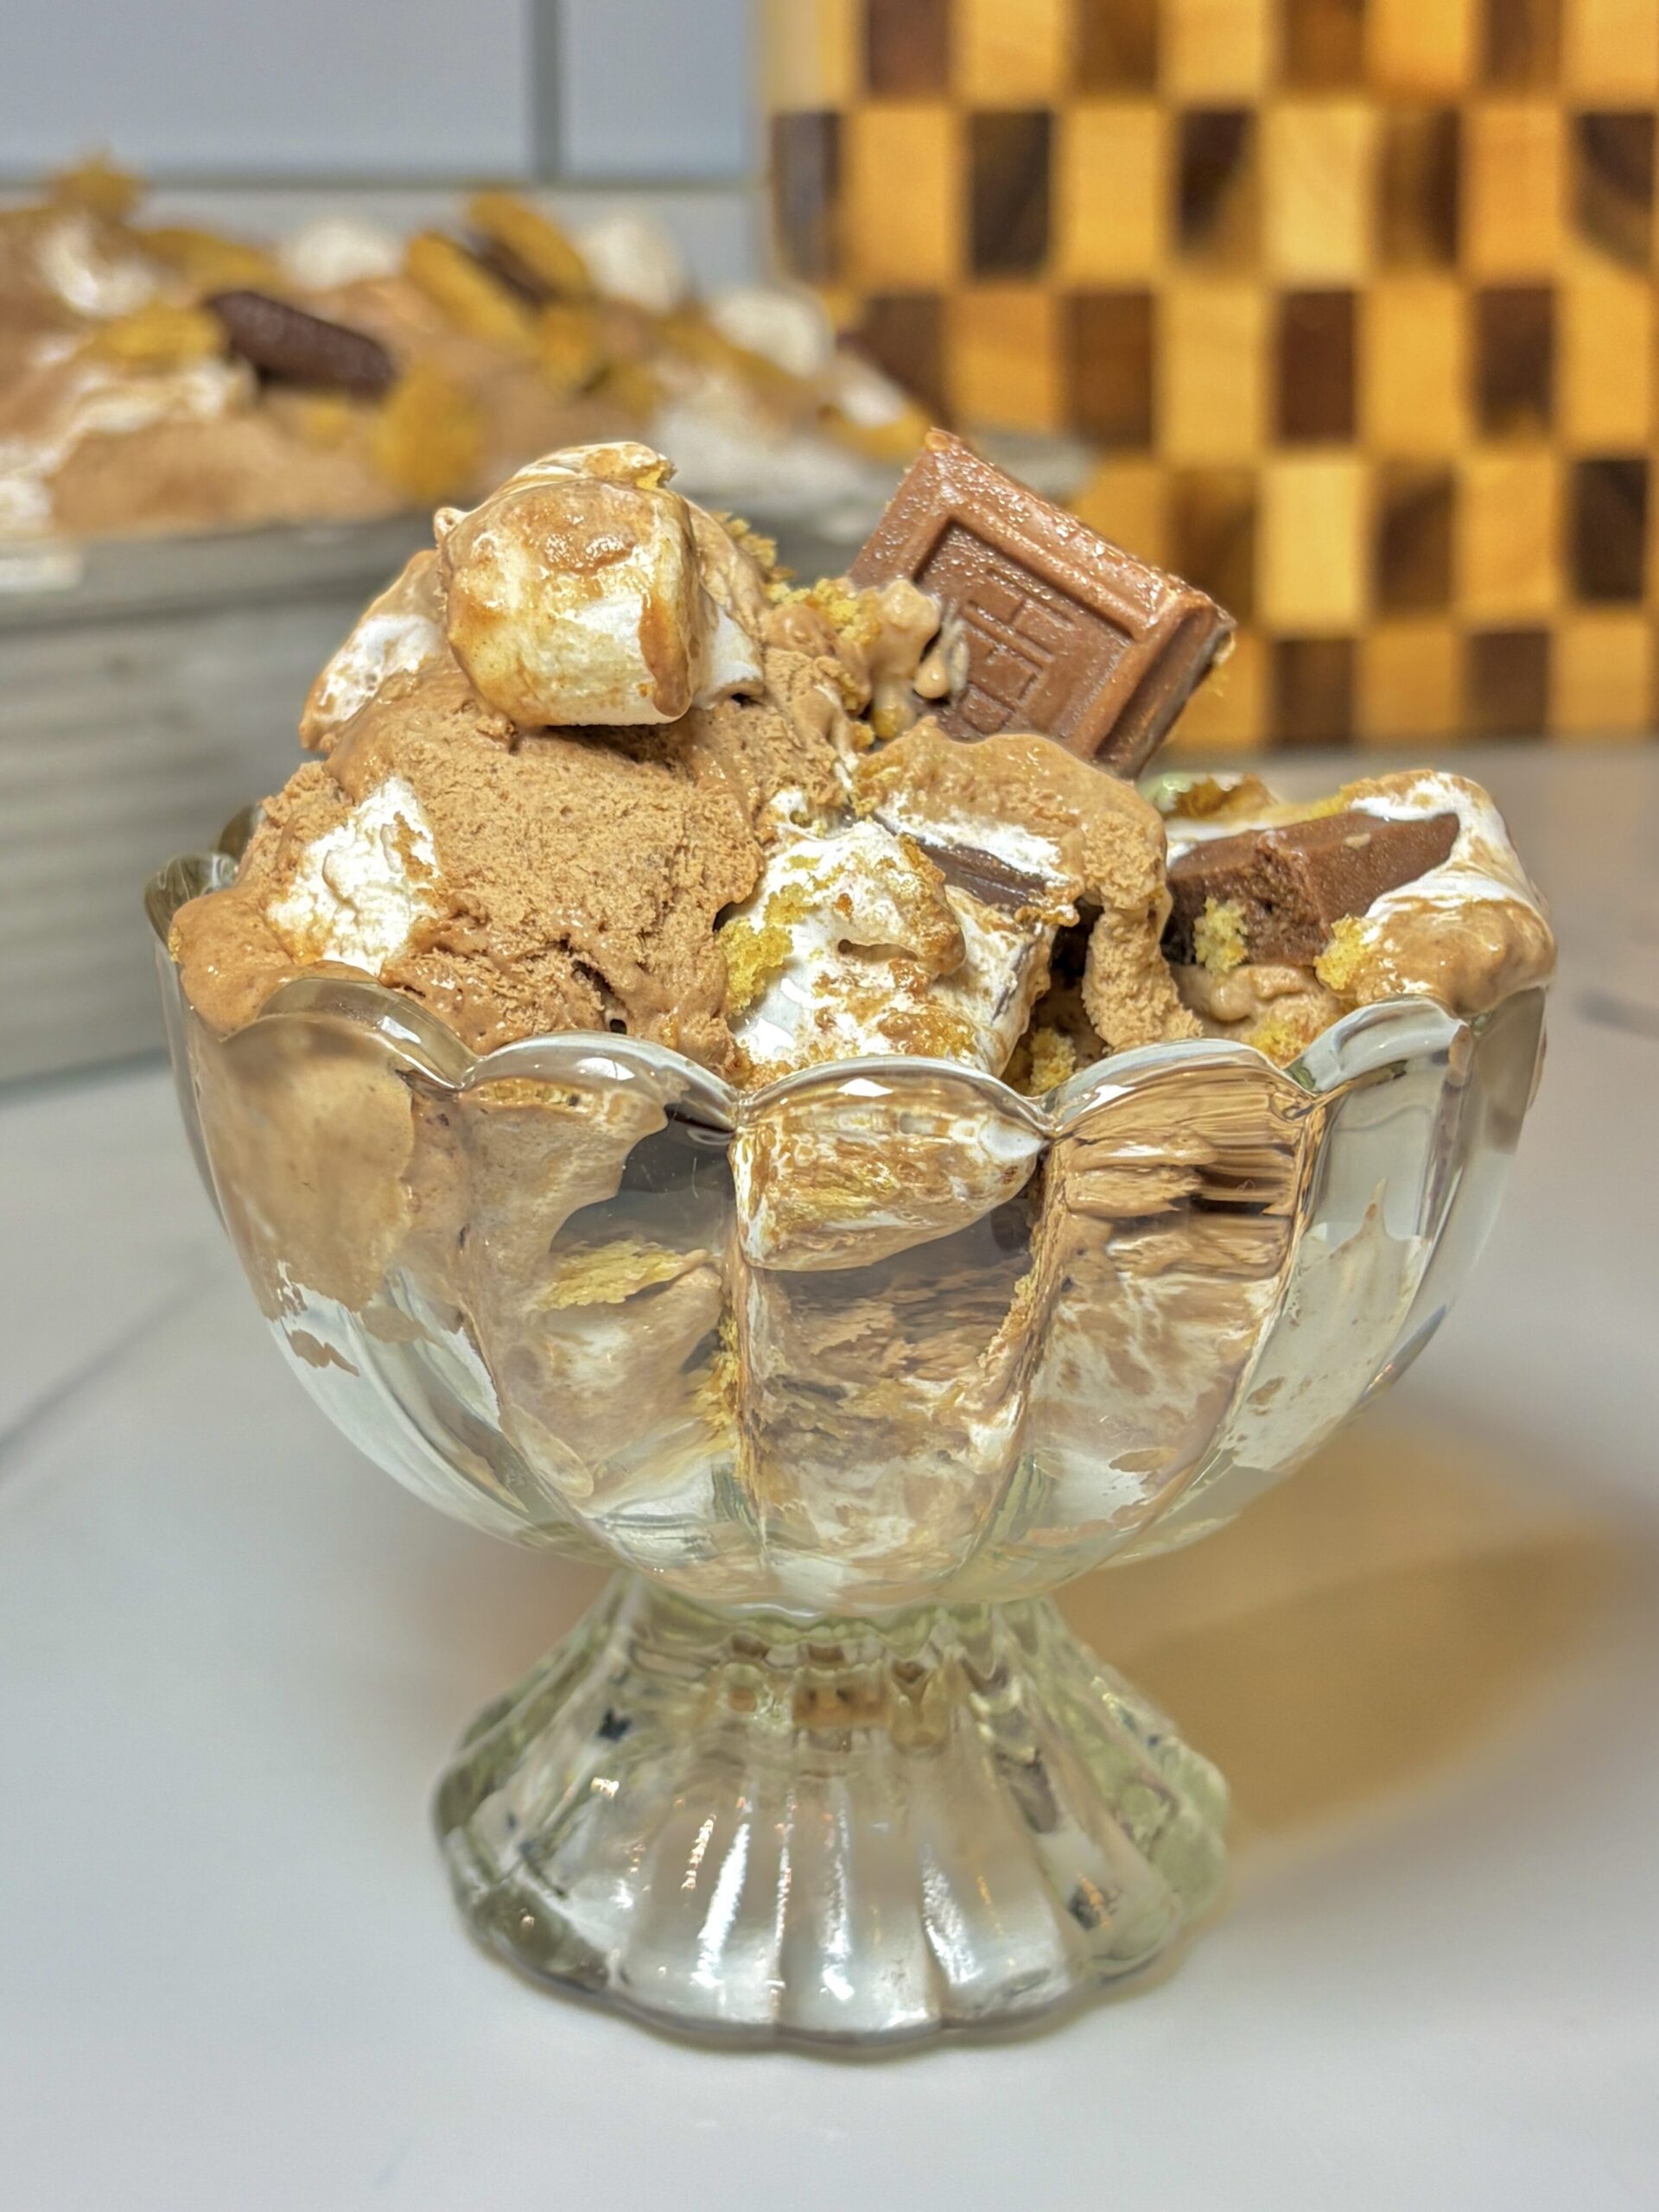
Tips for the Best No-Churn S’mores Ice Cream
Whip the Cream to Soft Peaks
The whipped cream provides structure and volume for the ice cream. Stop whipping once soft peaks form so the mixture stays light and fluffy.
Fold Gently
When combining the whipped cream with the chocolate mixture, use a spatula and fold carefully. Overmixing can deflate the whipped cream and create a denser texture.
Break the Graham Crackers into Small Pieces
Smaller pieces distribute more evenly throughout the ice cream, ensuring every scoop has plenty of graham cracker crunch.
Use Good Quality Chocolate
Since chocolate is one of the main flavors in this recipe, using your favorite chocolate bar makes a noticeable difference.
Swirl the Marshmallow Fluff
Instead of fully mixing the marshmallow fluff into the ice cream, gently swirl it through the layers. This creates beautiful ribbons of marshmallow flavor throughout the finished ice cream.
Freeze Overnight for Best Results
While the ice cream can be ready in about 4-5 hours, freezing overnight creates the firmest texture and easiest scooping consistency.
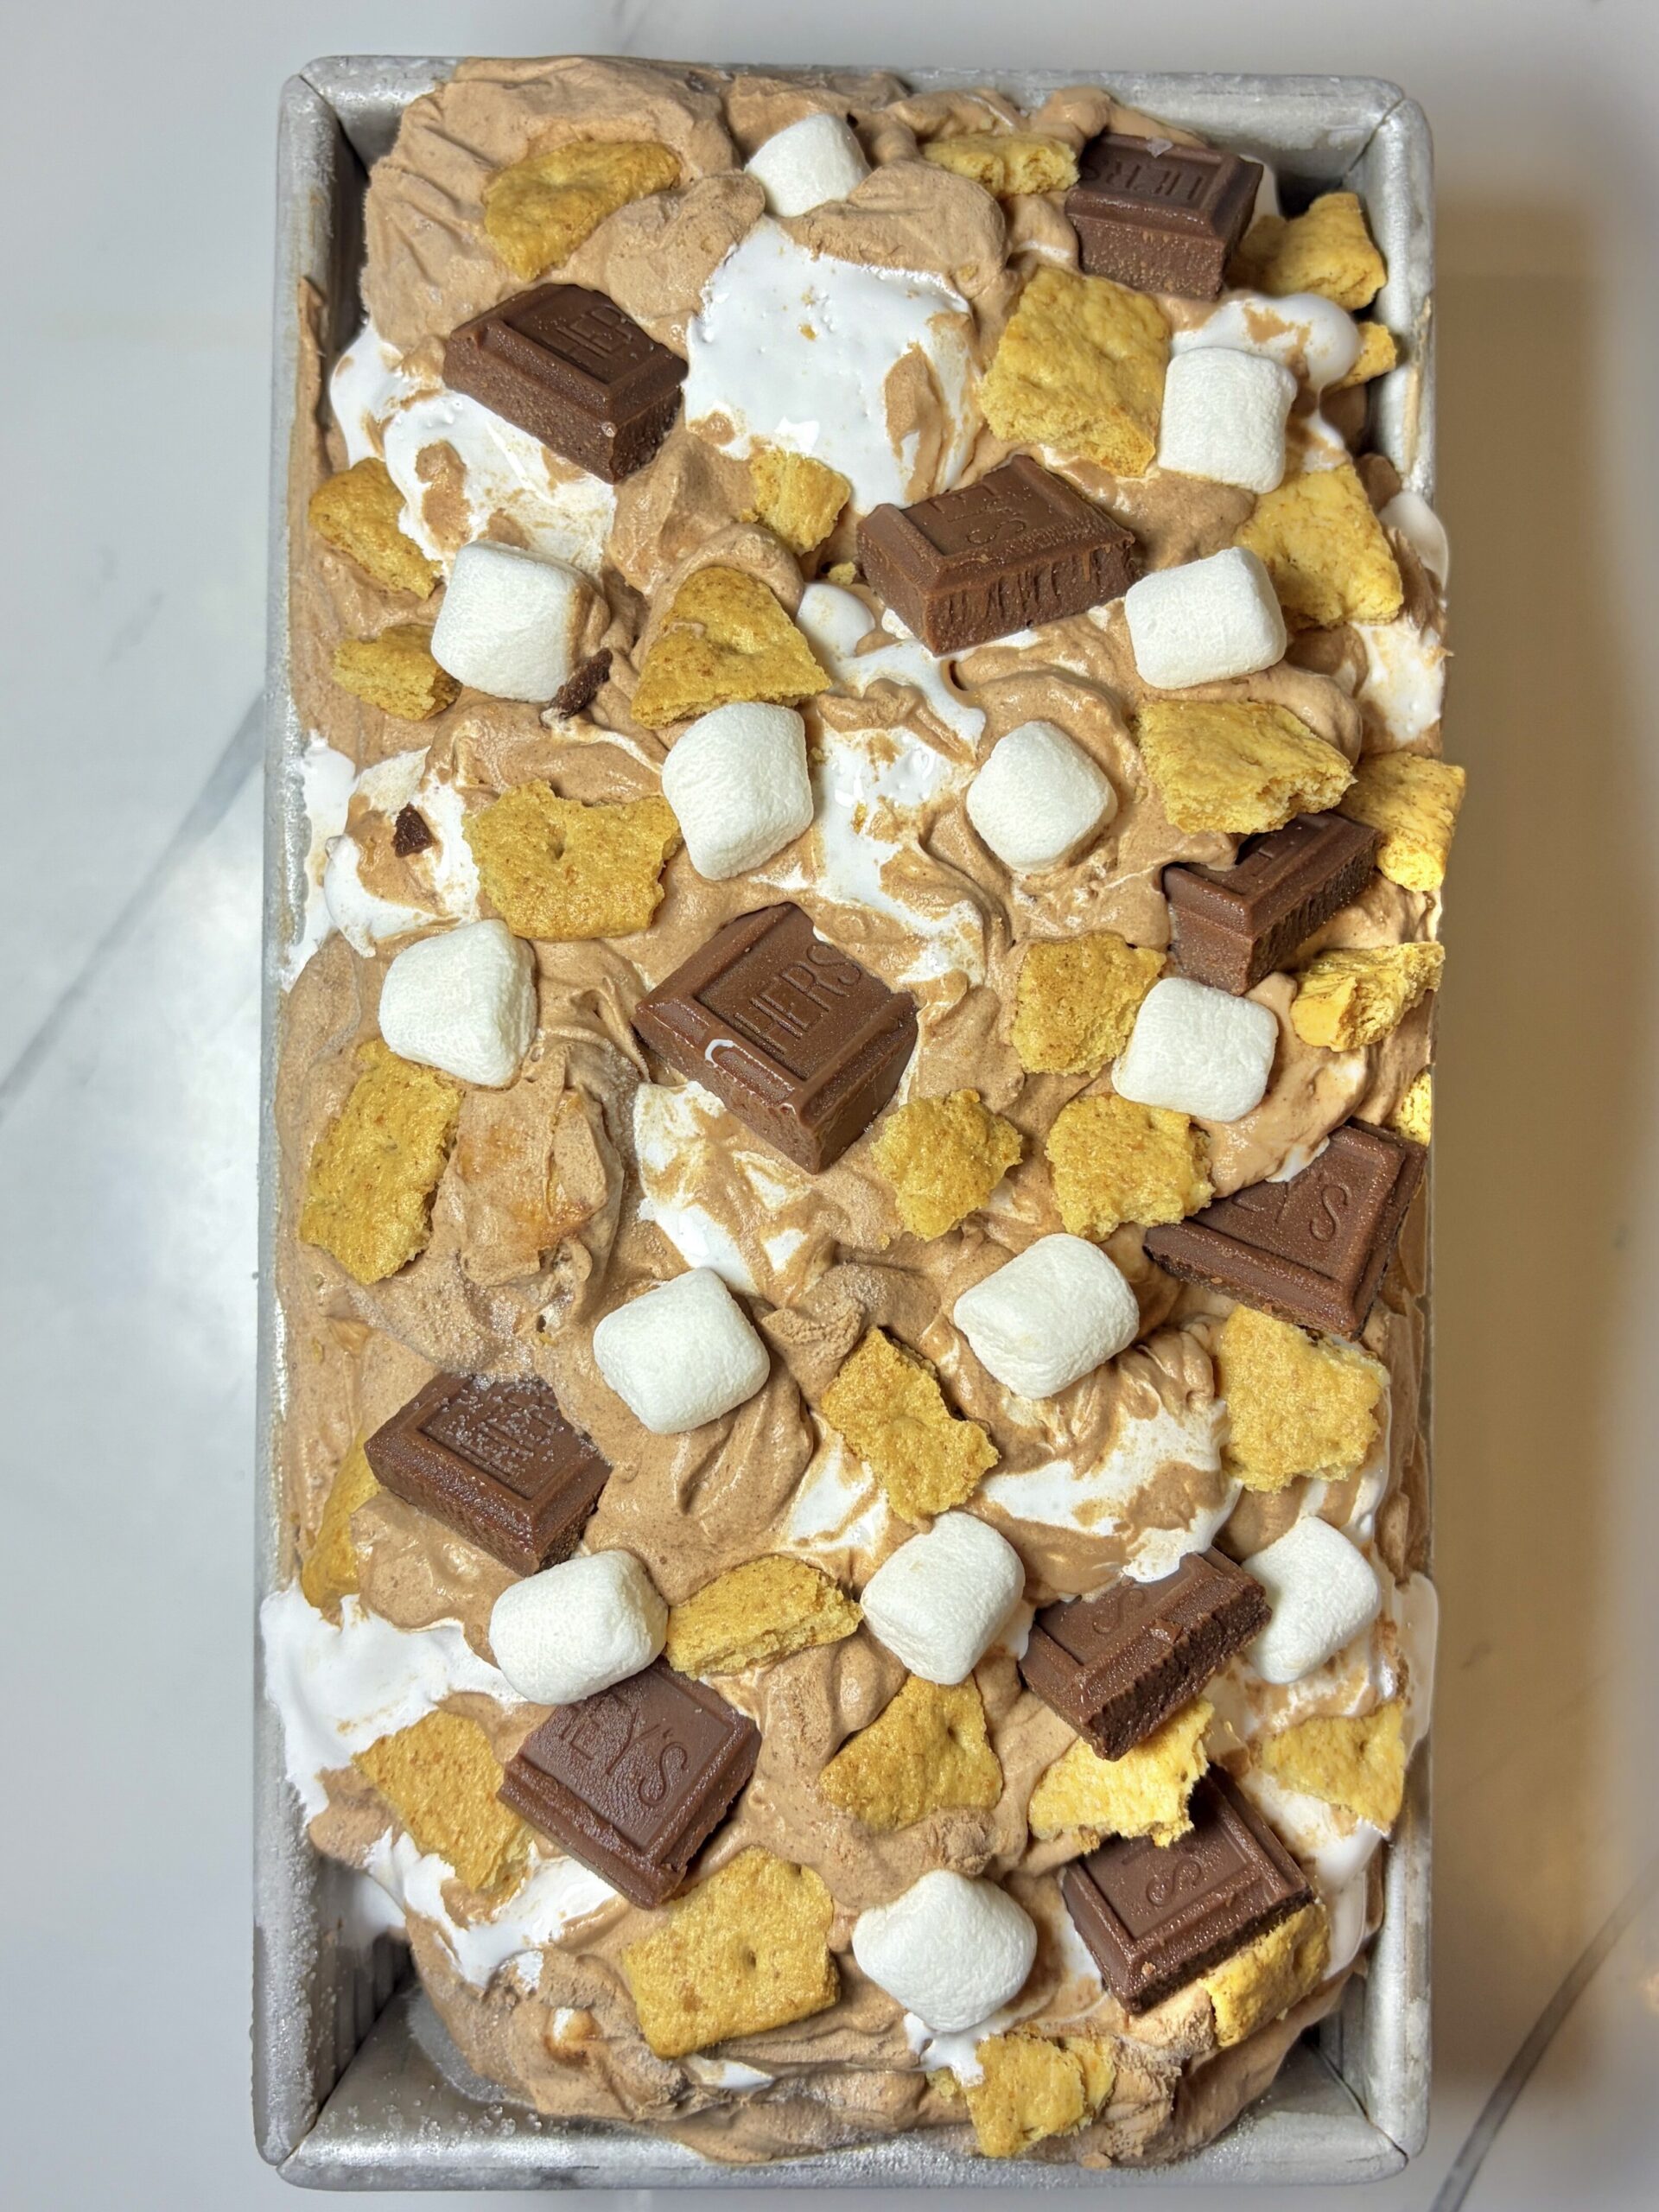
Ingredients You’ll Need
Heavy Cream
Whipped heavy cream creates the light, creamy base that makes no-churn ice cream possible.
Sweetened Condensed Milk
Adds sweetness and helps prevent the ice cream from becoming icy.
Cocoa Powder
Creates a rich chocolate ice cream base that pairs perfectly with the s’mores mix-ins.
Graham Crackers
The classic s’mores ingredient that adds crunch and nostalgic flavor.
Chocolate Bar Pieces
Chunks of chocolate scattered throughout the ice cream mimic the melty chocolate layer in traditional s’mores.
Mini Marshmallows
Add texture and extra marshmallow flavor.
Marshmallow Fluff
Swirled throughout the ice cream for pockets of creamy marshmallow goodness.
Variations
Extra Chocolatey
Add mini chocolate chips or chopped chocolate chunks for even more chocolate in every bite.
Toasted Marshmallow Version
Lightly toast the mini marshmallows before adding them to the ice cream for a deeper campfire-inspired flavor.
Cookies and Cream S’mores
Replace some of the graham crackers with crushed chocolate sandwich cookies.
Peanut Butter S’mores
Swirl a few tablespoons of peanut butter into the ice cream along with the marshmallow fluff.
Frequently Asked Questions
Do I Need an Ice Cream Maker?
No! This recipe is completely no-churn and requires no special equipment.
Can I Make This Ahead of Time?
Absolutely. This ice cream is perfect for making several days in advance.
How Long Does It Take to Freeze?
Typically 4-5 hours, though overnight freezing produces the best texture.
Can I Use Milk Chocolate or Dark Chocolate?
Yes! Use whichever chocolate you enjoy most.
Storage
Store the ice cream tightly covered in the freezer for up to 2 weeks.
For the creamiest texture, let the ice cream sit at room temperature for 5-10 minutes before scooping.
To help prevent freezer burn, press a piece of plastic wrap directly onto the surface of the ice cream before covering the container.
Amazon Favorites
Here are a few of my favorite kitchen tools that make this no-churn chocolate s’mores ice cream even easier to make! As an Amazon Associate, I earn from qualifying purchases at no additional cost to you. Thank you so much for supporting Bonia Bakery!
- Stand Mixer – Whips the heavy cream to perfectly stiff peaks, creating a light and creamy no-churn ice cream base.
- 9×5-Inch Loaf Pan – The perfect size for freezing homemade ice cream if you don’t have a dedicated ice cream container.
- Ice Cream Scoop – Makes serving beautiful, perfectly rounded scoops effortless.
- Digital Kitchen Scale – My favorite baking essential for measuring ingredients accurately and getting consistent results every time.
No-Churn S’mores Chocolate Ice Cream
Ingredients
- 2 cups heavy cream
- 1 (14-ounce) can sweetened condensed milk
- ⅓ cup cocoa powder
- 1 cup graham crackers, broken into small pieces
- 1 cup chocolate bar pieces (such as Hershey’s)
- 1 cup mini marshmallows
- ½ cup marshmallow fluff
Instructions
- In a medium mixing bowl, whip the heavy cream with an electric mixer until soft peaks form. Place in the refrigerator while preparing the remaining ingredients.
- In a separate large bowl, whisk together the sweetened condensed milk and cocoa powder until smooth and fully combined.
- Gently fold the whipped cream into the chocolate mixture until no streaks remain.
- Fold in the graham cracker pieces, chocolate chunks, and mini marshmallows.
- Spoon half of the ice cream mixture into a loaf pan or freezer-safe container.
- Dollop half of the marshmallow fluff over the ice cream and gently swirl it with a knife.
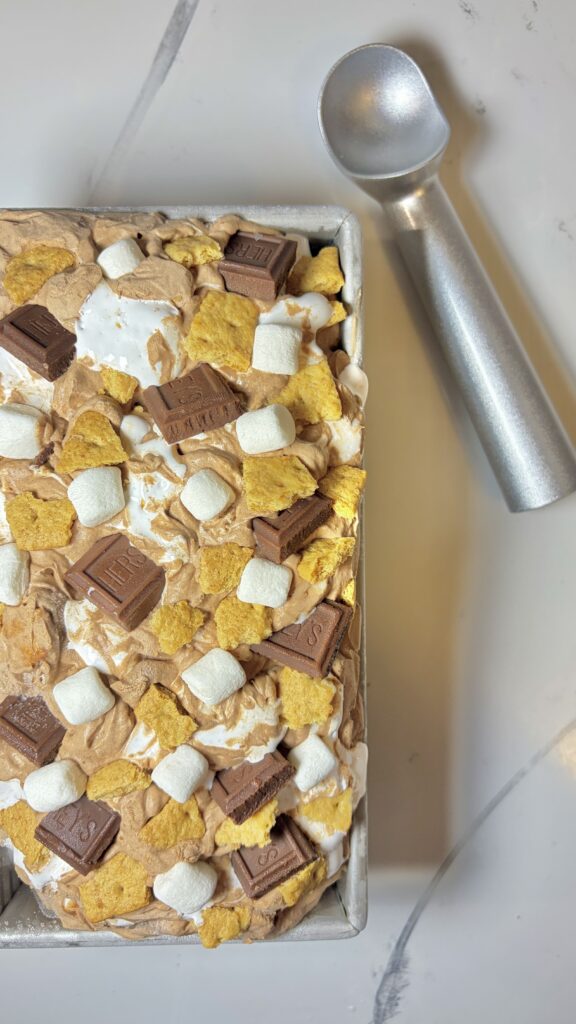
- Add the remaining ice cream mixture and top with the remaining marshmallow fluff. Swirl again, then sprinkle a few extra graham cracker pieces, chocolate chunks, and marshmallows over the top if desired.
- Cover tightly and freeze for 4-5 hours, or until firm.
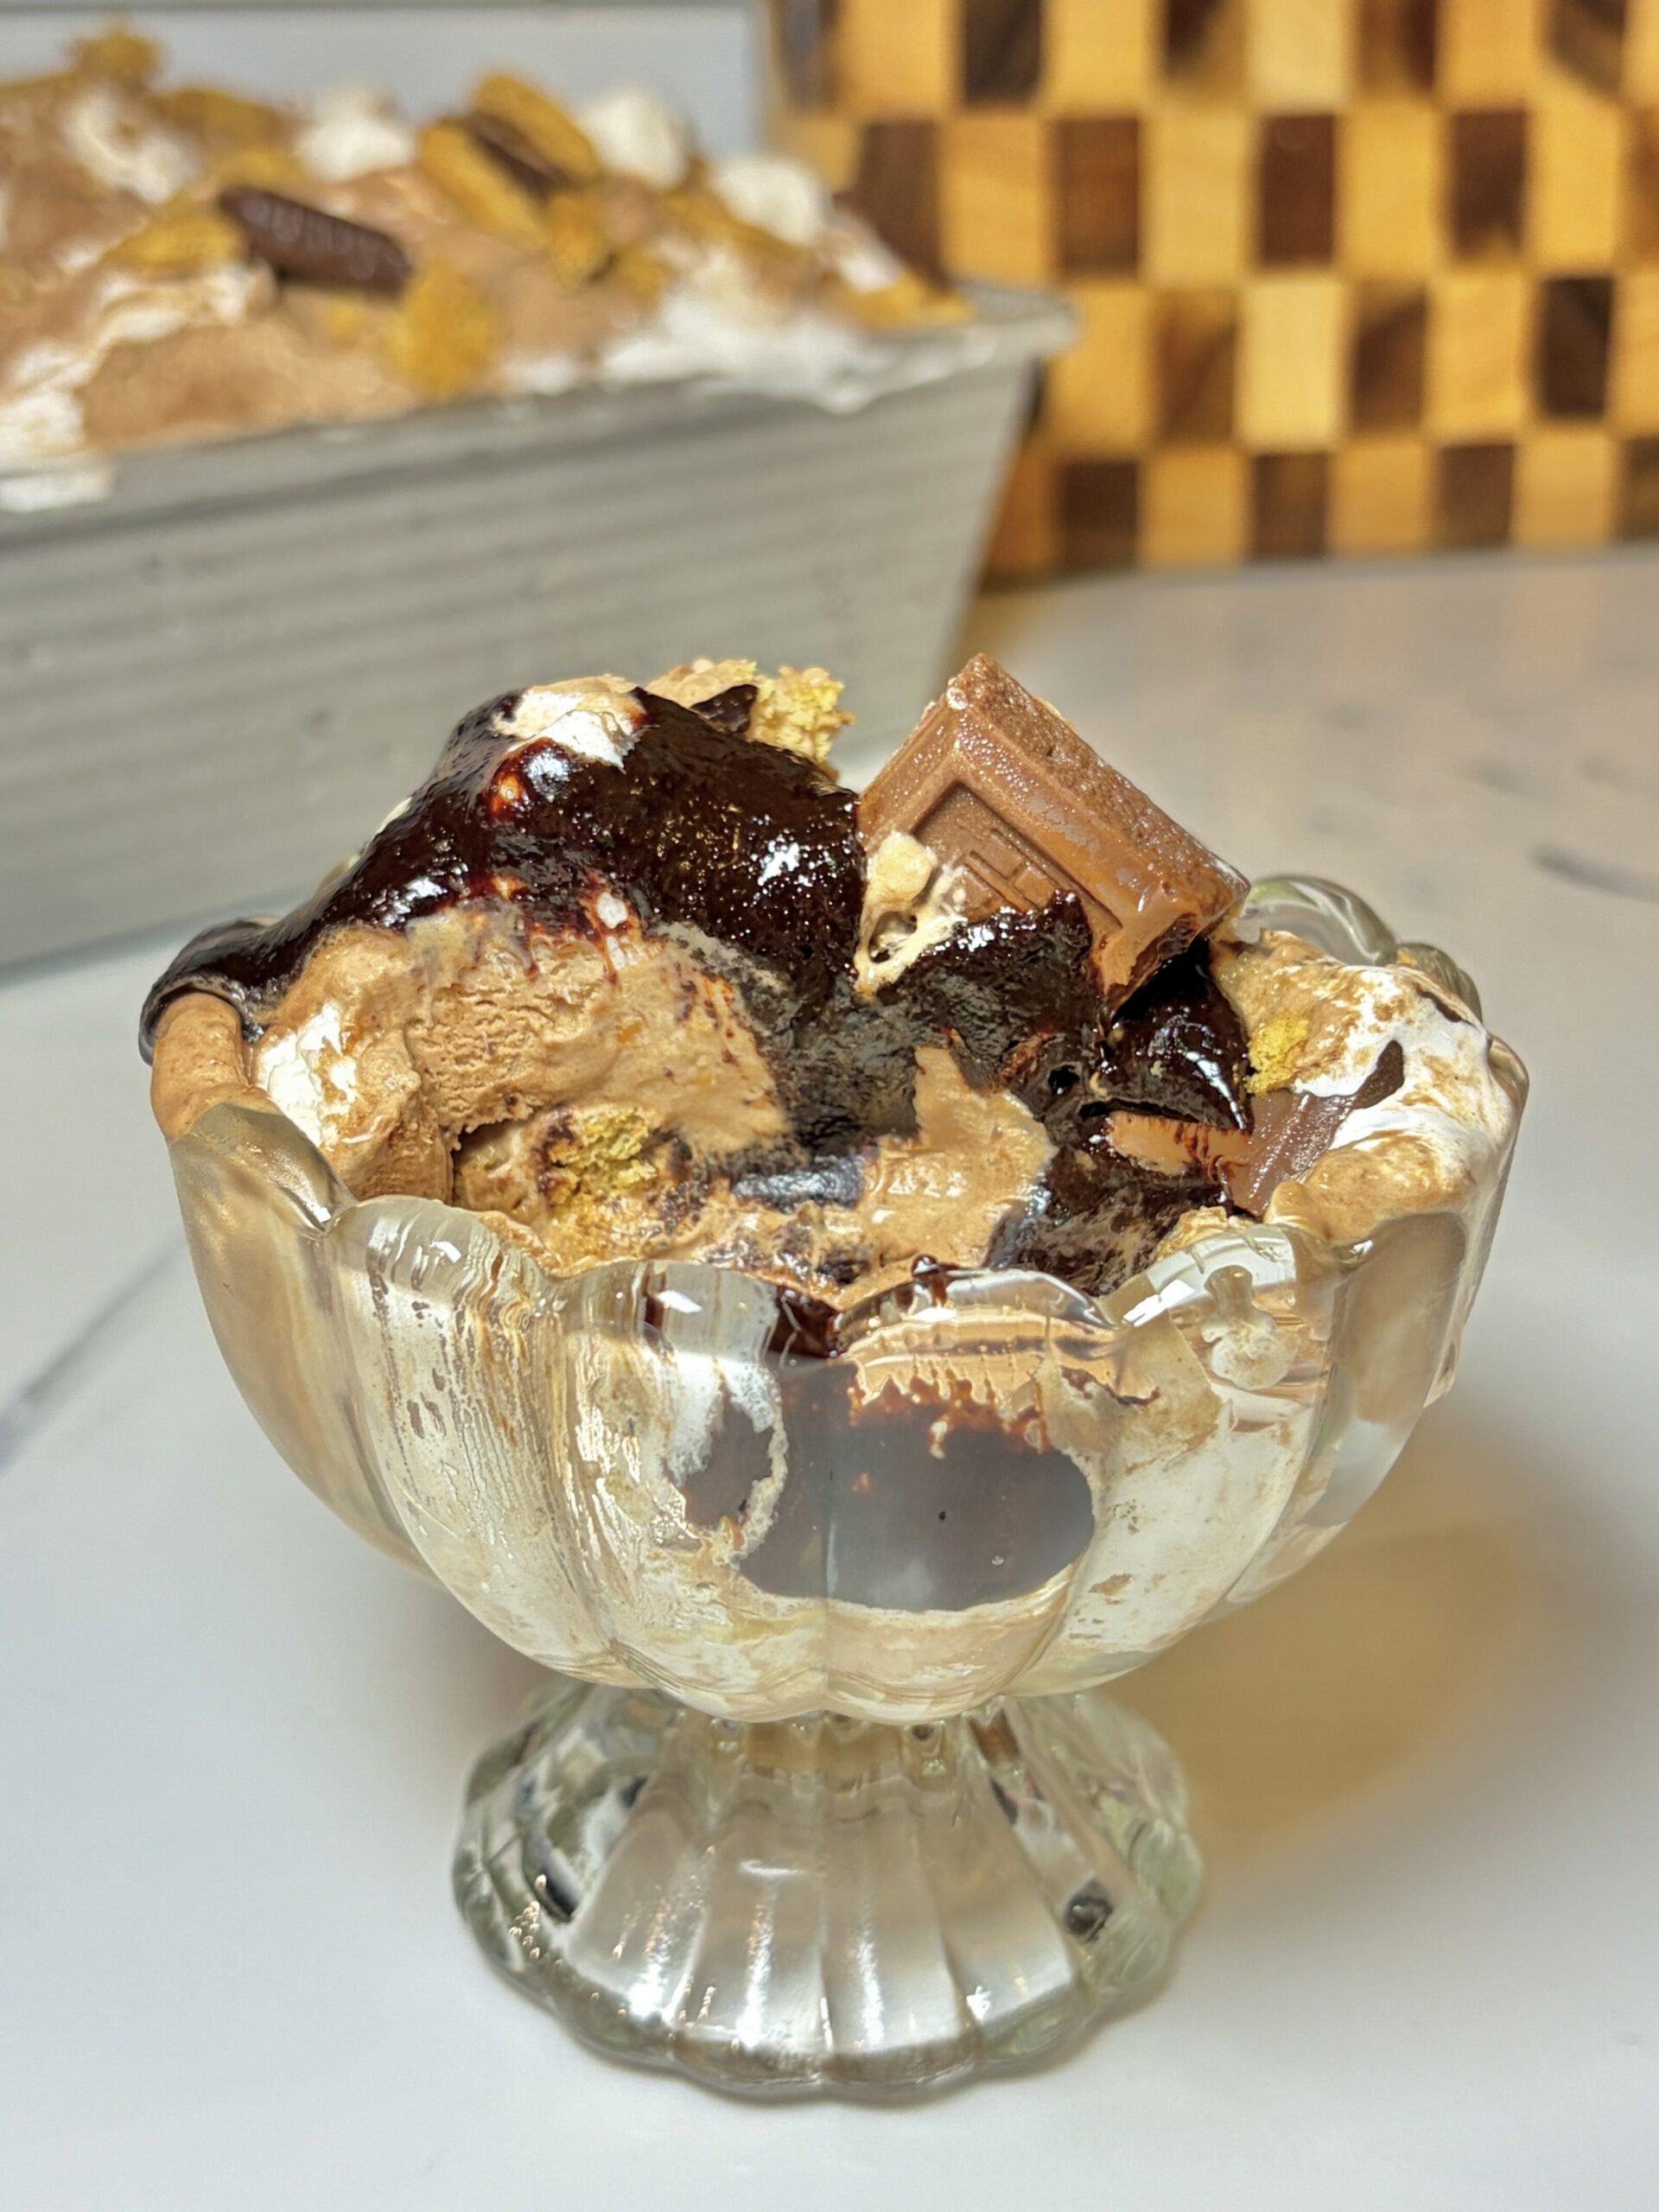
- Scoop, top with Homemade Hot Fudge Sauce, and enjoy!