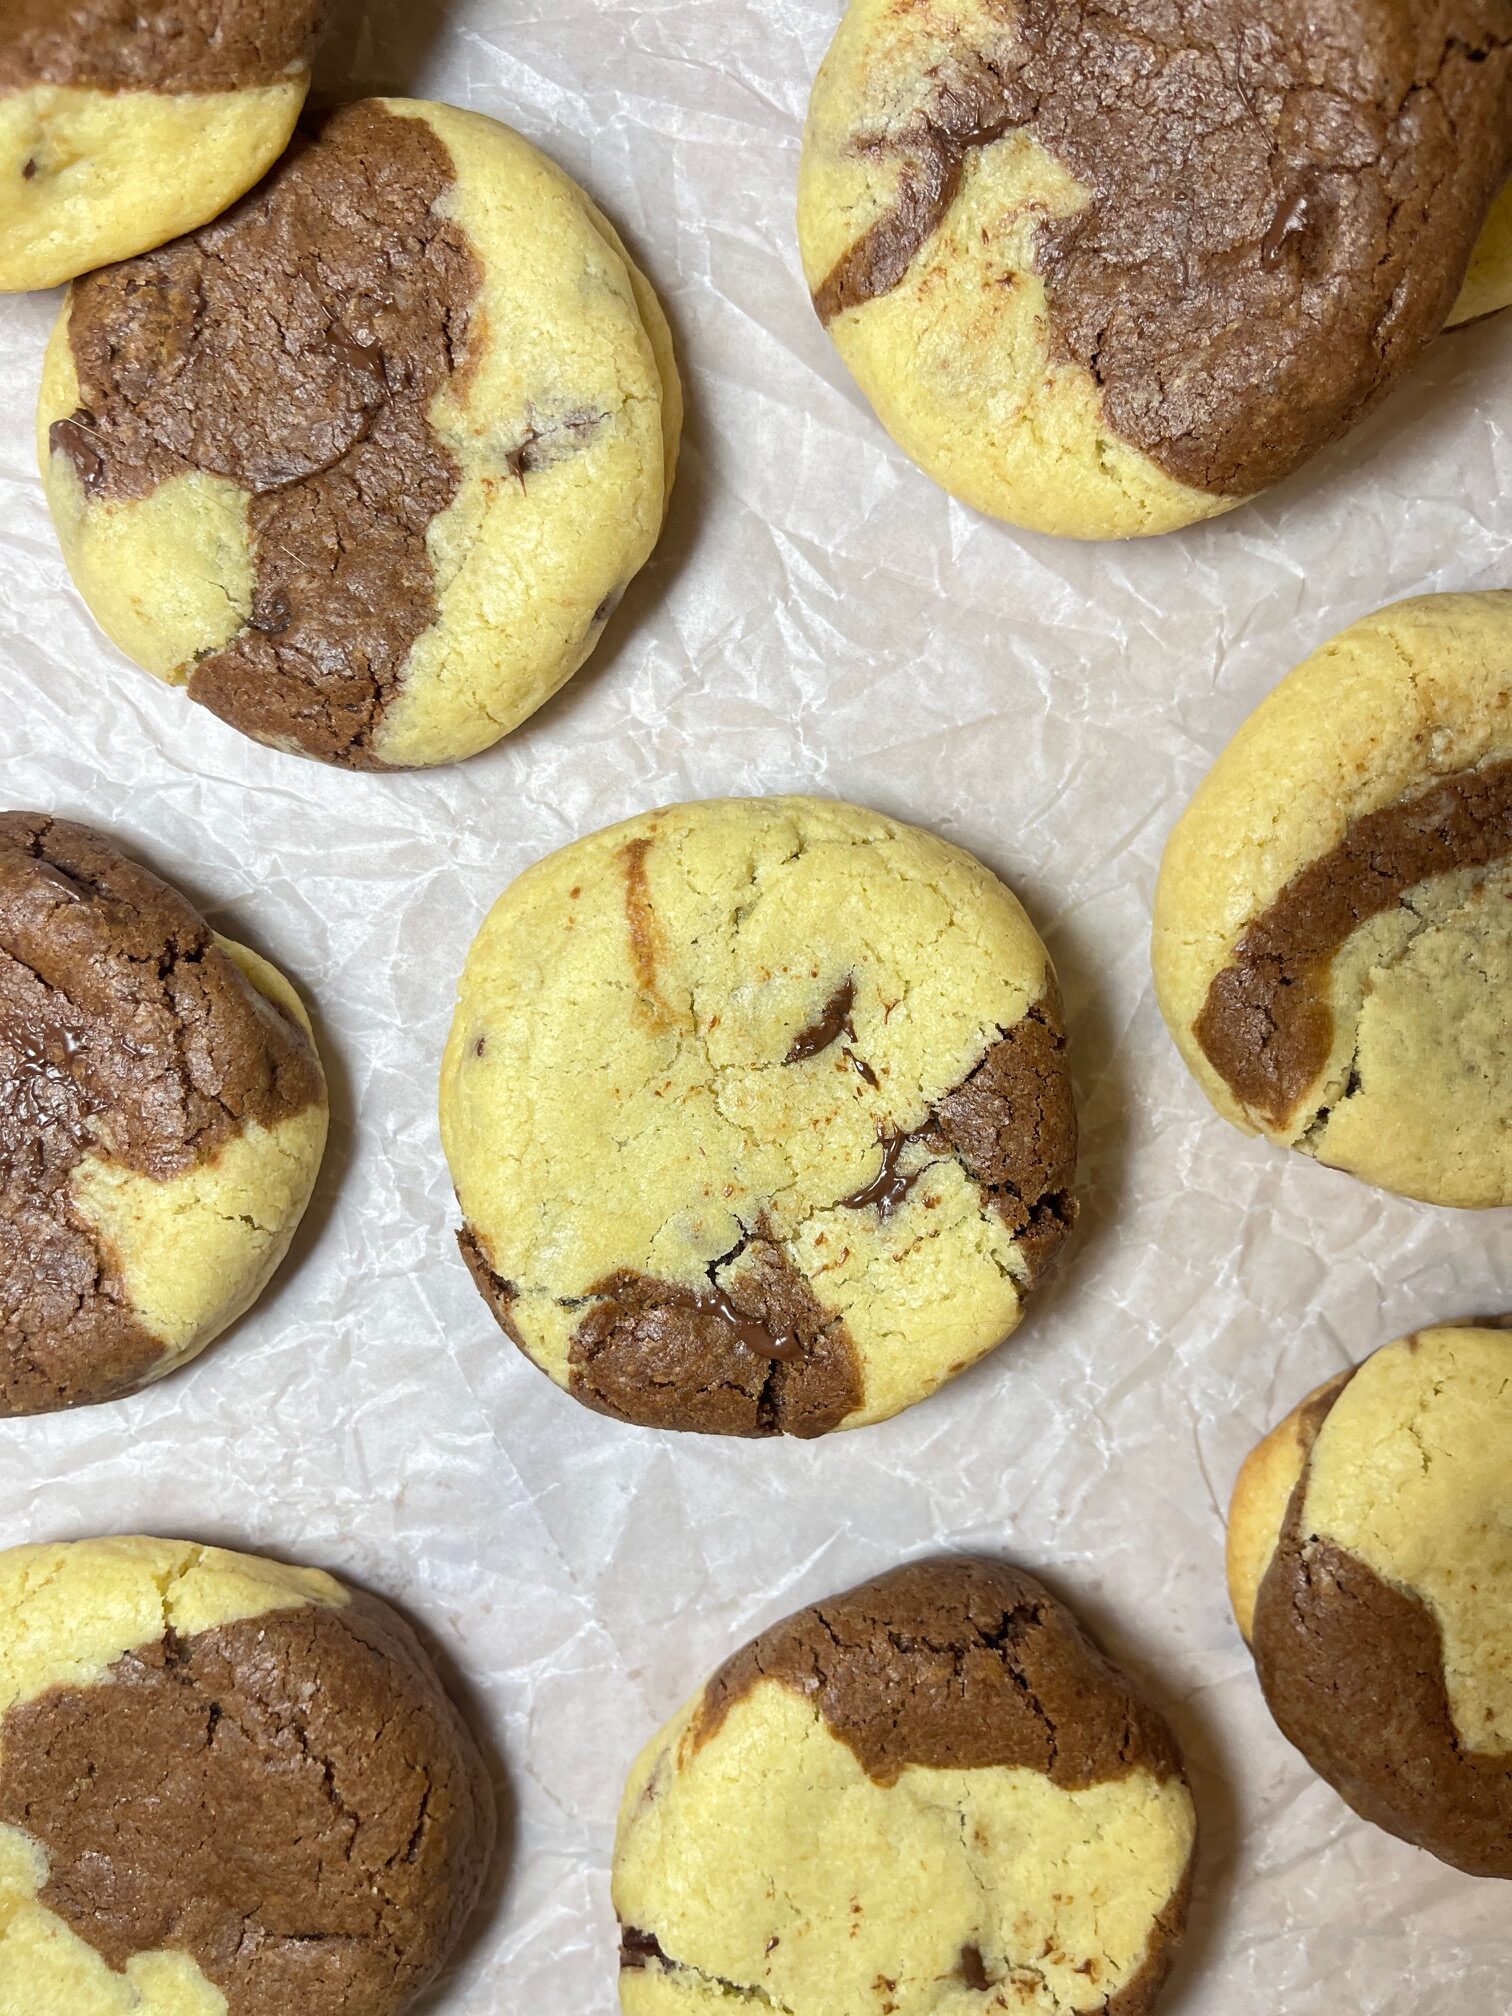
Bakery-Style Thick & Chewy Chocolate Chip Marble Cookies
There’s something about a bakery-style cookie that just hits different. You know the kind I’m talking about—those giant, thick, golden-edged cookies that look like they belong in a glass pastry case under warm lights, practically begging you to take one home. That’s the exact vibe I wanted for these Chocolate Chip Marbled Cookies, and let me tell you… they deliver. Big time.
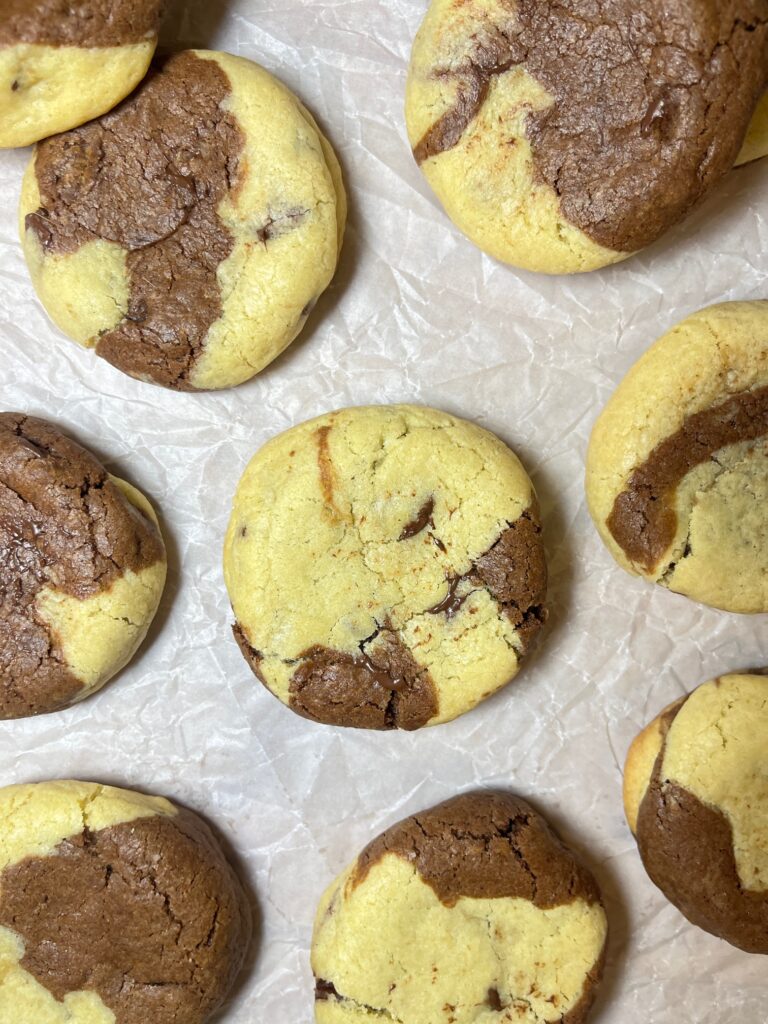
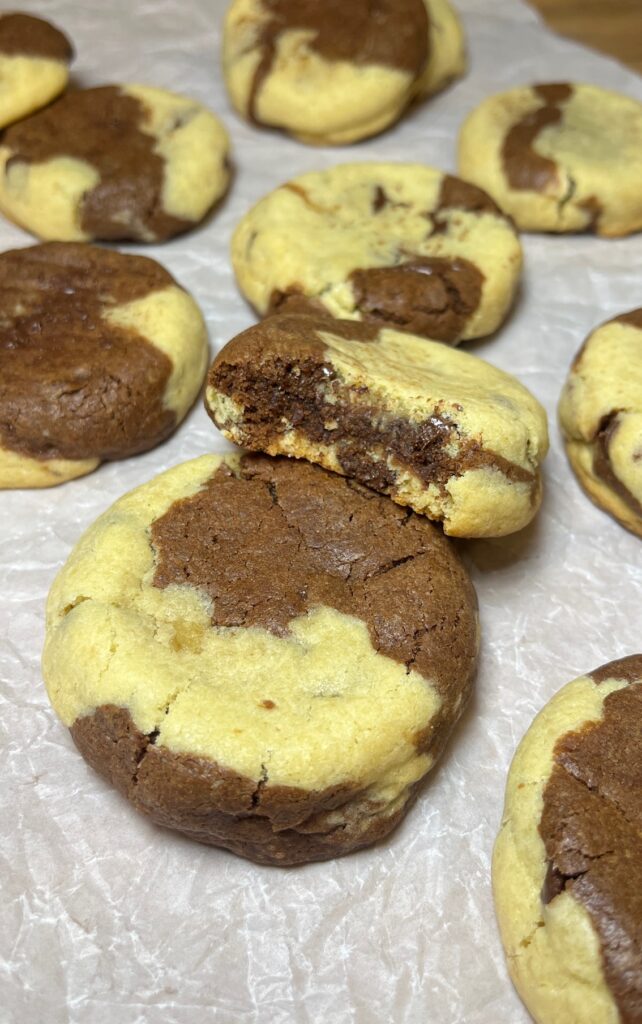
If you’ve ever been torn between a classic chocolate chip cookie and a rich, chocolate-forward cookie, these marbled beauties will end your dilemma forever. They’re half vanilla, half chocolate, fully thick, chewy, gooey, and loaded with pockets of melty chocolate. They have that bakery heft, that soft-centered chew, and those gorgeous swirls that make every cookie look like edible artwork.
I created this recipe because sometimes you just want both, you know? I love a classic chocolate chip cookie, but I’m also always in the mood for something darker, fudgier, and richer. So why not combine the two? And the best part: you don’t have to choose which dough you want more of in each bite—each cookie is perfectly marbled so you get a little bit of everything.
These make 10 thick, bakery-style cookies, and they’re the kind that stay soft for days… if they even last that long. (They won’t.)
These marbled cookies are the perfect mash-up of two favorites, and they’re guaranteed to win over any cookie lover. Every bite is different—sometimes more vanilla, sometimes more chocolate, sometimes a perfect swirl of both with melty dark chocolate pooling in the middle. They’re fun, they’re stunning, and they taste like something you’d get from a high-end bakery… except you made them in your own kitchen.
If you bake these, tag me—I love seeing your cookie creations! 🍪💛
Why You’ll Love These Cookies
✨ They’re marbled, not mixed.
Meaning you get true contrast in flavor and texture—vanilla cookie dough meets rich cocoa cookie dough.
✨ They’re ultra thick and chewy.
Thanks to the combination of a whole egg + an extra yolk, a touch of tapioca flour, and just the right ratio of sugar to butter.
✨ They look like they came straight out of a bakery.
Those swirls! Those chocolate puddles! They’re the definition of bakery-style.
✨ They’re incredibly fun to make.
The stacking and rolling step makes them feel like grown-up Play-Doh (but way more delicious).
Ingredients You’ll Need
- ½ cup salted butter, softened
- ½ cup light brown sugar, packed
- ⅓ cup granulated sugar
- 1 large egg + 1 egg yolk, room temperature
- 2 tsp vanilla bean paste or vanilla extract
- 1 ½ cups all-purpose flour, plus 3 tbsp set aside
- 1 tbsp tapioca flour (or cornstarch)
- ¼ tsp baking soda
- ¼ tsp baking powder
- ½ tsp salt
- 3 tbsp cocoa powder
- 1 cup chopped dark chocolate or chocolate chips, divided
How to Make These Bakery-Style Cookies
Step 1: Prep.
Preheat your oven to 350°F and line a baking sheet with parchment paper.
Step 2: Cream the butter + sugars.
In a stand mixer fitted with the paddle attachment, beat your softened butter, brown sugar, and granulated sugar on medium-high for 2 minutes, until light, fluffy, and pale.
Step 3: Add the eggs + vanilla.
Scrape down the bowl, then beat in the egg, egg yolk, and vanilla until smooth and combined.
Step 4: Add the dry ingredients.
Mix in 1½ cups flour, tapioca flour (or cornstarch), baking soda, baking powder, and salt. Mix until no streaks of flour remain.
Step 5: Divide the dough.
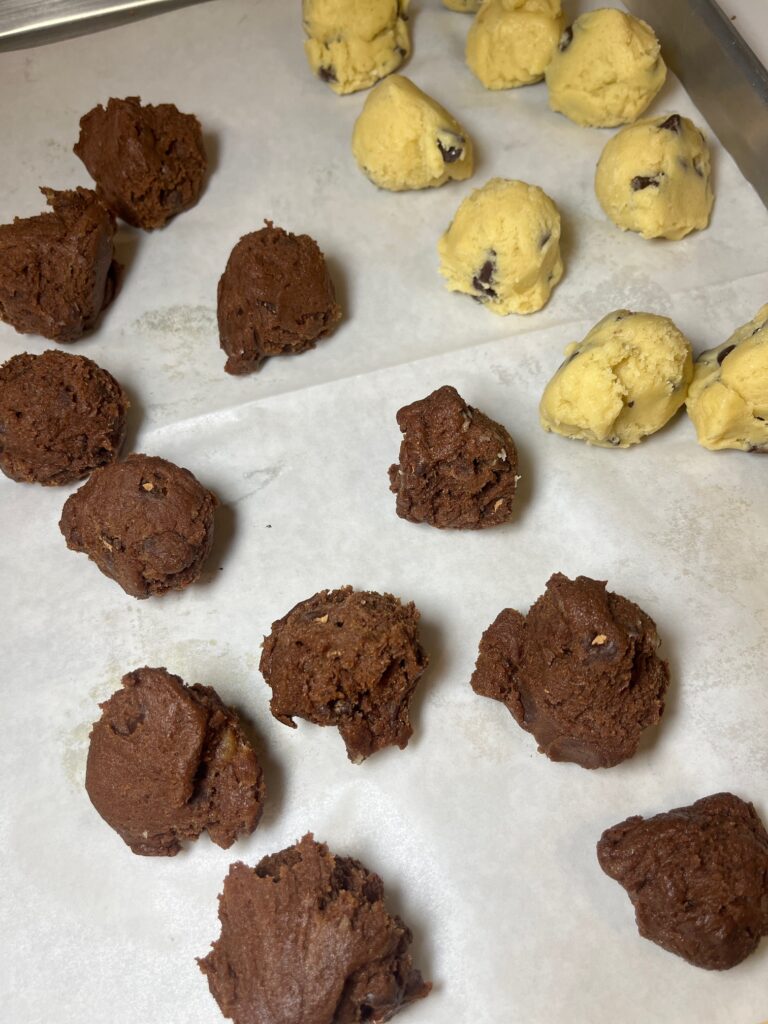
Split the dough evenly into two bowls.
- Bowl 1: Add the extra 3 tbsp flour + ½ cup chocolate chips.
- Bowl 2: Add 3 tbsp cocoa powder + ½ cup chocolate chips.
Stir each bowl until the mix-ins are incorporated.
Step 6: Marble the dough.
Use a 0.5 oz cookie scoop (or tablespoon scoop) to scoop little dough portions.
Stack them in this order:
vanilla → chocolate → vanilla → chocolate
Gently press them together, then roll into a thick cookie dough ball.
Step 7: Bake.
Place the dough balls 2 inches apart. Bake for 12–14 minutes, until edges are set and the centers are puffed but still slightly underdone (the secret to chewy cookies!).
Let the cookies cool on the tray for a few minutes before moving to a cooling rack.
Bake Ahead & Storage Tips
One of my favorite things about these marbled cookies—besides how stunning they look—is how well they store. They’re the kind of cookie you can prep ahead, freeze, or keep on the counter without losing that signature bakery-style chew.
Bake Ahead
If you want to get a head start, these cookies are amazing for making ahead:
- Make the dough up to 24 hours in advance.
Just prep the dough, marble and roll the cookie dough balls, then store them tightly covered in the fridge. When you’re ready to bake, let them sit at room temperature for 10–15 minutes while the oven preheats. - Freeze the dough balls for future cravings.
After marbling and rolling, place the dough balls on a sheet pan and freeze until solid. Transfer to a zip-top freezer bag and freeze for up to 2 months.
Bake straight from frozen—just add 1–2 minutes to the baking time.
Storage
These cookies stay thick, soft, and chewy long after they cool:
- Room Temperature:
Store in an airtight container for 3–4 days. They stay unbelievably soft thanks to the extra egg yolk and cornstarch/tapioca flour. - Refrigerator:
Not necessary, but if you like firmer cookies, they’ll keep up to 1 week chilled. - Freezer (Baked Cookies):
Freeze fully cooled cookies in a freezer-safe bag for up to 2 months.
Reheat in the microwave for 8–10 seconds for that fresh-from-the-oven melty goodness.
These cookies truly hold their texture beautifully, so whether you’re baking for a party, meal-prepping your desserts (a lifestyle I fully support), or just keeping dough ready for late-night cookie emergencies, these marbled cookies are the perfect make-ahead treat.