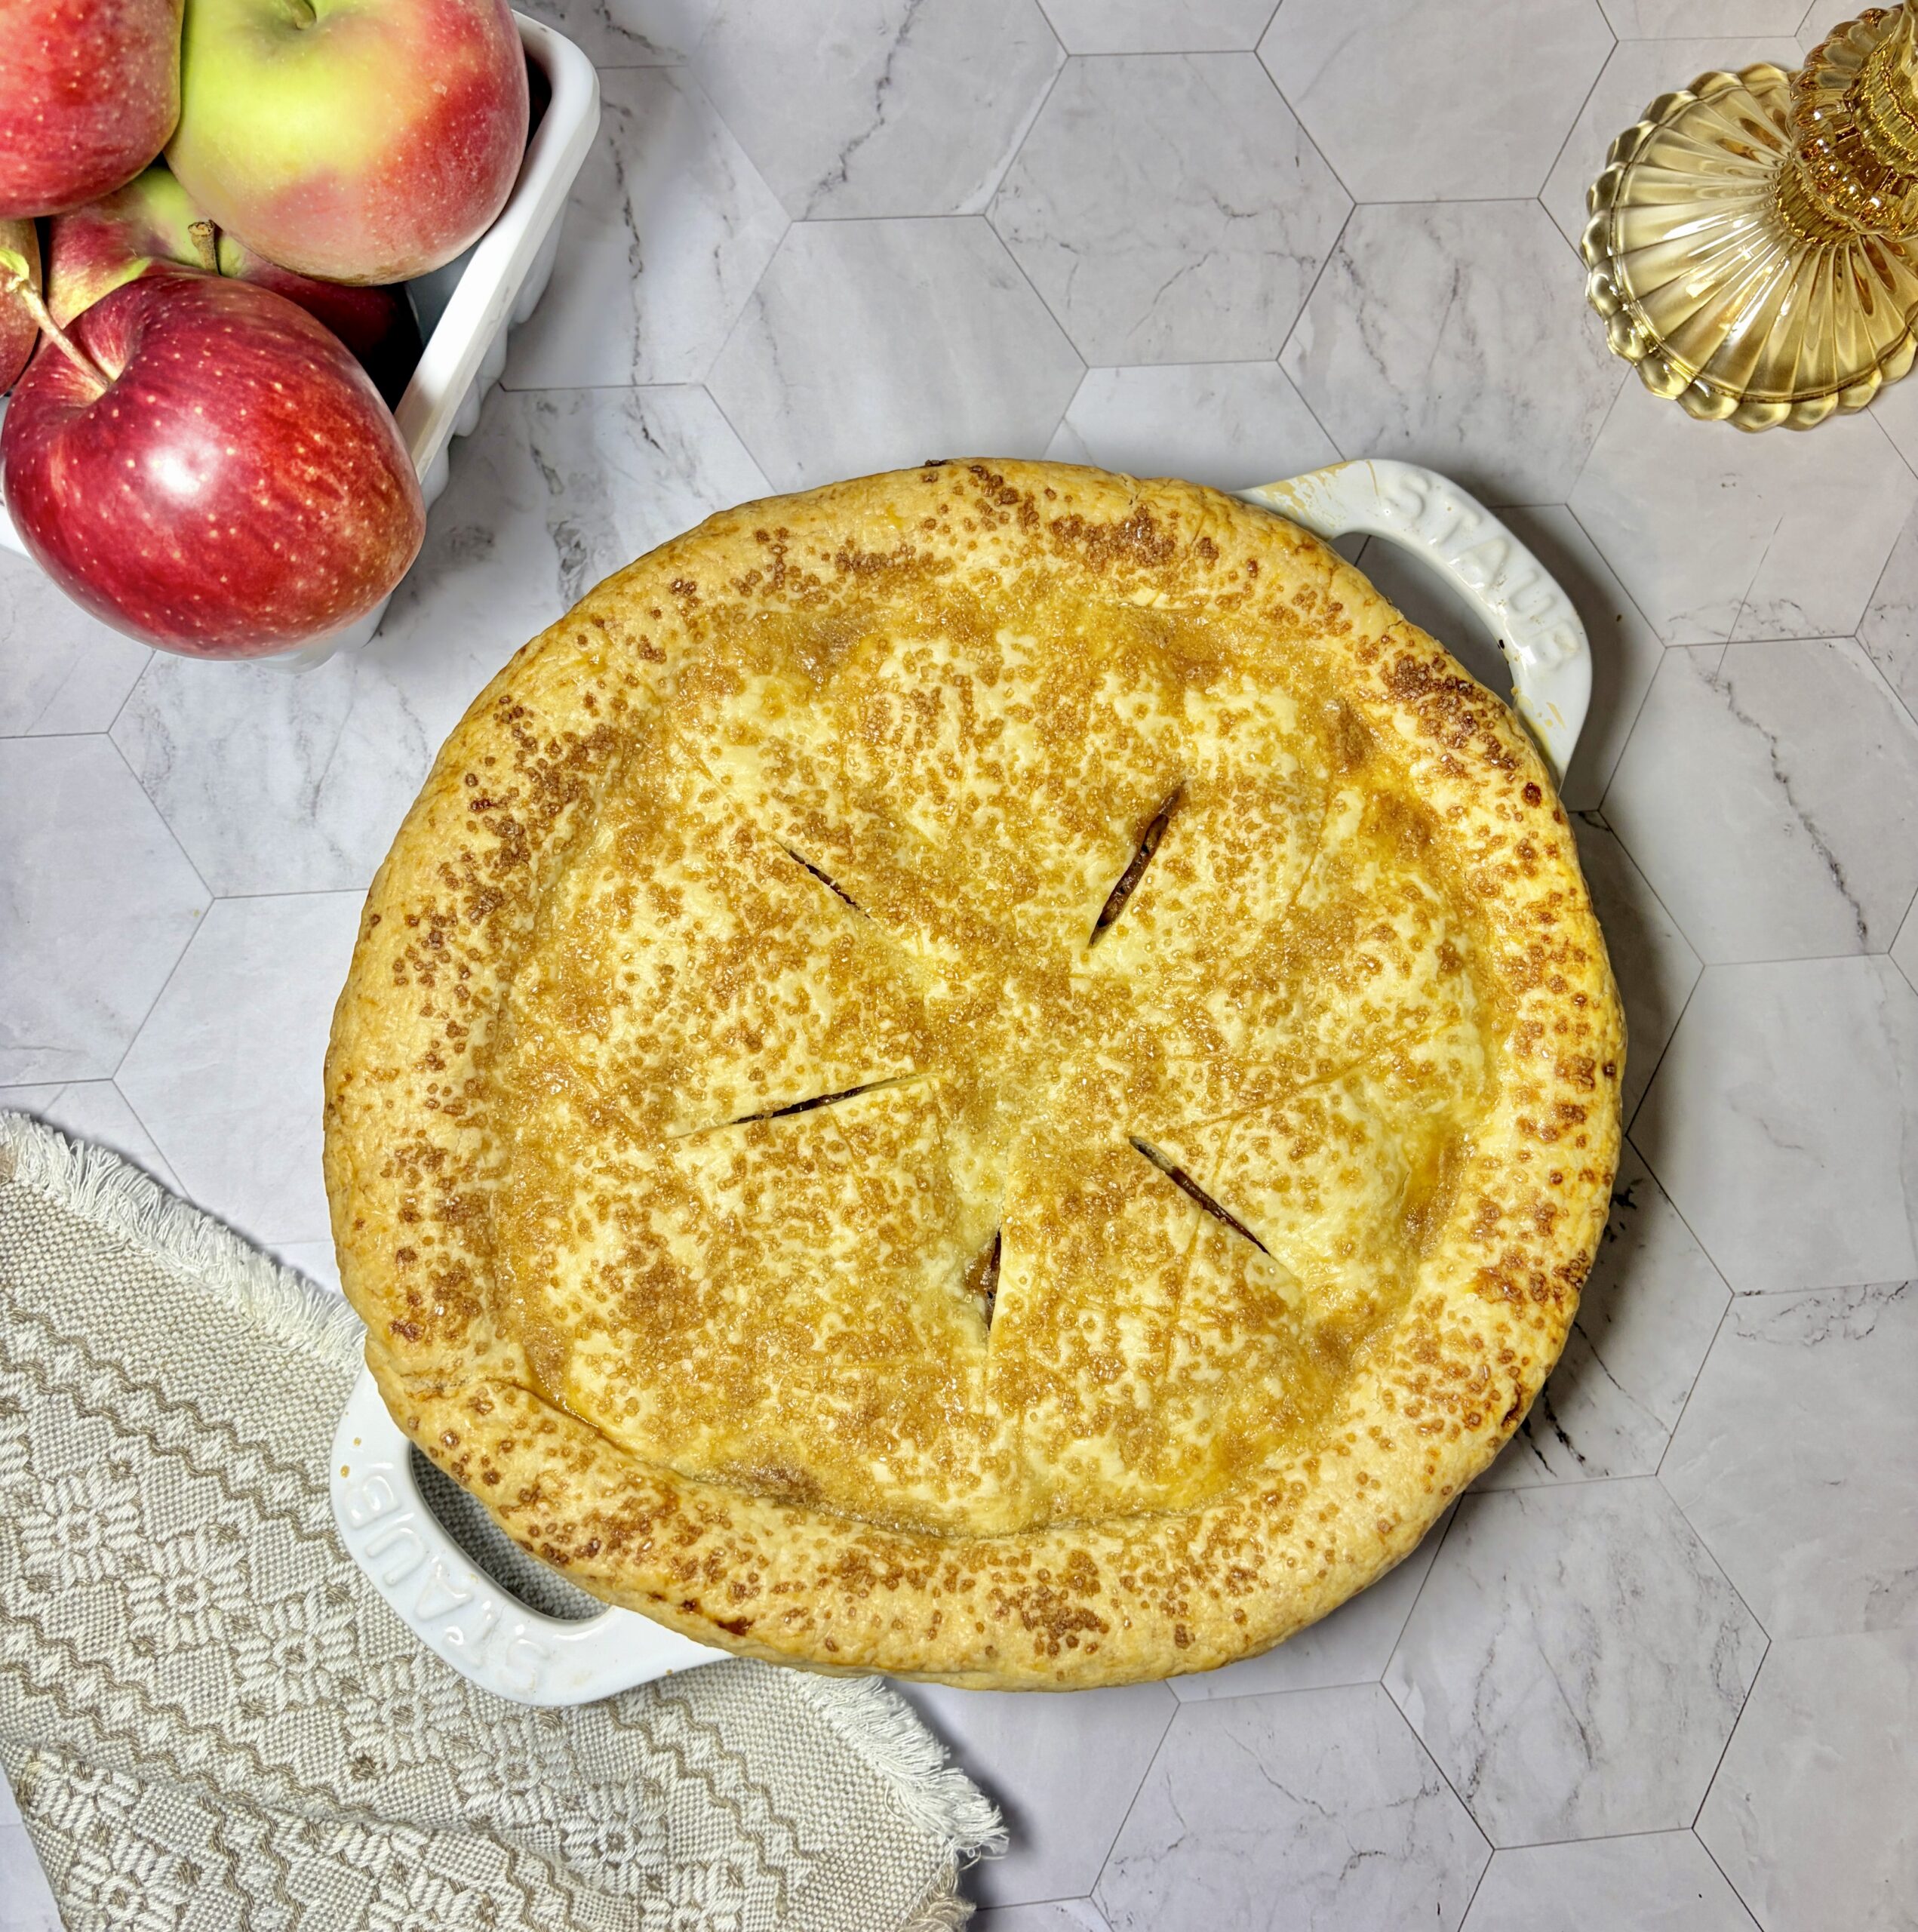
Classic Homemade Apple Pie
There’s really no better way to welcome the first day of October than with a classic homemade apple pie. A buttery, flaky crust packed with warmly spiced apples just feels like the official start of fall — especially when your kitchen starts smelling like cinnamon, vanilla, and baked apples.
And if homemade pie crust sounds intimidating, I promise it’s so much easier than it looks. Once you make a pie completely from scratch, it’s hard to go back to store-bought crust. My Best Homemade Pie Crust is buttery, flaky, simple to make, and the perfect base for this classic apple pie.
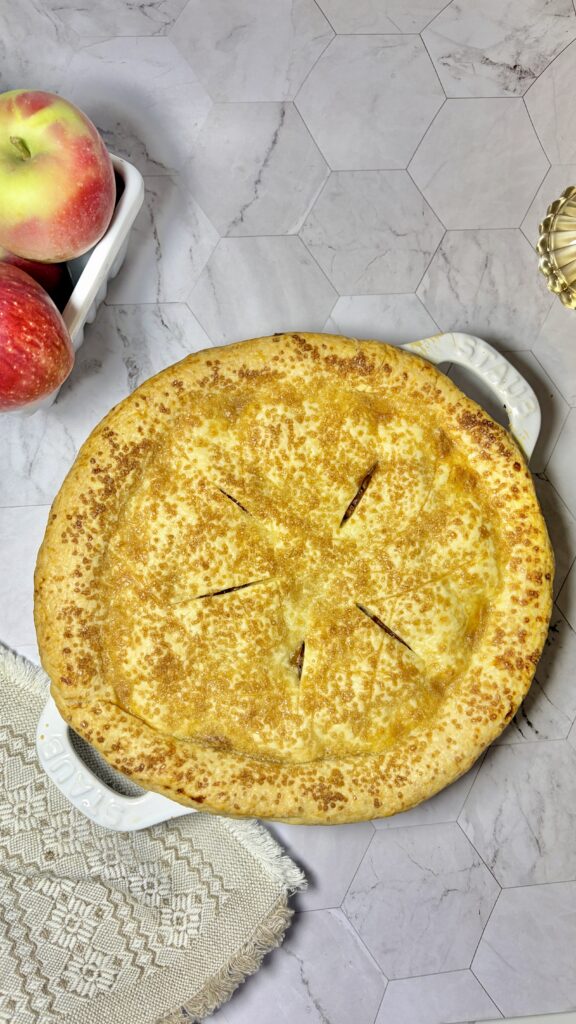
Why You’ll Love This Apple Pie
This is the kind of recipe I come back to every fall. It’s simple, cozy, and doesn’t need anything fancy to make it special.
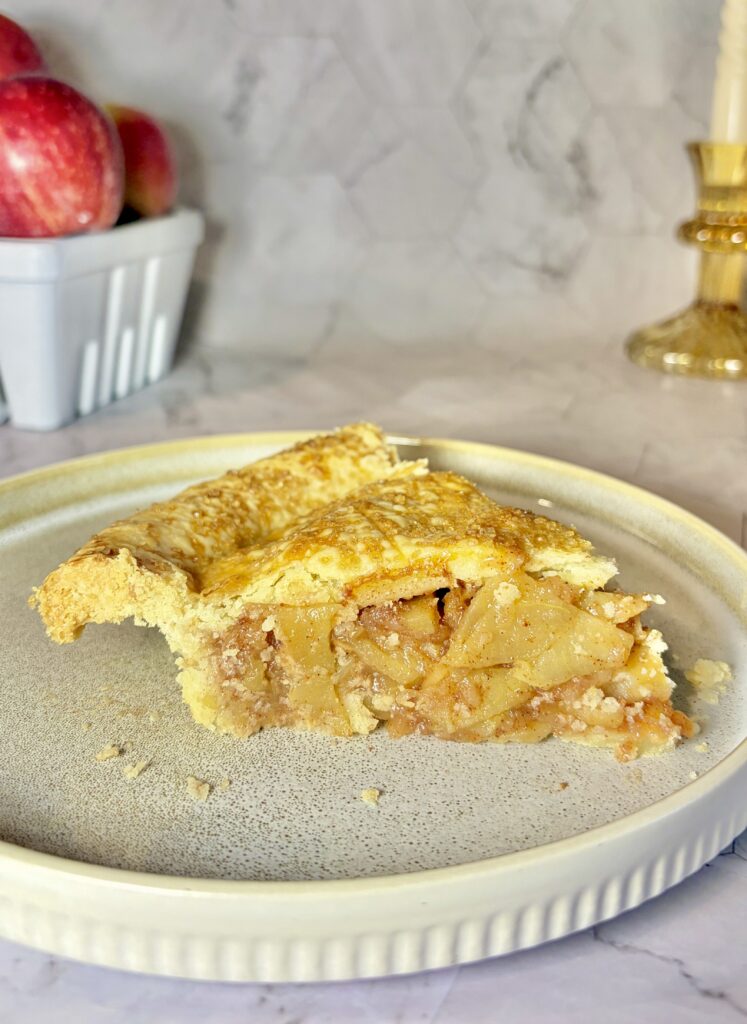
The filling is packed with fresh apples and flavored with cinnamon, nutmeg, allspice, vanilla, and brown sugar. Using a few different varieties of apples gives the pie a much better texture and flavor than using just one kind.
And, of course, there’s that homemade buttery pie crust. Serve a warm-ish slice with vanilla ice cream and you really can’t beat it.
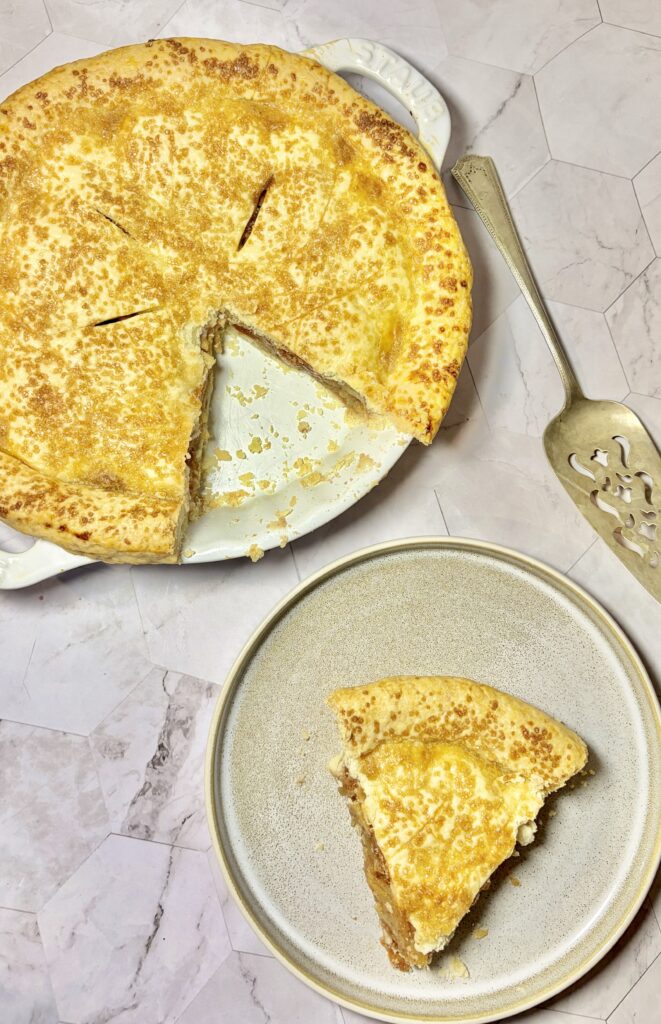
What Ingredients You’ll Need
For the pie crust, you’ll need:
For the apple filling, you’ll need:
Apples
Brown sugar
All-purpose flour
Fresh lemon juice
Vanilla extract
Ground cinnamon
Ground nutmeg
Ground allspice
Salt
For finishing the pie, you’ll also need:
Egg
Water
Coarse sugar, optional
Ingredient Notes
Apples: A combination of apple varieties gives the filling the best flavor and texture. I used McIntosh, Gala, and Fuji apples.
Brown sugar: Adds sweetness while giving the filling a slightly deeper, caramel-like flavor.
Flour: Helps thicken the juices released by the apples while the pie bakes so the filling isn’t watery.
Lemon juice: Brightens the apple flavor and balances the sweetness.
Vanilla: Adds warmth and rounds out all of those cozy fall spices.
Cinnamon, nutmeg, and allspice: My favorite combination for apple pie. You get plenty of warm spice without overpowering the apples.
The Best Apples for Apple Pie
I love using a combination of apples rather than just one variety because you get a much more interesting flavor and texture. For this pie, I used a mix of McIntosh, Gala, and Fuji apples.
McIntosh apples soften more as they bake and almost melt into the filling, while Gala and Fuji hold their shape a little better and add natural sweetness. Combining softer and firmer apples gives you that perfect pie filling that is tender and juicy without turning completely into applesauce.
Other great options include Granny Smith if you want more tartness, Pink Lady, Braeburn, or Cortland.
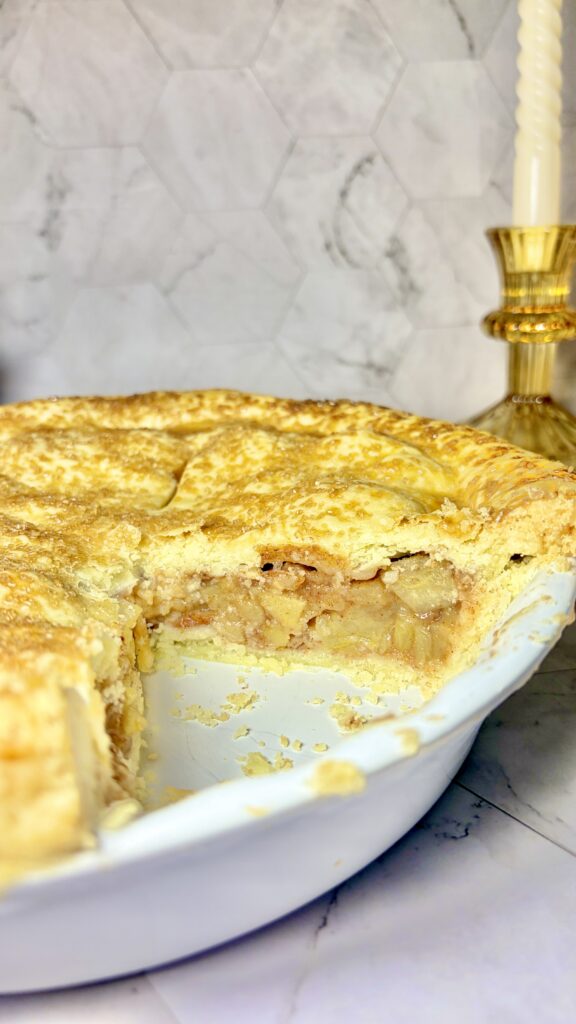
Tips for the Best Homemade Pie Crust
Keep everything cold. Cold butter is what helps create those beautiful flaky layers. If your dough starts feeling too warm or soft while you’re working with it, pop it back into the refrigerator for a few minutes.
Don’t overwork the dough. Mix it only until it comes together. Overworking pie dough can develop too much gluten and make the crust tougher.
Let it chill. Giving the dough time to rest in the refrigerator makes it easier to roll and helps prevent shrinking in the oven.
Use flour as needed when rolling. Lightly flour your work surface and rolling pin, but don’t add so much that the dough becomes dry.
Chill the assembled pie before baking. This is one of my favorite little pie tricks. A short chill after assembling helps firm up the butter in the crust before the pie hits the hot oven.
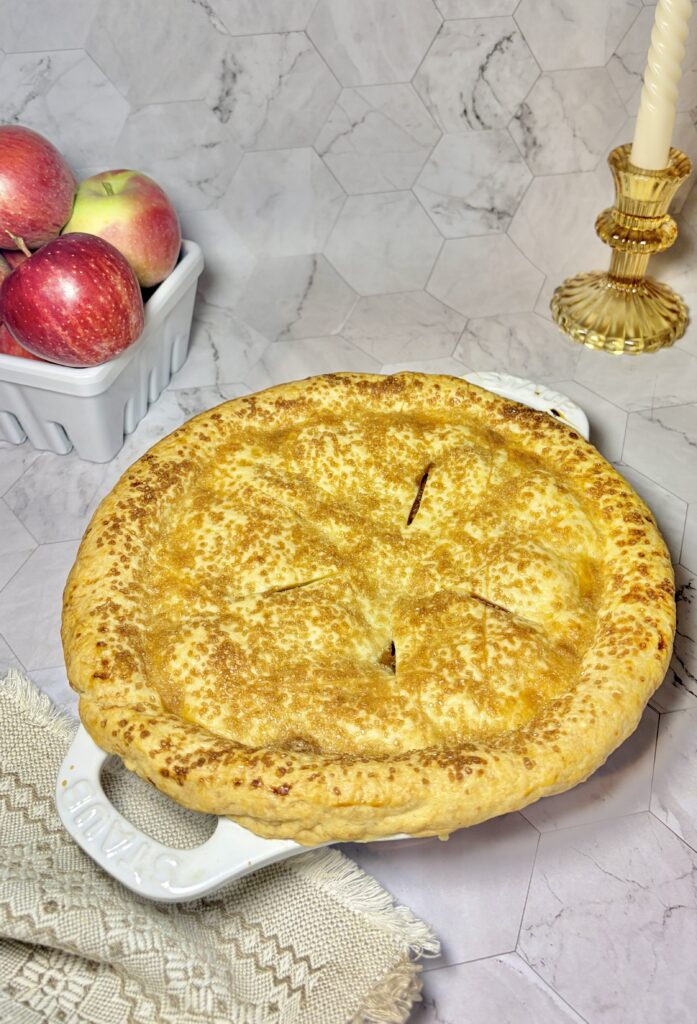
Tips for the Best Apple Pie
Slice the apples fairly thin and as evenly as possible so they bake at the same rate.
Don’t skip the flour in the filling. The apples will release quite a bit of juice as they bake, and the flour helps turn those juices into a thick, glossy filling.
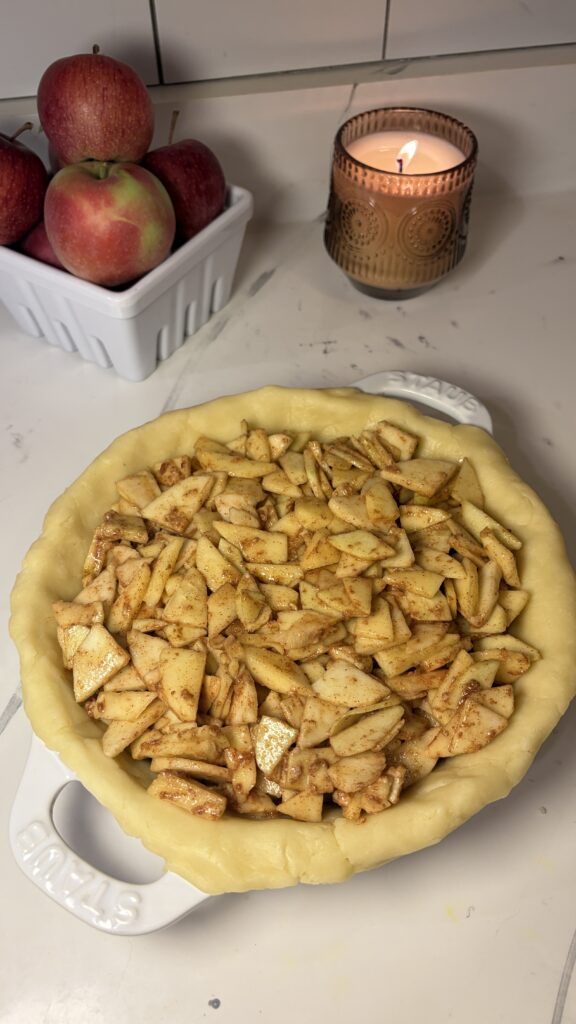
Pack plenty of apples into the crust. They shrink as they bake, so the pie can look almost overly full before it goes into the oven.
And most importantly, let the finished pie cool before slicing. I know it’s tempting to cut into it immediately, but the filling needs time to set.
Amazon Favorites I Use for This Recipe
Some of the links below may be Amazon affiliate links, which means I may earn a small commission if you choose to purchase through them, at no additional cost to you. Your support helps me continue creating and sharing recipes here on Bonia Bakery, and I truly appreciate every click, bake, and share. 🤍
Frequently Asked Questions
Can I use store-bought pie crust?
Absolutely. Homemade crust is my favorite for this recipe, but if you’re short on time, refrigerated store-bought pie crust will still work.
Do I need to peel the apples?
I recommend peeling them. Apple skins can stay a little chewy even after baking, so removing them gives the filling a softer, more classic texture.
Why do you use multiple kinds of apples?
Different apples behave differently when baked. Some soften quickly while others keep their shape. Using a mixture gives the filling more texture and a more balanced apple flavor.
Can I make the pie ahead of time?
Yes. Apple pie is actually a great make-ahead dessert because the filling gets plenty of time to set after baking. You can bake it the day before serving and keep it covered at room temperature once completely cooled.
Why does my apple pie need to cool before slicing?
The filling is very hot and loose straight from the oven. As it cools, the thickened apple juices set, which gives you much cleaner slices.
Storage
Once completely cooled, cover the apple pie and store it at room temperature for up to 2 days.
For longer storage, keep it covered in the refrigerator for up to about 4 days. You can serve it chilled, bring it back to room temperature, or warm individual slices before serving.
Freezing
Apple pie can also be frozen after baking. Let the pie cool completely, then wrap it tightly before freezing for up to about 3 months.
Thaw overnight in the refrigerator and warm it in the oven before serving if you’d like to bring back some of that freshly baked texture.
Ingredients
Pie Crust
Use my Best Homemade Pie Crust recipe here.
Apple Filling
2 pounds apples, peeled, cored, and thinly sliced
⅓ cup packed brown sugar
3 tablespoons all-purpose flour
1 tablespoon fresh lemon juice
2 teaspoons vanilla extract
2 teaspoons ground cinnamon
¼ teaspoon ground nutmeg
¼ teaspoon ground allspice
¼ teaspoon salt
Egg Wash
1 large egg
2 tablespoons water
Coarse sugar, for sprinkling, optional
Instructions
1. Prepare the pie crust.
Prepare one recipe of my Best Homemade Pie Crust, which makes enough dough for a bottom and top crust. Divide the dough into two discs and refrigerate according to the recipe instructions.
2. Make the apple filling.
Peel and core the apples, then slice them into thin, fairly even slices. If the slices are very large, cut them in half so they’re easier to arrange in the pie.
Place the apples into a large mixing bowl.
3. Season the apples.
Add the brown sugar, flour, lemon juice, vanilla, cinnamon, nutmeg, allspice, and salt.
Toss everything together until the apples are evenly coated, then set the filling aside while you roll out the crust.
4. Roll out the bottom crust.
Remove the chilled pie dough from the refrigerator and allow it to sit at room temperature for about 5 minutes so it’s easier to roll.
Lightly flour your work surface and rolling pin. Roll one disc of dough into approximately a 12-inch circle.
Carefully transfer the dough to a 9-inch pie dish and gently press it into the bottom and sides without stretching it.
Trim the excess dough, leaving approximately ½ inch of overhang around the edge.
5. Fill the pie.
Transfer the apple filling into the prepared pie crust, including the juices that have accumulated in the bowl.
Arrange the apples so the filling is evenly distributed and slightly mounded toward the center.
6. Add the top crust.
Roll the second disc of pie dough into another approximately 12-inch circle.
Carefully lay it over the apple filling. Trim any excessive overhang so the top and bottom crusts are relatively even.
Press the two crusts together, then fold the edges under themselves to create a thicker border around the pie.
Crimp the edges using your fingers.
Using a sharp knife, cut several vents in the center of the top crust so steam can escape while the pie bakes.
7. Add the egg wash.
Whisk the egg and 2 tablespoons of water together in a small bowl.
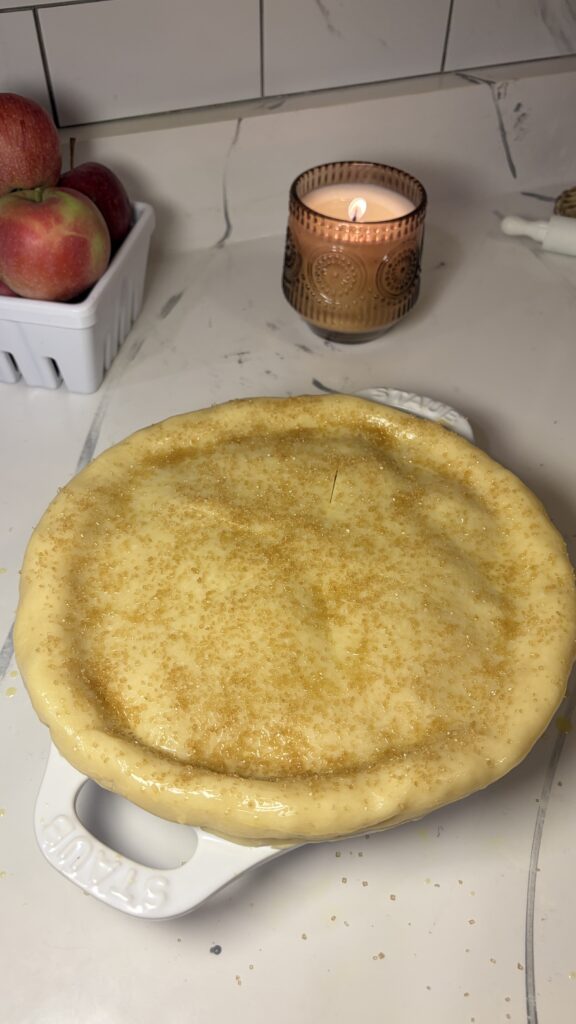
Brush the egg wash lightly over the top crust and edges. Sprinkle with coarse sugar, if desired.
Place the assembled pie in the freezer for a few minutes while the oven preheats. This helps keep the crust cold before baking.
8. Bake.
Preheat the oven to 375°F.
Place the chilled pie in the oven and bake for approximately 55 to 65 minutes, or until the crust is deeply golden brown and you can see the apple filling bubbling through the vents.
If the edges of the crust begin browning too quickly, loosely cover the edges with aluminum foil or a pie shield.
9. Cool.
Transfer the pie to a cooling rack and allow it to cool for at least 1 hour before slicing.
For the cleanest slices, let it cool even longer so the apple filling has plenty of time to set.
Serve on its own or with a generous scoop of vanilla ice cream.