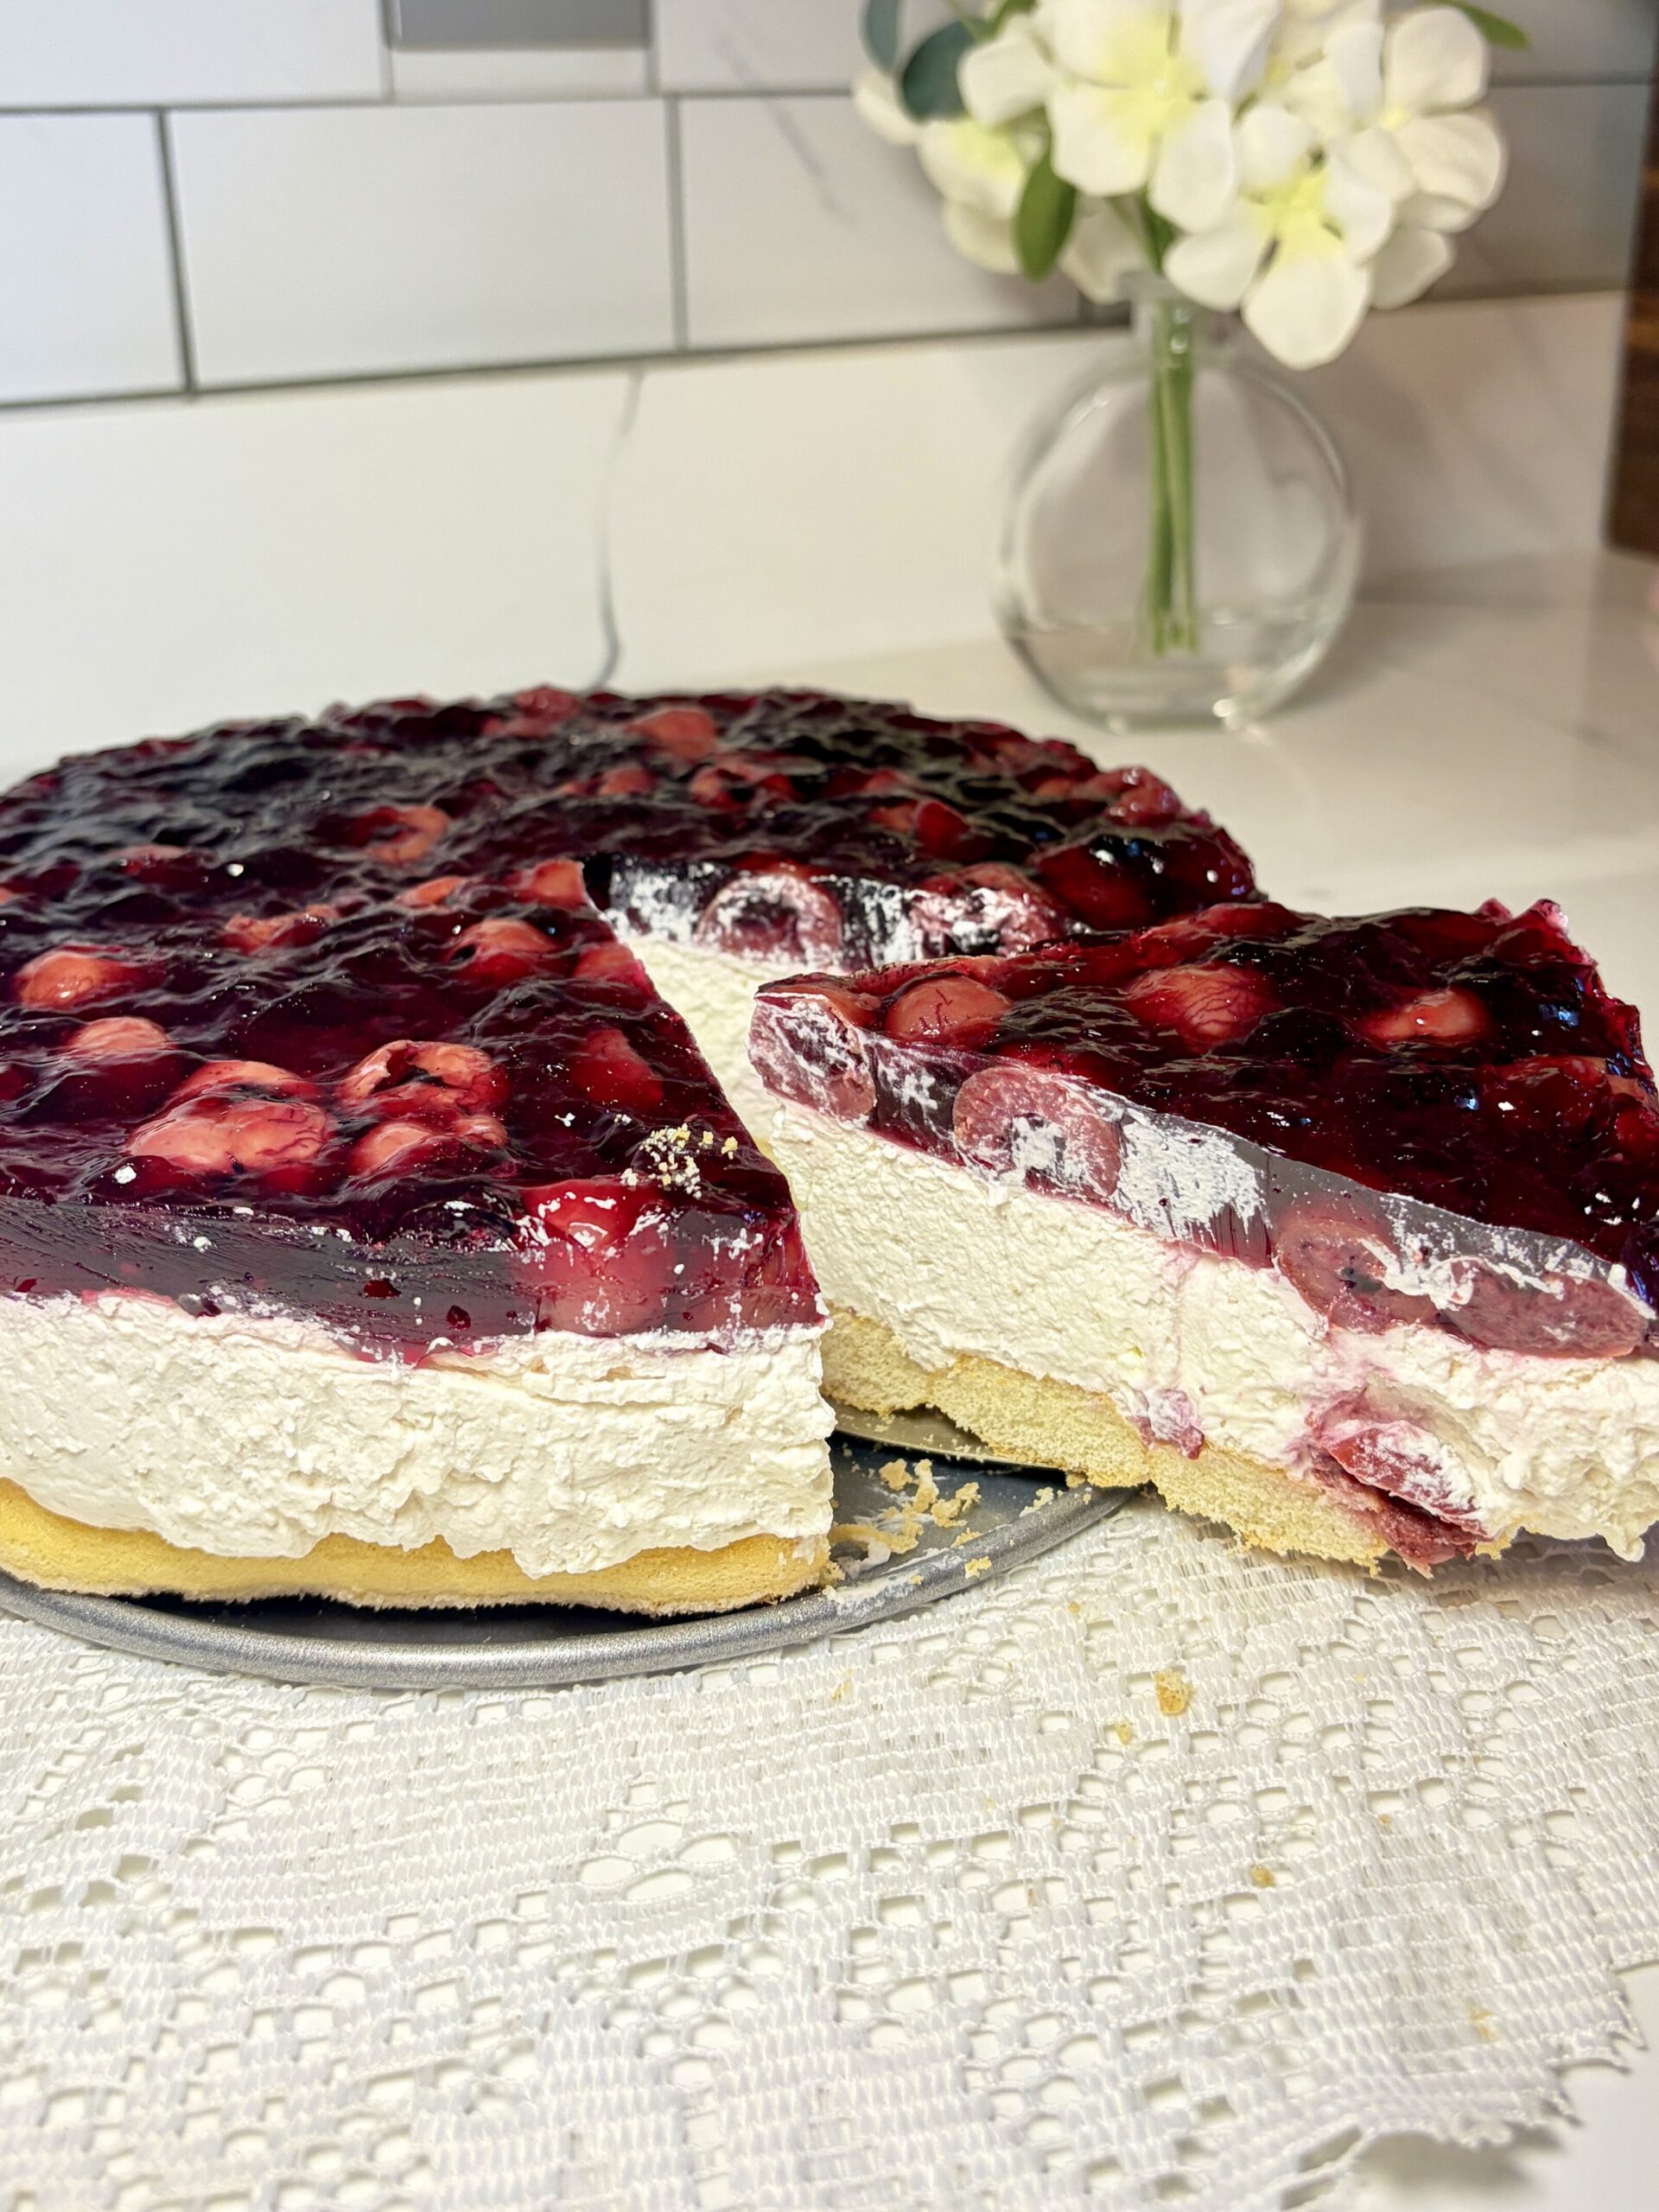
Polish No-Bake Cherry Cheesecake
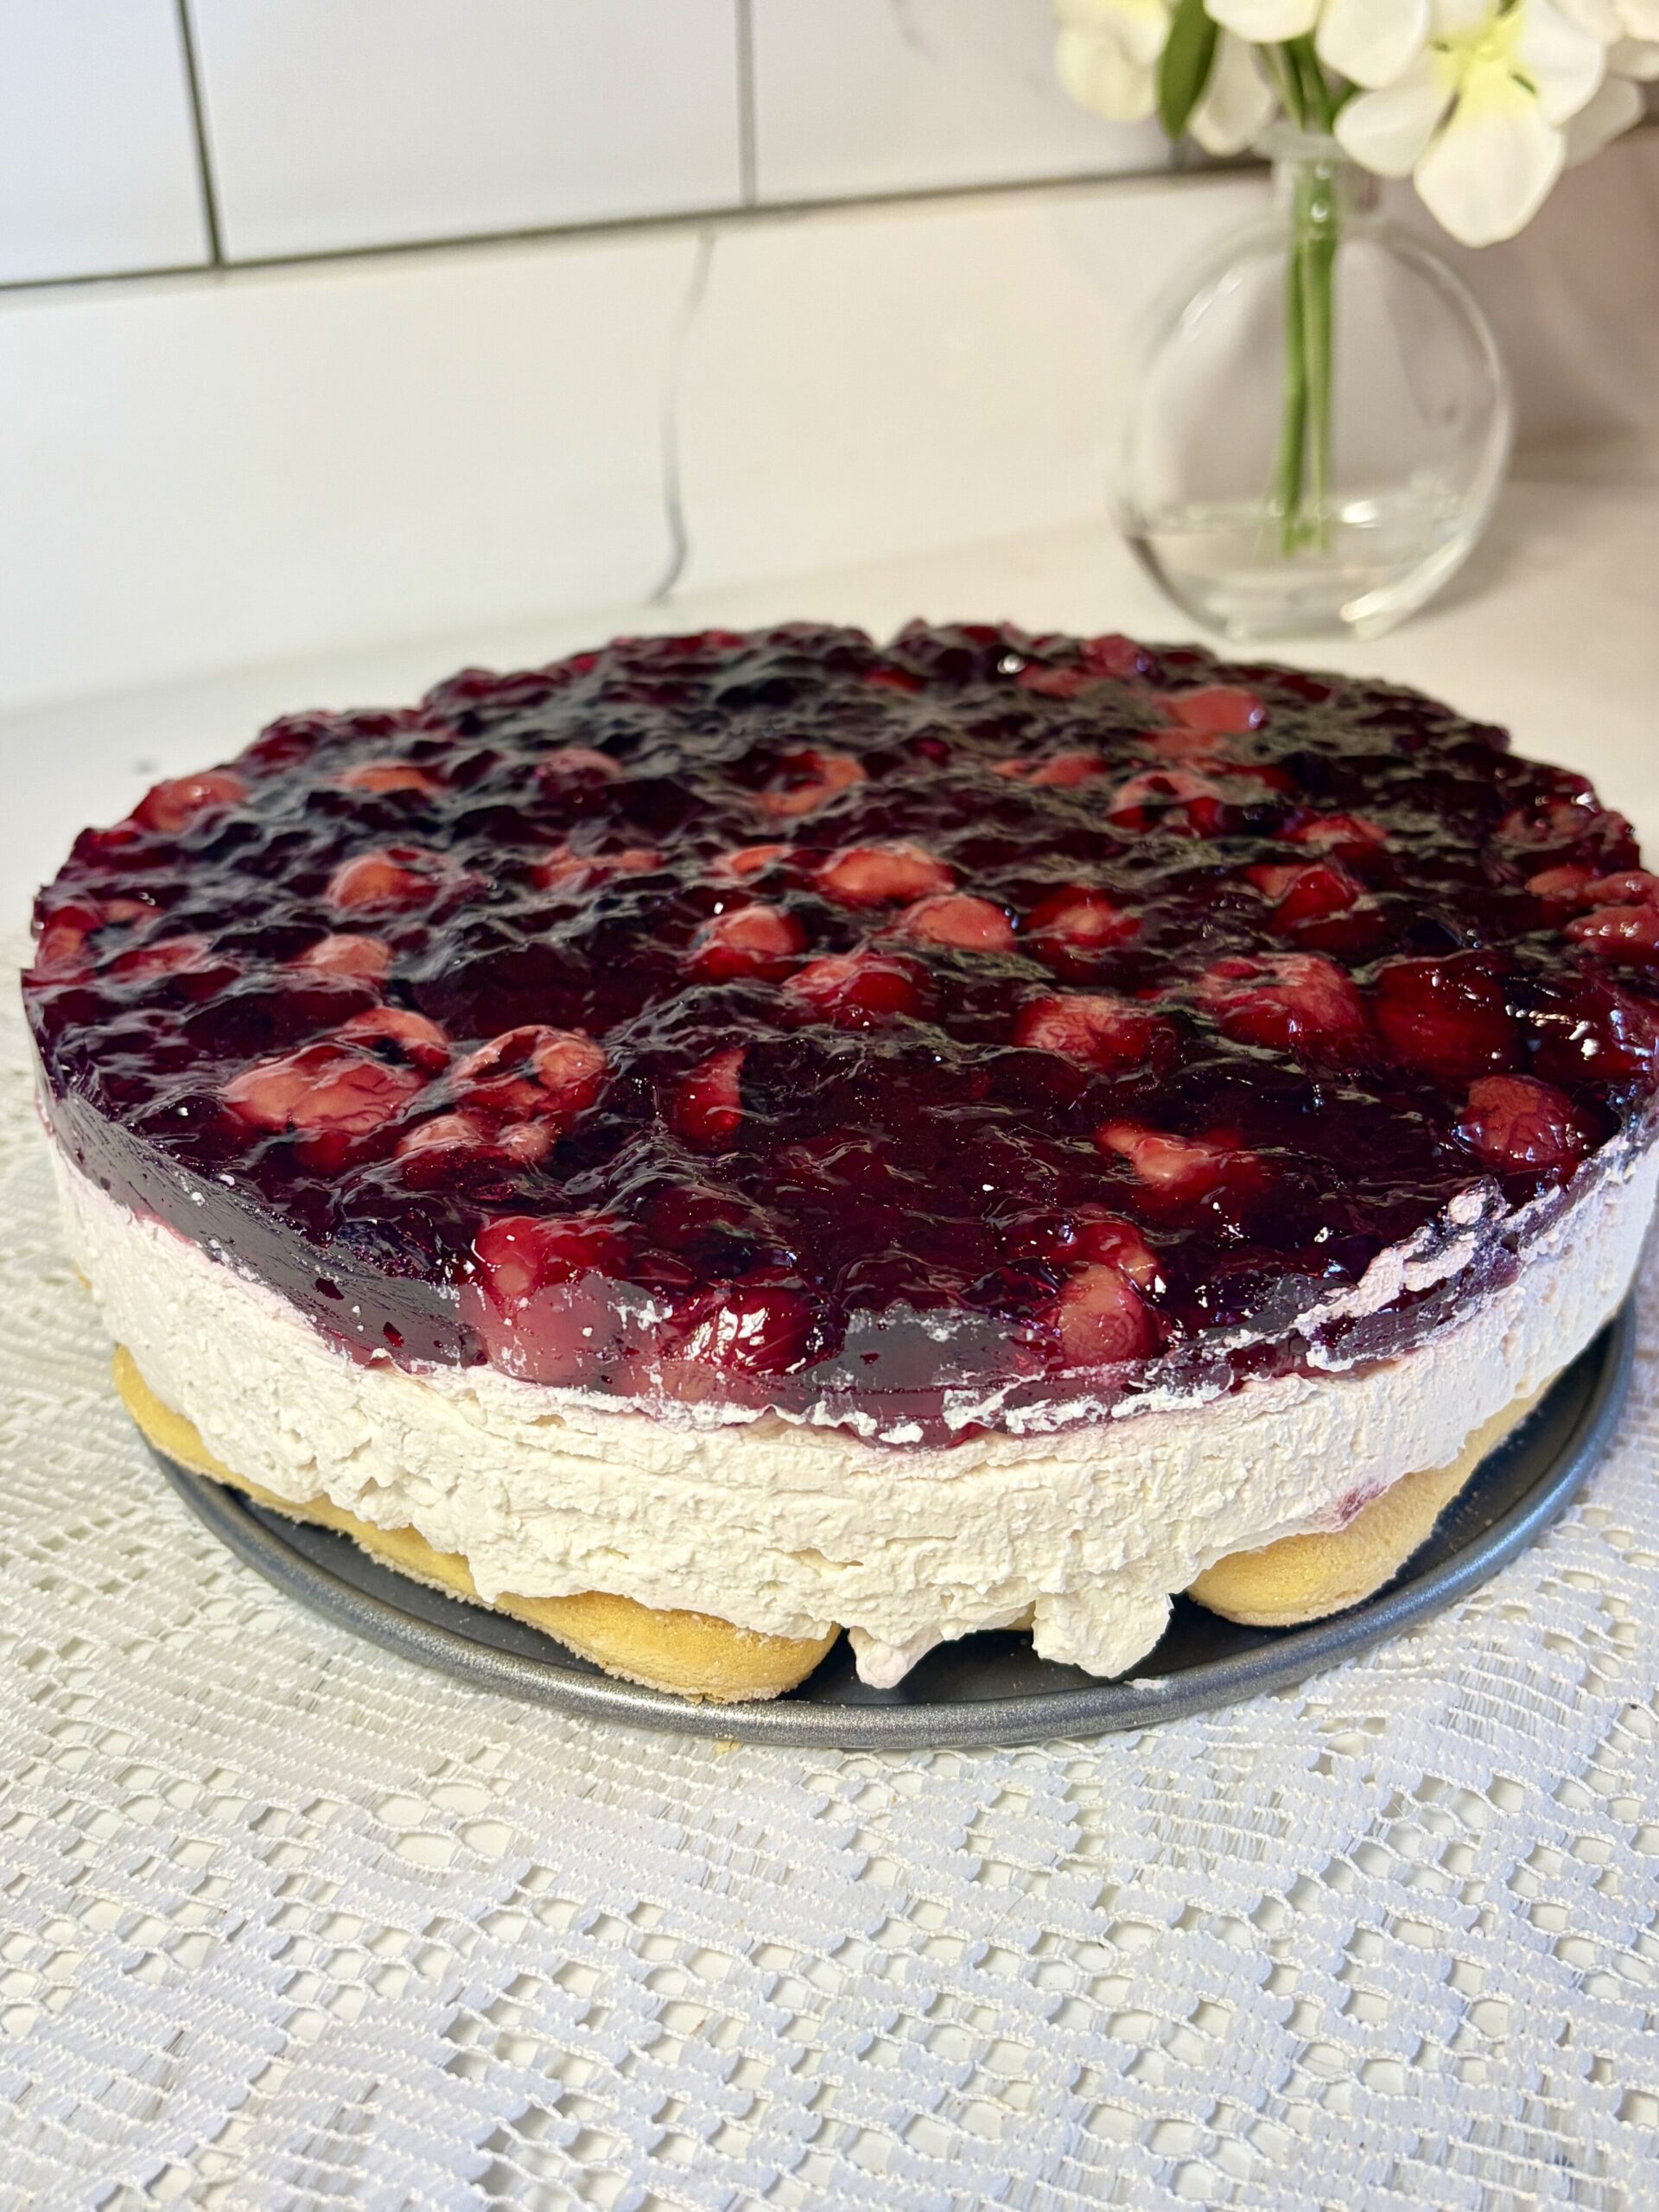
This Polish No-Bake Cherry Cheesecake is one of those recipes that instantly takes me back to my childhood. I made this one with my Babcia, inspired by the simple no-bake cheesecakes she has been making for years—the kind layered over soft ladyfingers and finished with a colorful layer of fruit and Jell-O.
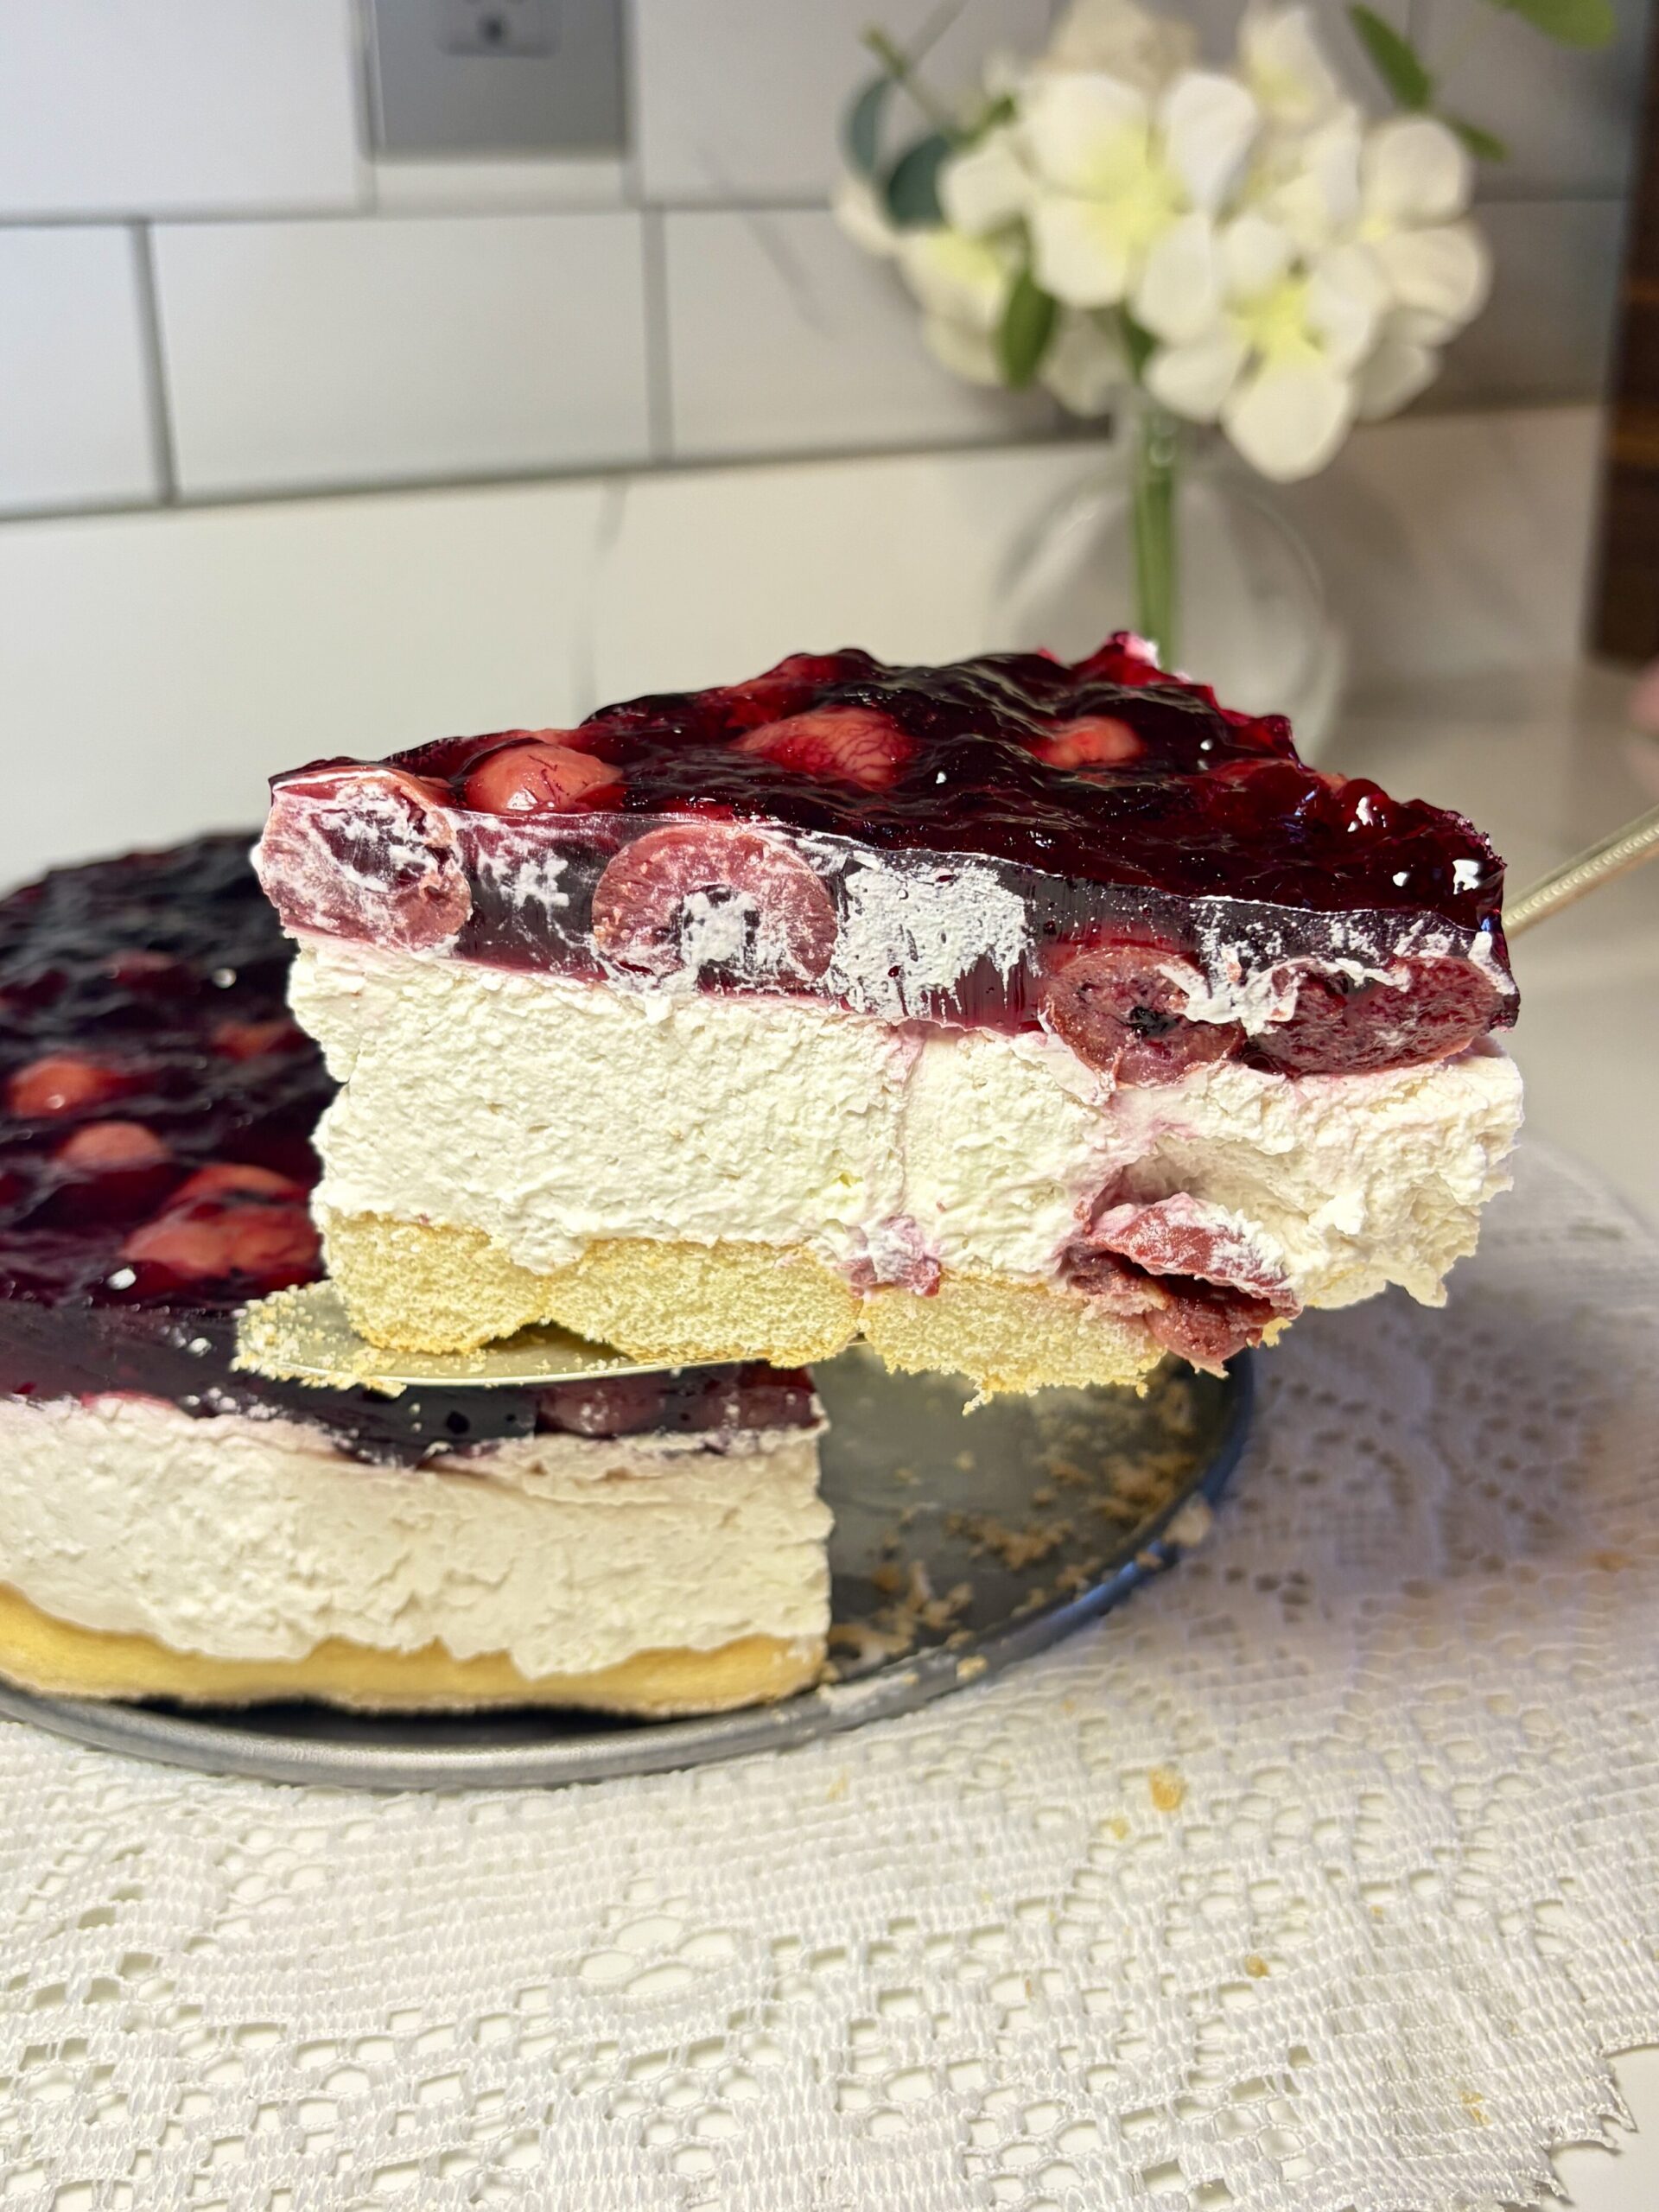
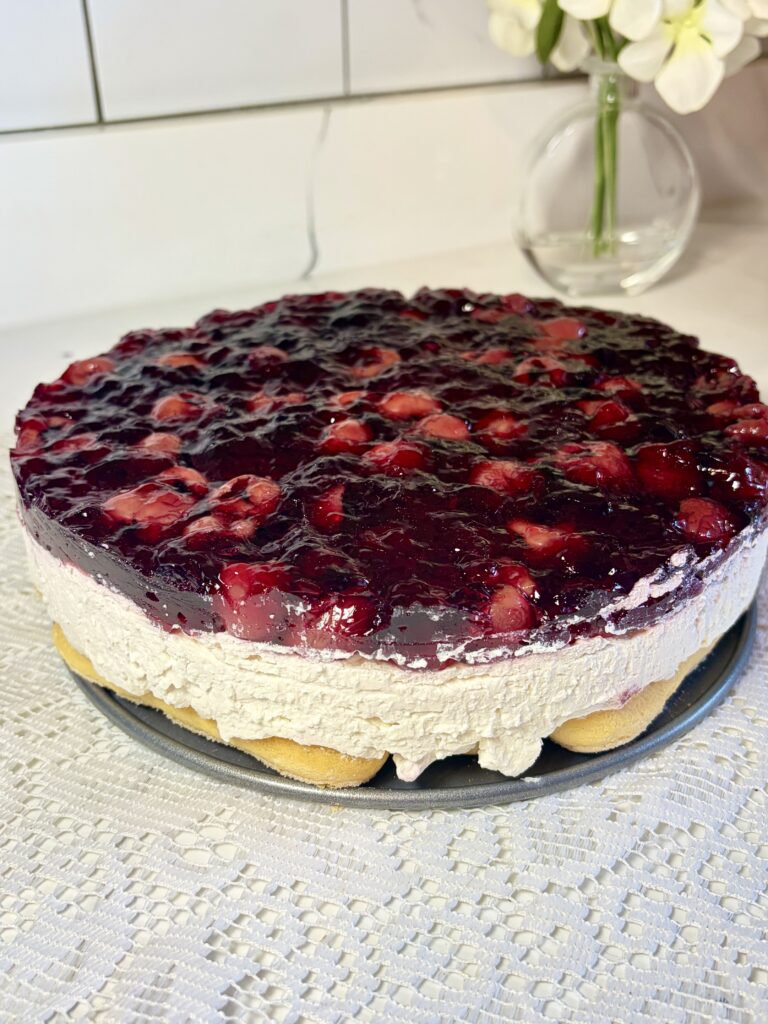
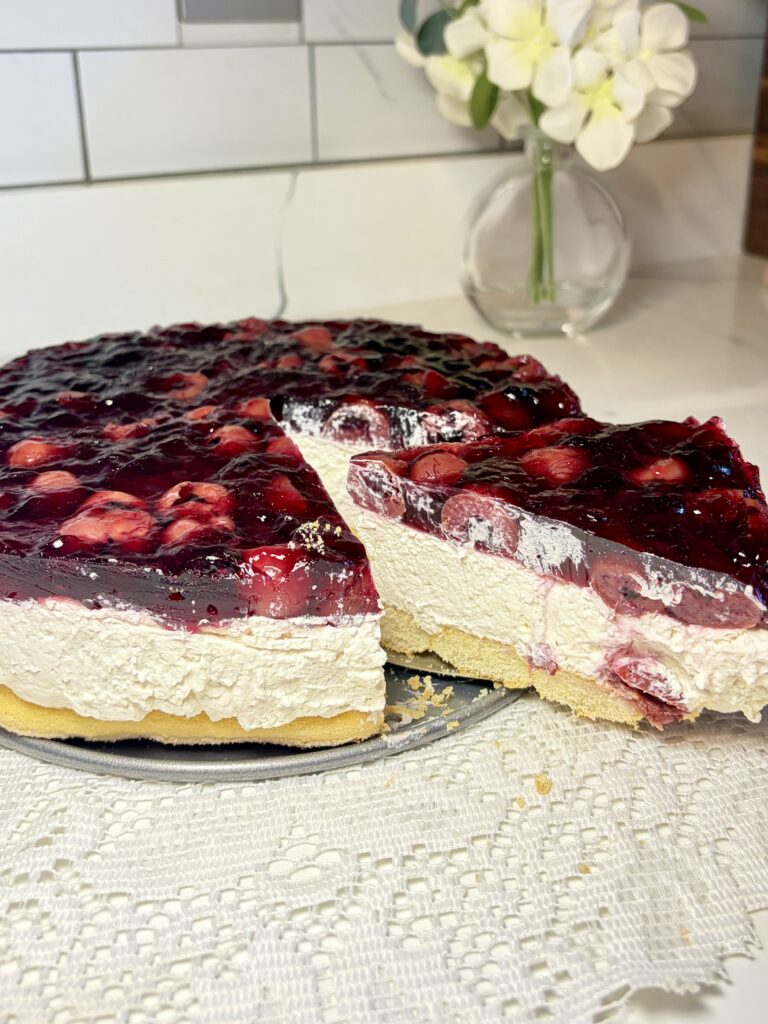
The filling is incredibly light and creamy, made with whipped cream and mascarpone rather than a traditional baked cream cheese filling. Polish sour cherries and a little of their syrup add just the right amount of tart cherry flavor, while the whole cheesecake is finished with a glossy cherry Jell-O topping loaded with even more cherries.
Best of all, there’s absolutely no oven involved. It’s cool, creamy, fruity, nostalgic, and one of those simple desserts that never go out of style (or taste).
Why You’ll Love This Recipe
- Completely no-bake. No oven, water bath, or worrying about cheesecake cracks.
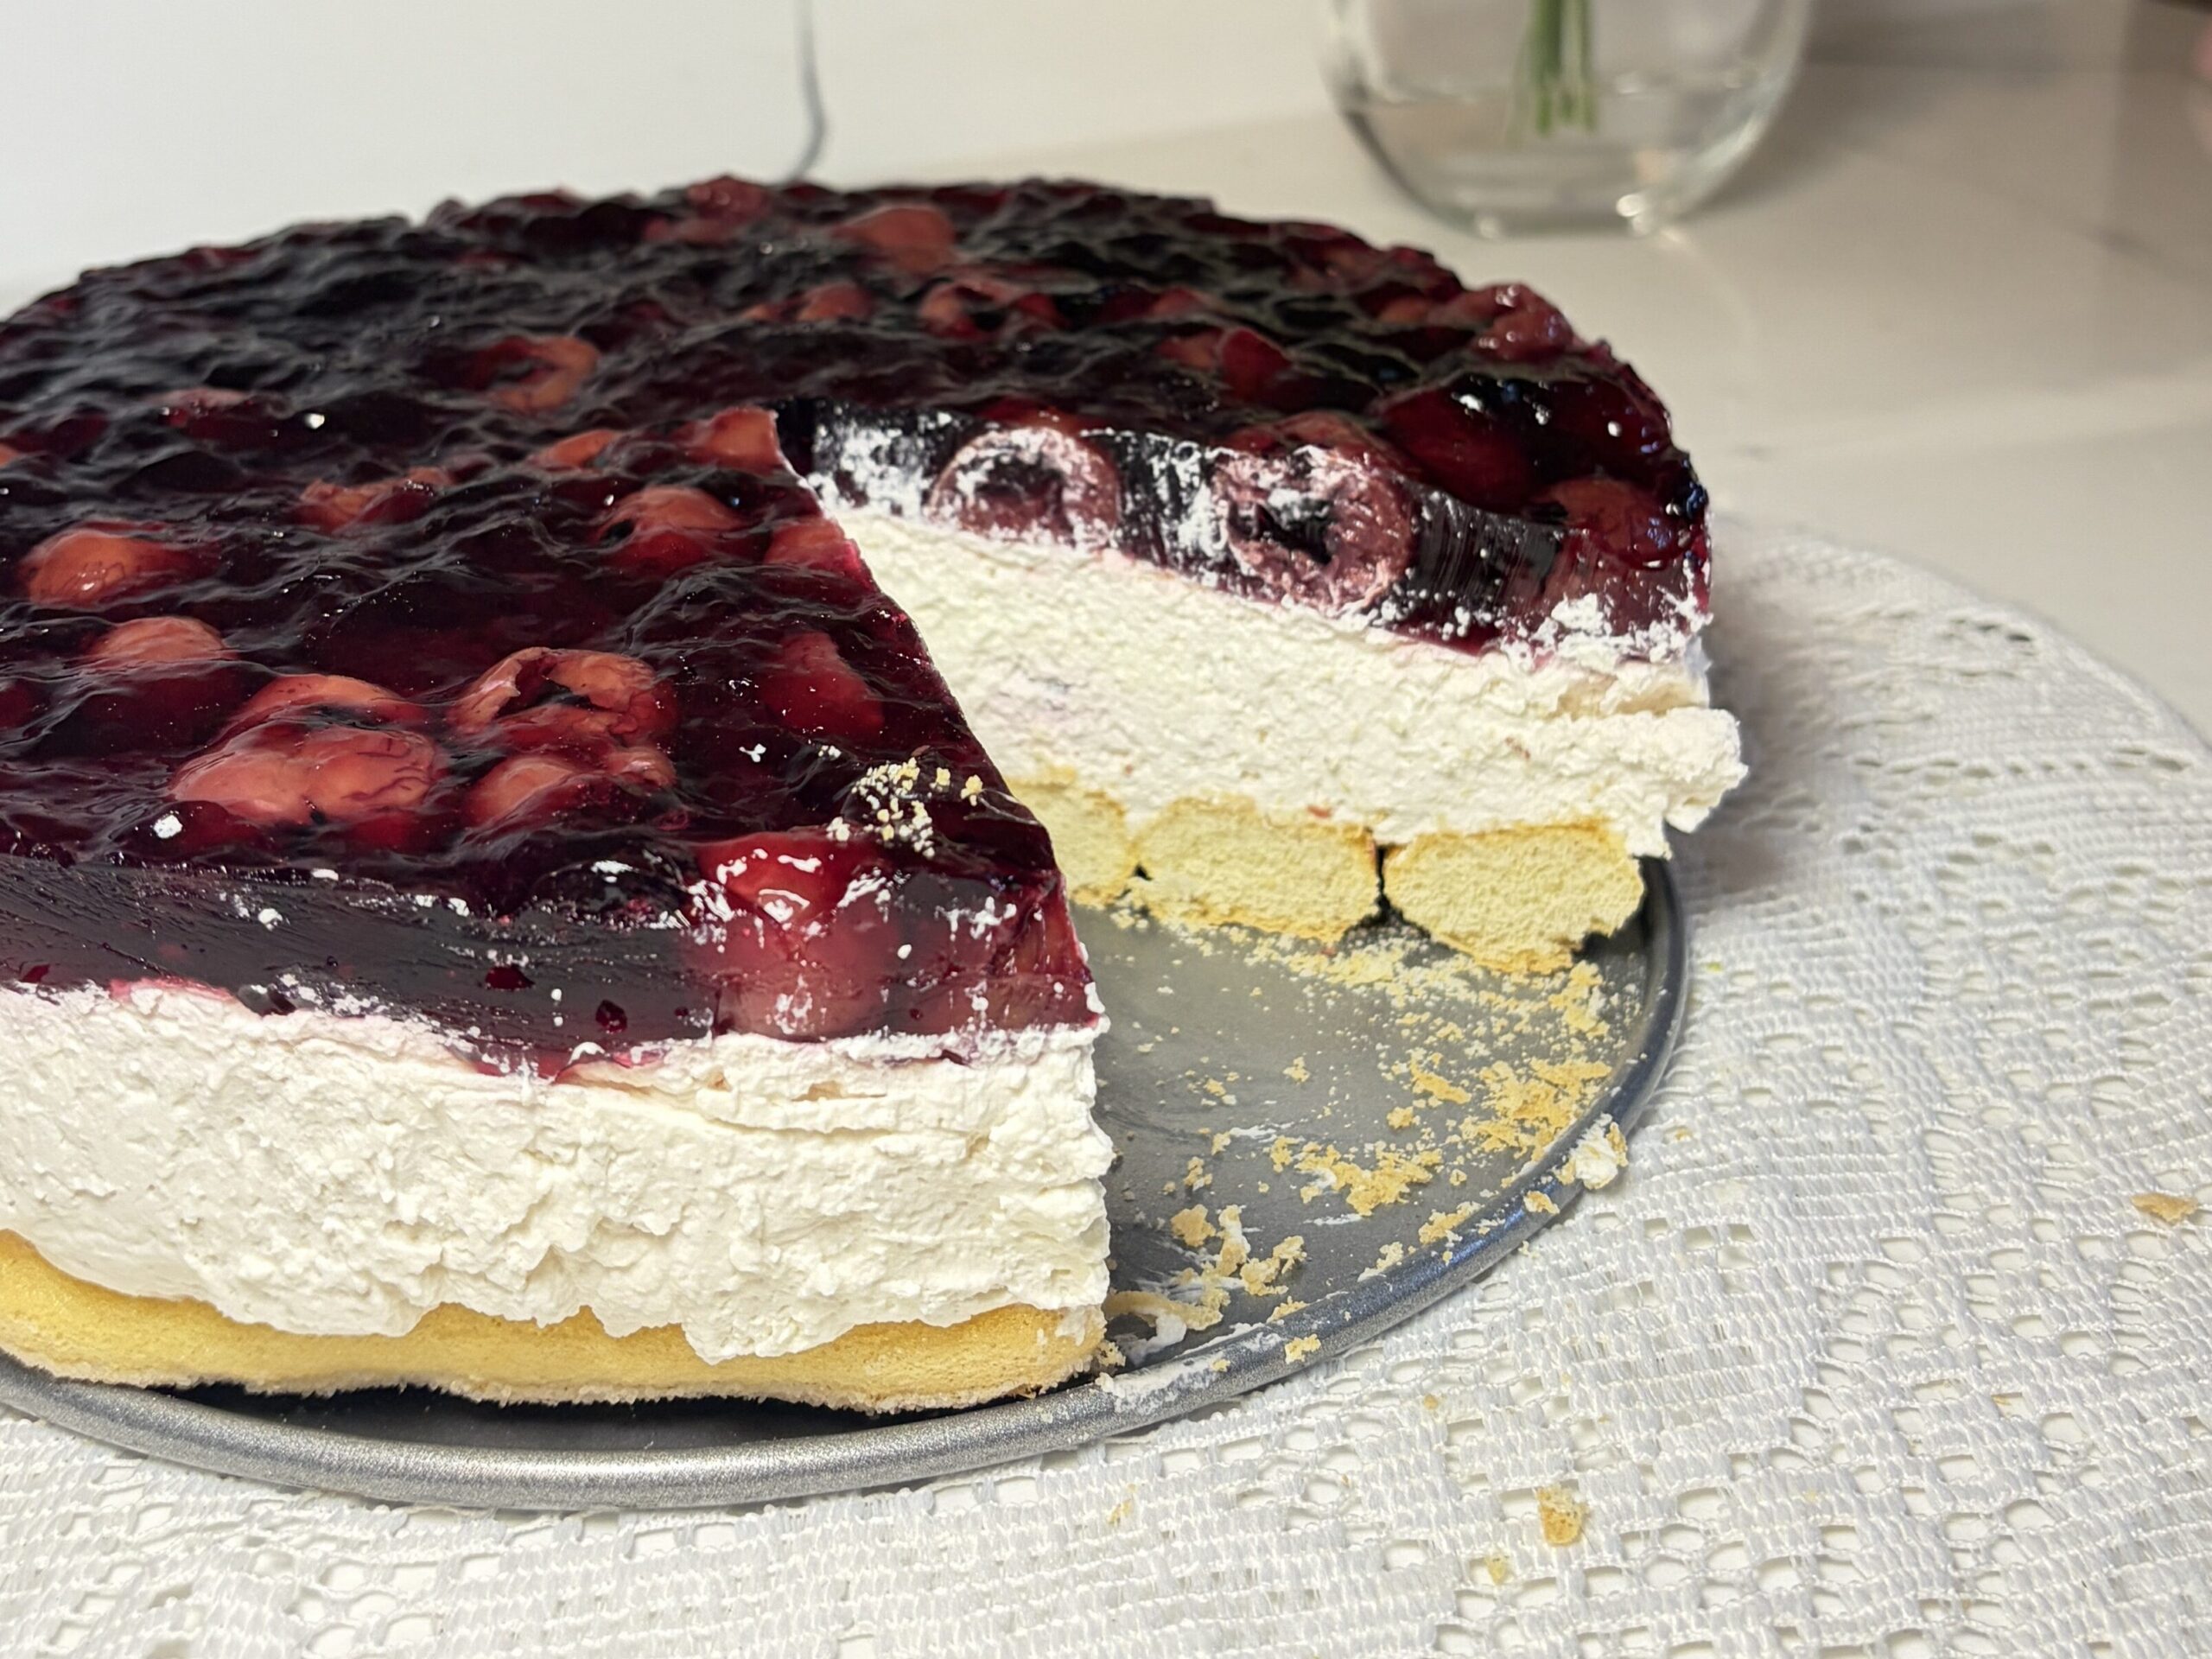
- Light and creamy. Mascarpone and freshly whipped cream create an almost mousse-like filling rather than a dense traditional cheesecake.
- Sweet and tart. Sour cherries balance the sweet cherry Jell-O and creamy mascarpone beautifully.
- Perfect for making ahead. This cheesecake actually gets better after several hours in the refrigerator, so it’s an ideal dessert to prepare the day before.
- Made with simple ingredients. You only need a handful of ingredients to create all three layers.
- Inspired by my Babcia. This recipe is based on the simple Jell-O-topped cheesecakes I grew up enjoying with my Polish family.
Ingredient Notes
Heavy Whipping Cream
Cold heavy whipping cream creates the light, airy structure of the cheesecake filling. Make sure it’s straight from the refrigerator before whipping so it reaches firm peaks easily.
Mascarpone Cheese
Mascarpone gives this cheesecake its rich, creamy flavor without the tanginess of traditional cream cheese. Keep it cold until you’re ready to add it to the whipped cream.
Powdered Sugar
You only need a small amount since the cherries, syrup, and Jell-O provide additional sweetness. Start with 1 tablespoon, taste the filling, and add another if you prefer it sweeter.
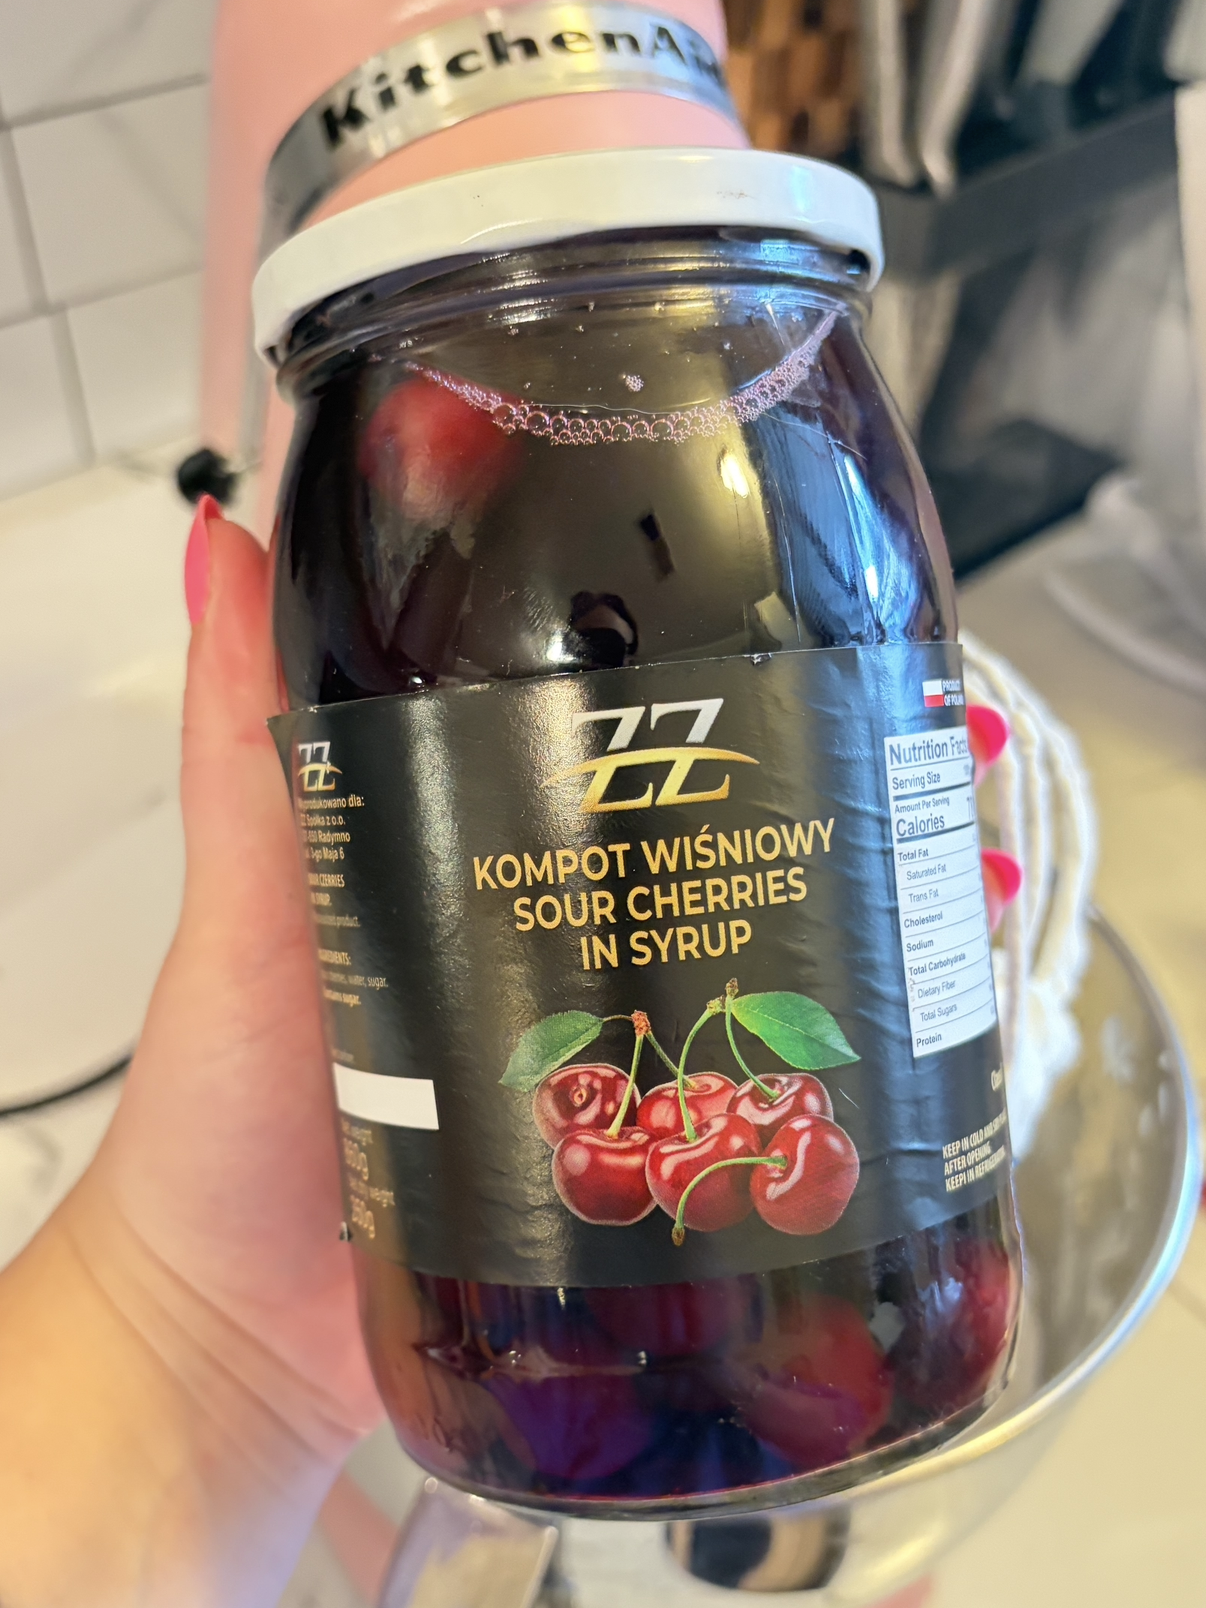
Polish Sour Cherries in Syrup
For this recipe, I use Polish kompot wiśniowy, or sour cherries packed in syrup. The tart cherries balance the sweetness of the Jell-O and creamy mascarpone filling beautifully, while a little of the cherry syrup flavors the cheesecake itself.
Drain the cherries before using them, but make sure you reserve some of that syrup for the mascarpone filling.
You can find these at any Polish or European Supermarket Store.
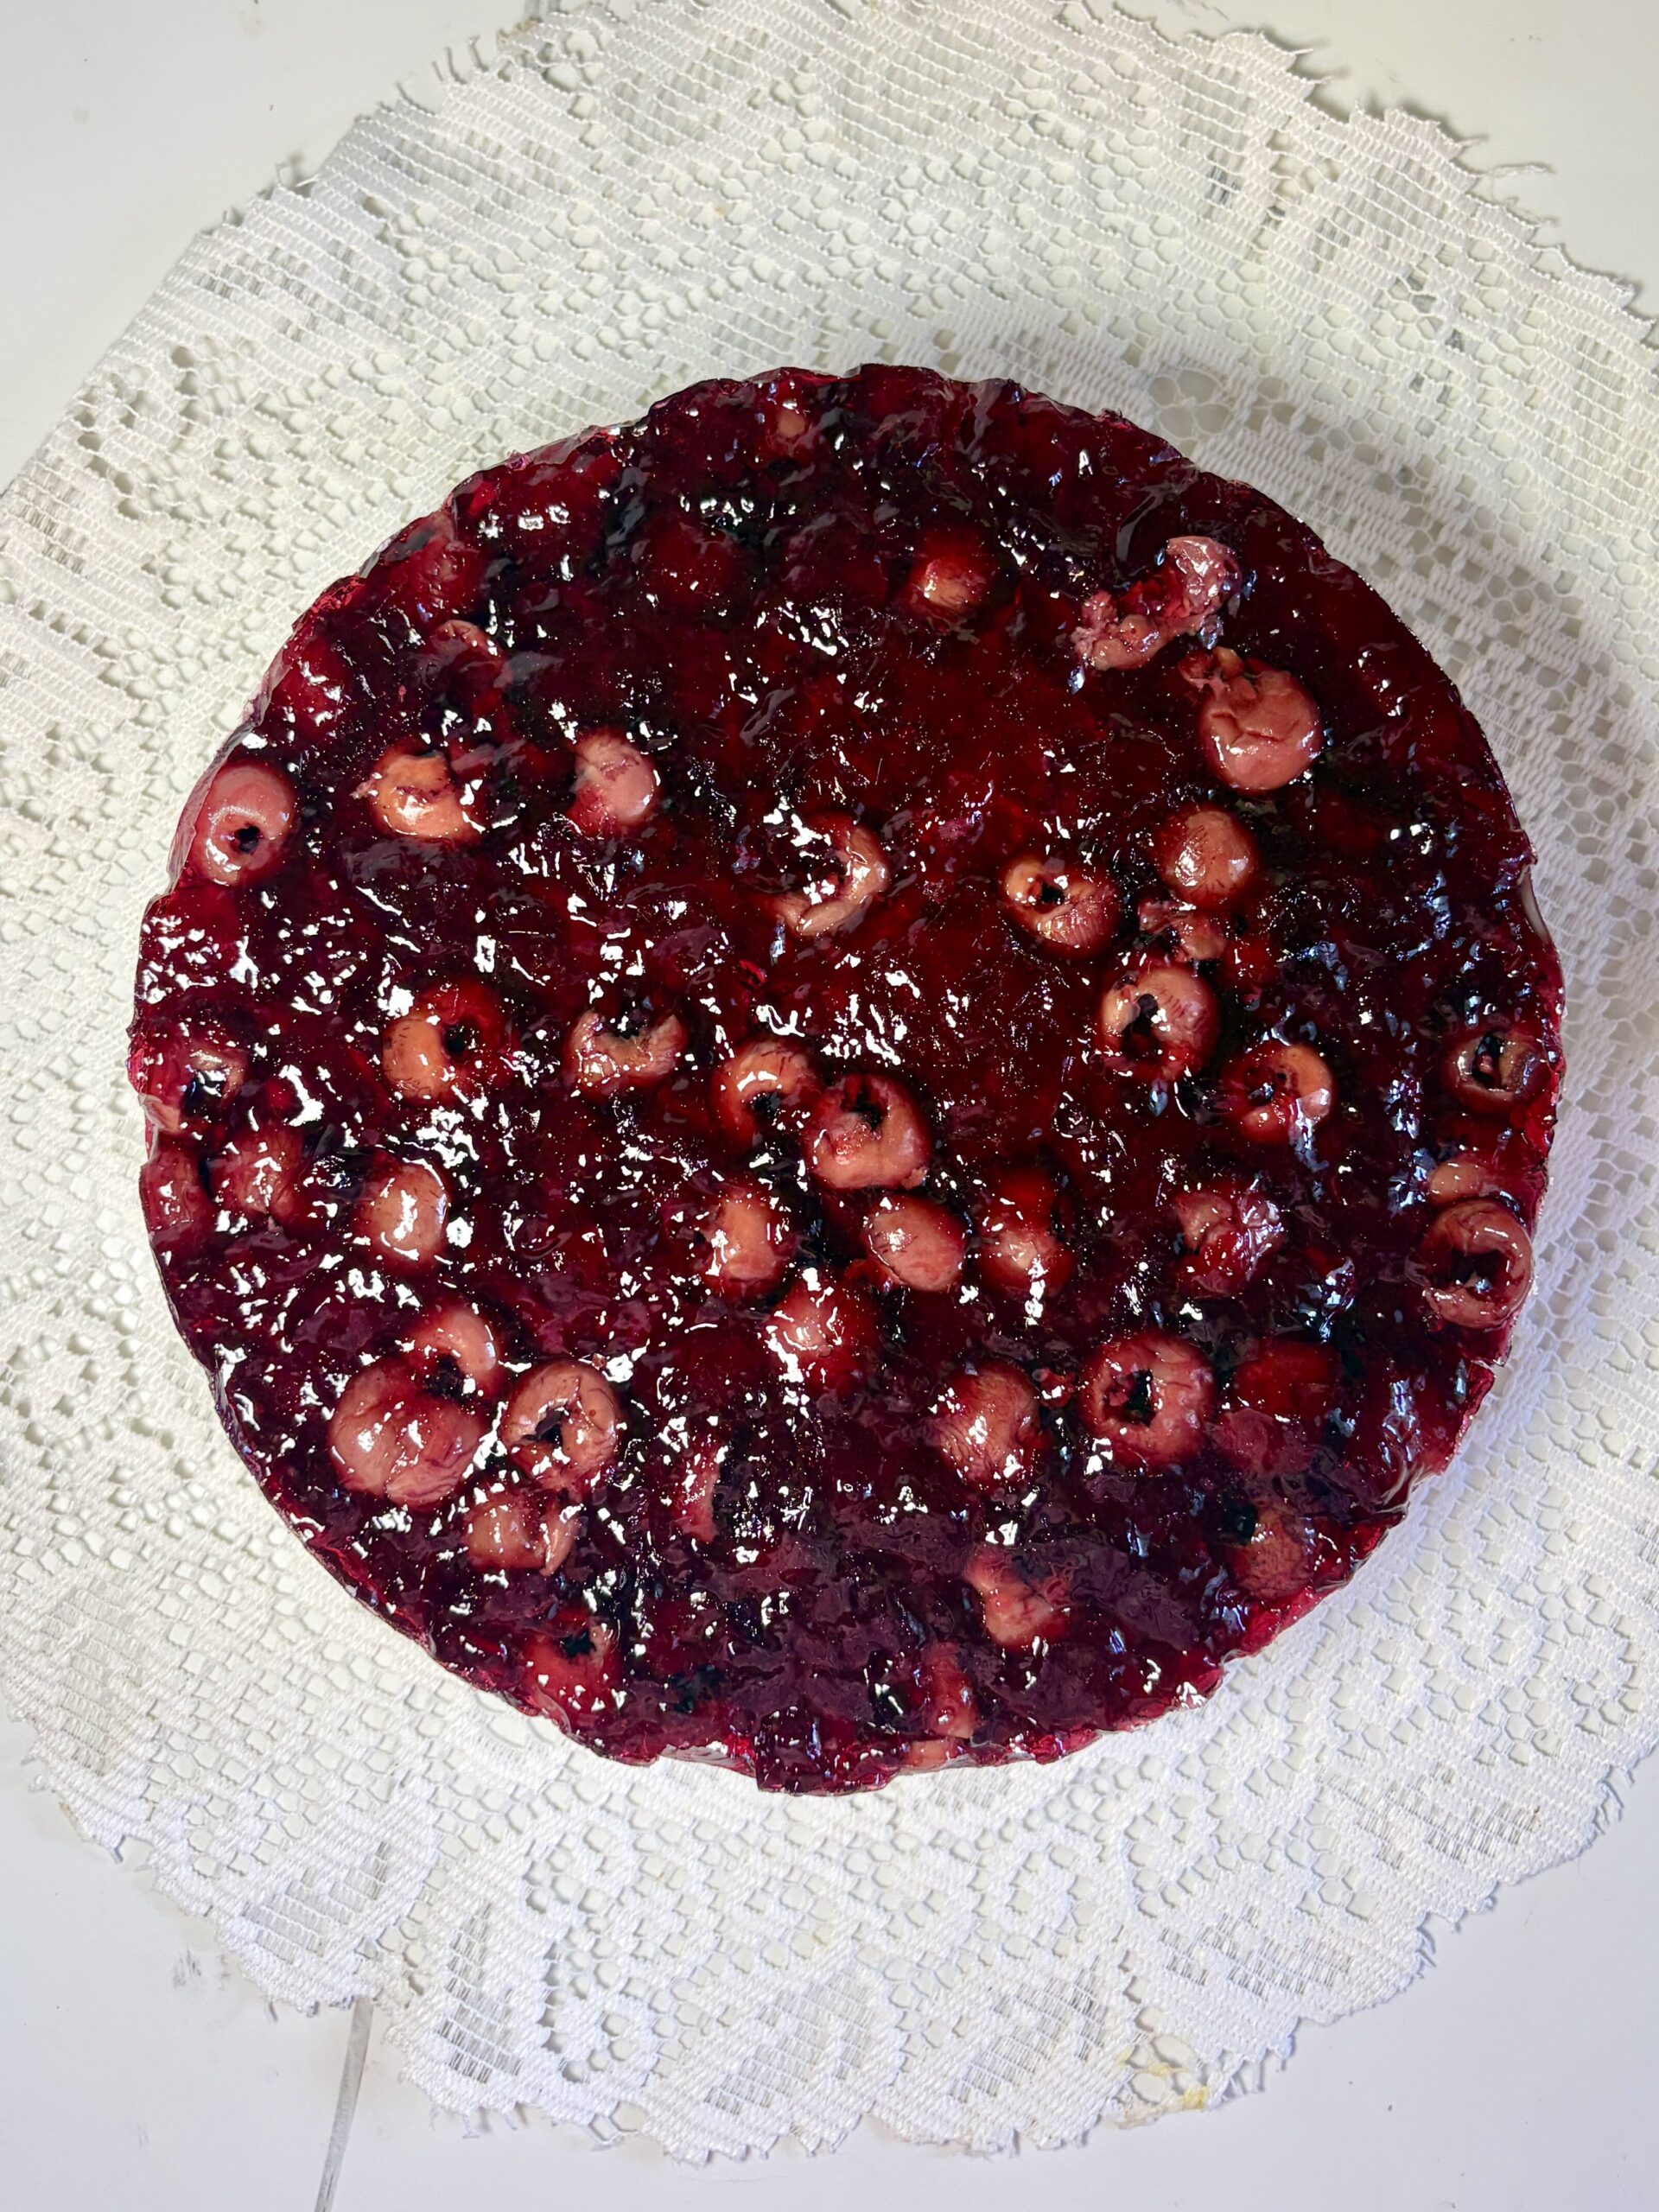
Cherry Jell-O
One box of cherry-flavored Jell-O creates the beautiful glossy cherry layer on top. The key is allowing the prepared Jell-O to cool and begin to thicken before adding it to the cheesecake.
Ladyfingers
Instead of a traditional graham cracker crust, this cheesecake starts with a simple layer of ladyfinger biscuits. They soften slightly as the cheesecake chills and soak up some of the moisture from the creamy filling.
Tips for the Best No-Bake Cherry Cheesecake
Keep your ingredients cold. Cold heavy cream and mascarpone will give you the thickest, fluffiest filling.
Don’t overmix the mascarpone. Once you add it to the whipped cream, mix only until everything is combined. Overworking mascarpone can cause the filling to lose some of its fluffy texture.
Drain the cherries well. You want the cherries themselves in the filling and topping—not a lot of excess syrup. Reserve just the small amount of syrup needed for the filling.
Let the cheesecake layer set first. Give the mascarpone filling at least 1–2 hours in the refrigerator before adding the Jell-O topping.
Never pour hot Jell-O onto the cheesecake. Let it cool first, then refrigerate it briefly until it just begins to thicken.
For the cleanest slices, chill overnight. While you can serve the cheesecake the same day, an overnight chill gives all three layers plenty of time to set beautifully.
Frequently Asked Questions
Do I have to use mascarpone?
Mascarpone is what gives this cheesecake its especially creamy, delicate flavor, so I recommend using it if possible. Full-fat cream cheese could technically be substituted, but the cheesecake will be tangier and denser.
What kind of cherries should I use?
I use Polish sour cherries packed in syrup, or kompot wiśniowy. They’re tart enough to balance the sweeter components of the dessert and already come pitted and ready to use.
Can I use fresh cherries instead?
You could, but they won’t give you quite the same flavor as the preserved sour cherries. The syrup from the jar is also used to flavor the mascarpone filling, so if possible, I recommend making the recipe with jarred sour cherries in syrup as written.
How do I know when the Jell-O is ready to go on top?
The Jell-O should be completely cooled and just beginning to thicken. You want it syrupy and spoonable—not completely liquid but definitely not fully set.
Can I make this cheesecake ahead of time?
Absolutely! In fact, I recommend it. Prepare the cheesecake the night before you plan to serve it and allow it to set overnight in the refrigerator.
How to Store
Store your Polish No-Bake Cherry Cheesecake covered in the refrigerator for up to 3 days. Because the filling contains whipped cream and mascarpone, keep it refrigerated until shortly before serving.
I don’t recommend freezing this cheesecake. Both the whipped mascarpone filling and gelatin topping can change texture after freezing and thawing.
My Favorite Tools for This Recipe
You only need a few simple kitchen essentials to make this cheesecake. You can find my favorite baking tools through my Amazon affiliate links. As an Amazon Associate, I may earn a small commission from qualifying purchases at no additional cost to you.
- 9-inch springform pan – The removable sides make it easy to release the cheesecake while keeping all of those pretty layers intact.
- Stand mixer or electric hand mixer – Makes whipping the heavy cream quick and easy.
- Mixing bowls – You’ll want separate bowls for preparing the mascarpone filling and cherry Jell-O topping.
- Silicone spatula – Perfect for gently combining and spreading the creamy mascarpone filling. Good quality ones are truly worth investing in!
- Offset spatula – Helps create a smooth, even cheesecake layer before adding the cherries.
Polish No-Bake Cherry Cheesecake
Yield: 1 9-inch cheesecake, about 8–10 servings
Prep Time: 25 minutes
Chill Time: 5–6 hours, preferably overnight
Total Time: About 6 hours 25 minutes
Ingredients
Ladyfinger Base
- 100 g ladyfinger biscuits
Mascarpone Cheesecake Filling
- 400 ml (about 1⅔ cups) cold heavy whipping cream
- 250 g (about 8.8 oz) cold mascarpone cheese
- 1–2 tablespoons powdered sugar, to taste
- 1–2 tablespoons syrup from the jarred sour cherries
- 2 tablespoons drained Polish sour cherries in syrup, roughly chopped if desired
Cherry Jell-O Topping
- 1 (3-ounce) box cherry-flavored Jell-O, prepared according to package directions
- ¾ cup drained Polish sour cherries in syrup
Instructions
Make the Mascarpone Filling
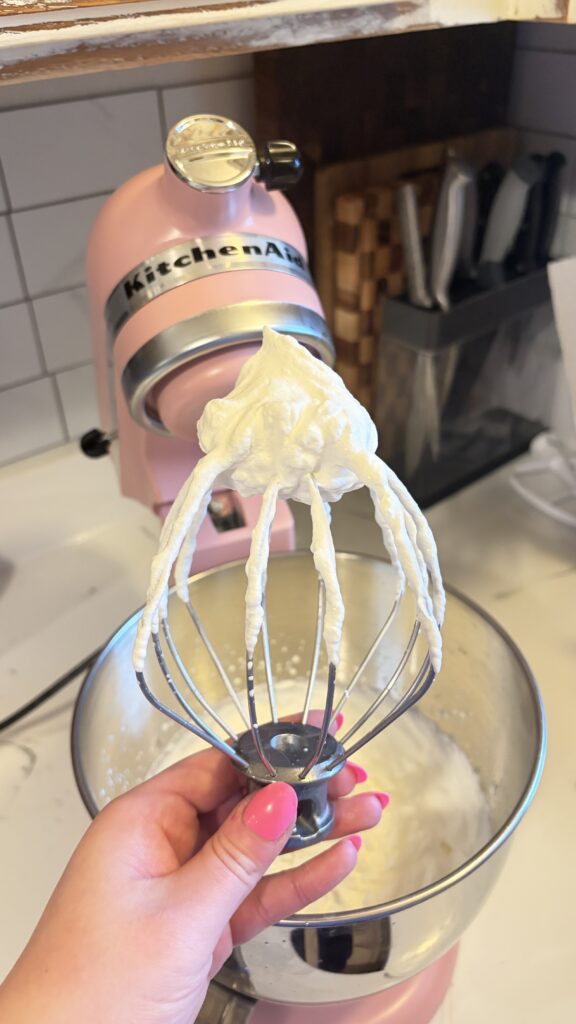
1. Whip the heavy cream.
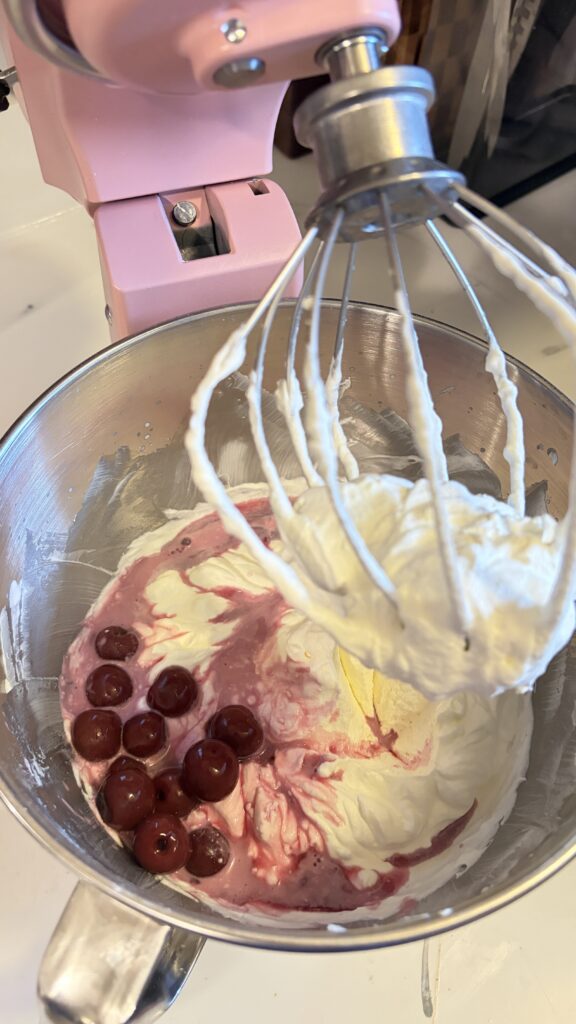
Add the cold heavy whipping cream to the bowl of a stand mixer fitted with the whisk attachment. Whip on high speed for approximately 2–3 minutes, or until the cream reaches firm peaks. Be careful not to overwhip.
2. Add the mascarpone.
Add the cold mascarpone cheese and mix on low to medium speed just until incorporated and the mixture is thick and creamy.
3. Sweeten the filling.
Add 1 tablespoon of powdered sugar and mix briefly. Taste the filling and add the second tablespoon if you prefer it sweeter.
4. Add the cherry syrup.
Add 1–2 tablespoons of the reserved syrup from the jar of sour cherries. Mix just until incorporated.
5. Add the cherries.
Gently fold about 2 tablespoons of drained sour cherries into the mascarpone mixture.
Assemble the Cheesecake
6. Prepare the ladyfinger base.
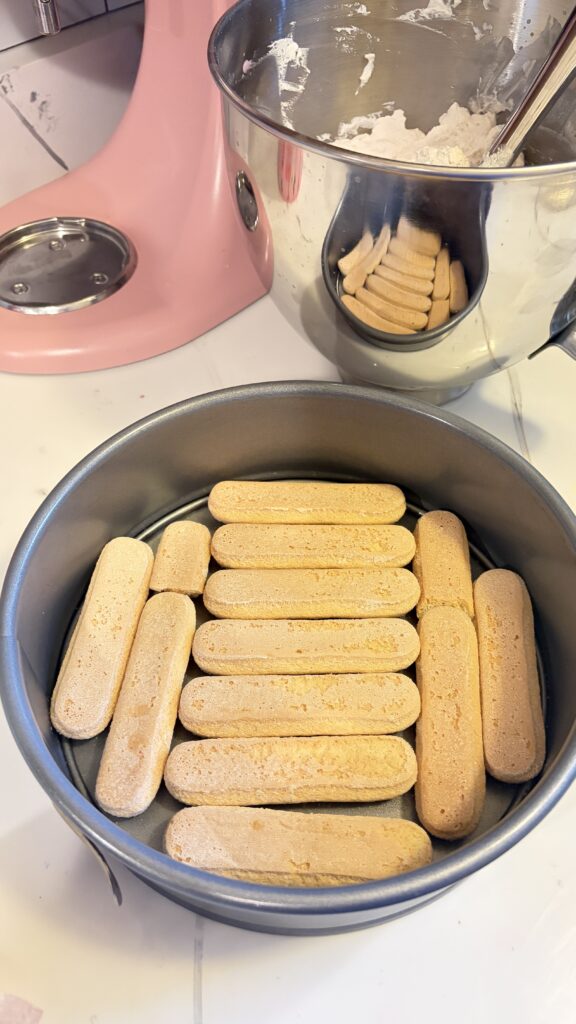
Arrange the ladyfinger biscuits in a single layer across the bottom of a 9-inch springform pan. Break or trim the ladyfingers as needed to fill in any larger gaps.
7. Add the filling.
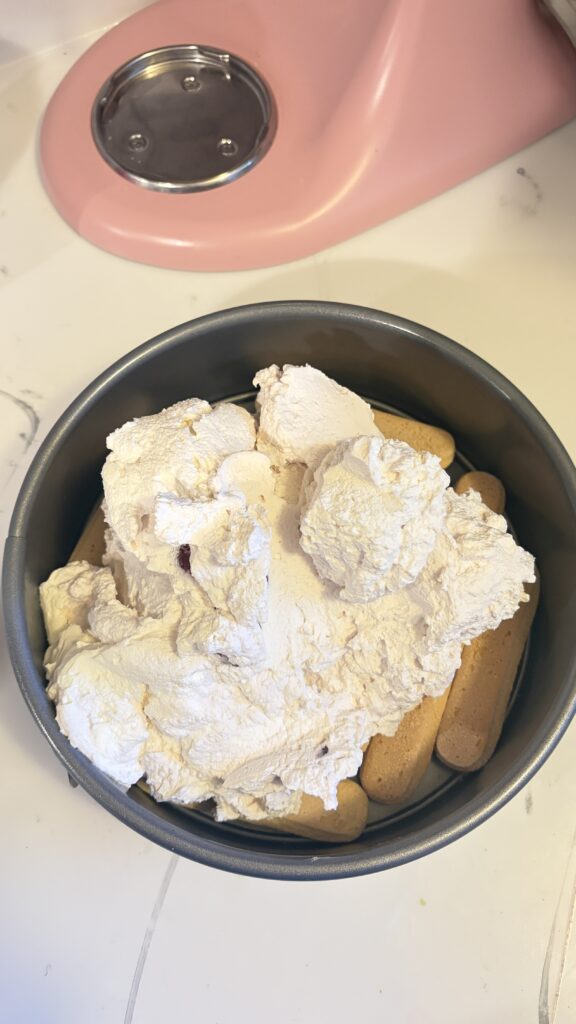
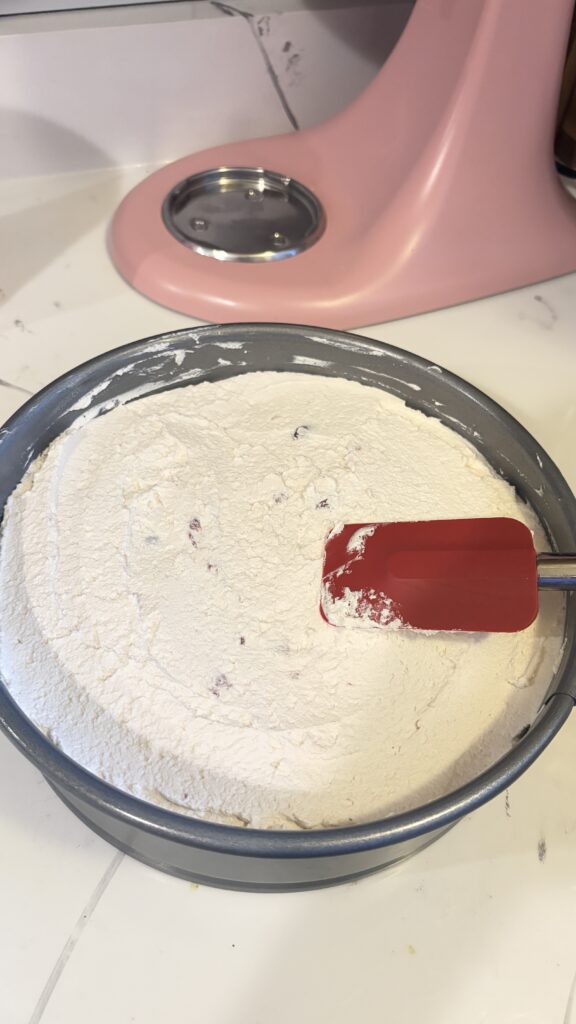
Spoon the mascarpone filling over the ladyfingers and gently spread it into an even layer using an offset spatula or the back of a spoon.
8. Chill the cheesecake.
Transfer the cheesecake to the refrigerator for 1–2 hours, or until the mascarpone layer has noticeably firmed.
Make the Cherry Jell-O Topping
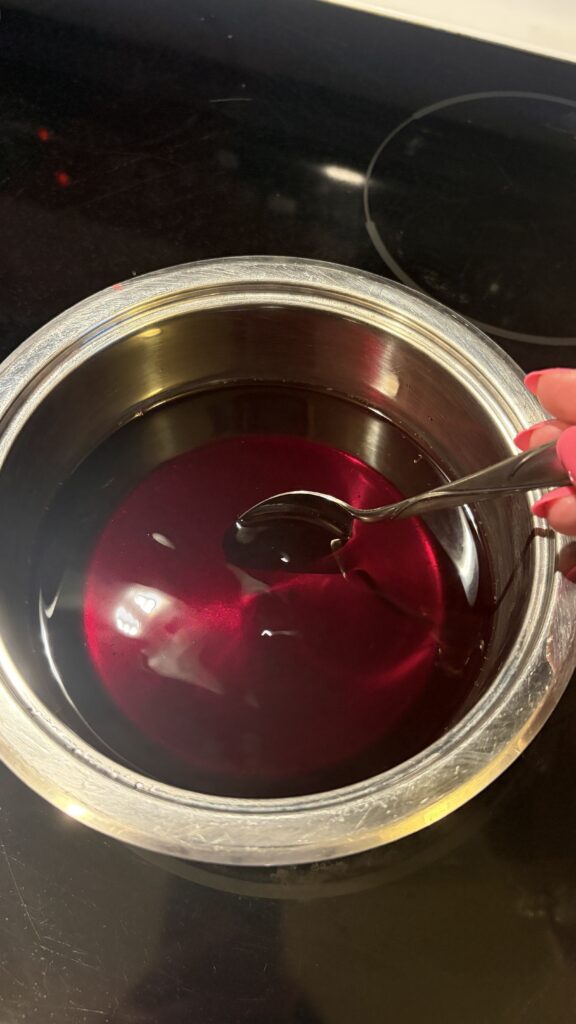
9. Prepare the Jell-O.
Prepare one 3-ounce box of cherry-flavored Jell-O according to the package directions. Allow the Jell-O mixture to cool to room temperature before continuing.
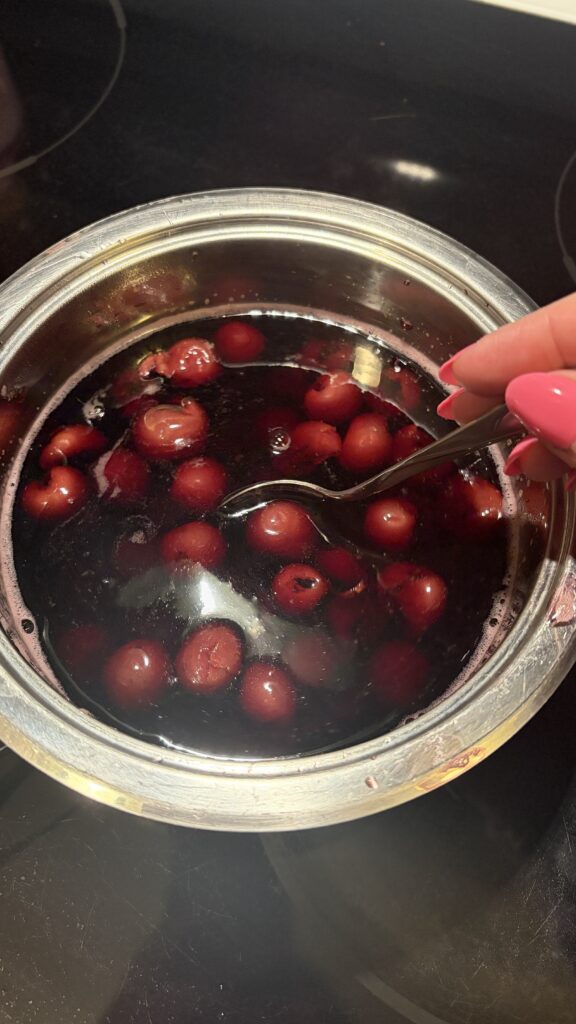
10. Add the sour cherries.
Stir approximately ¾ cup of drained sour cherries into the cooled Jell-O.
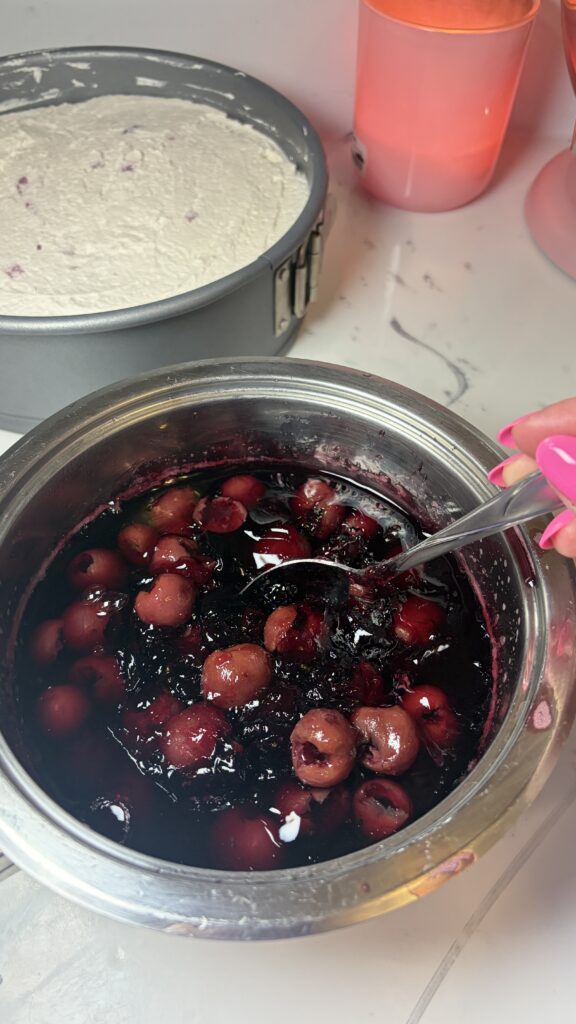
11. Partially set the Jell-O.
Place the bowl in the refrigerator for approximately 10–15 minutes, checking it frequently. You want the Jell-O to begin thickening slightly while remaining spoonable and easy to spread.
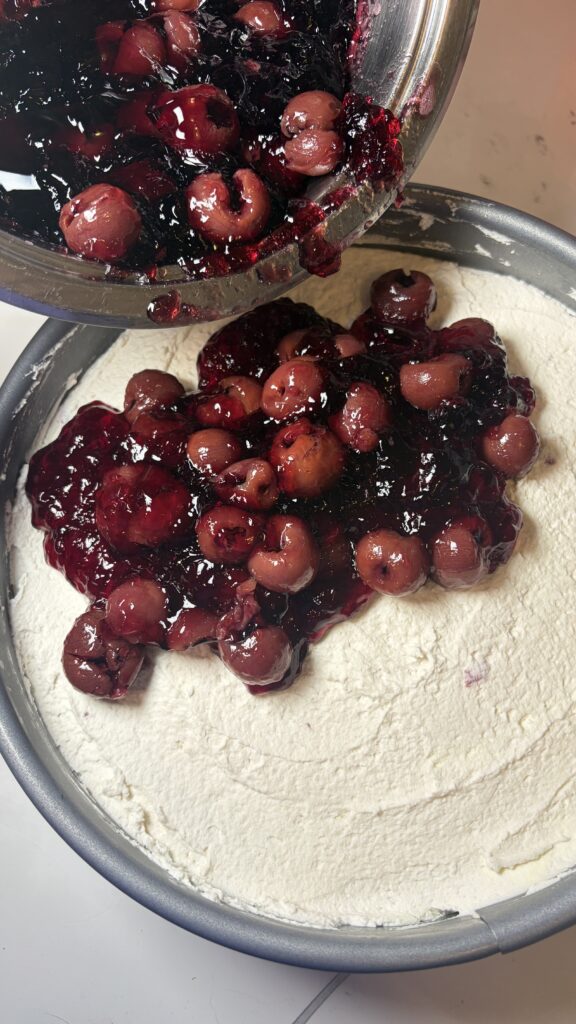
12. Add the cherry topping.
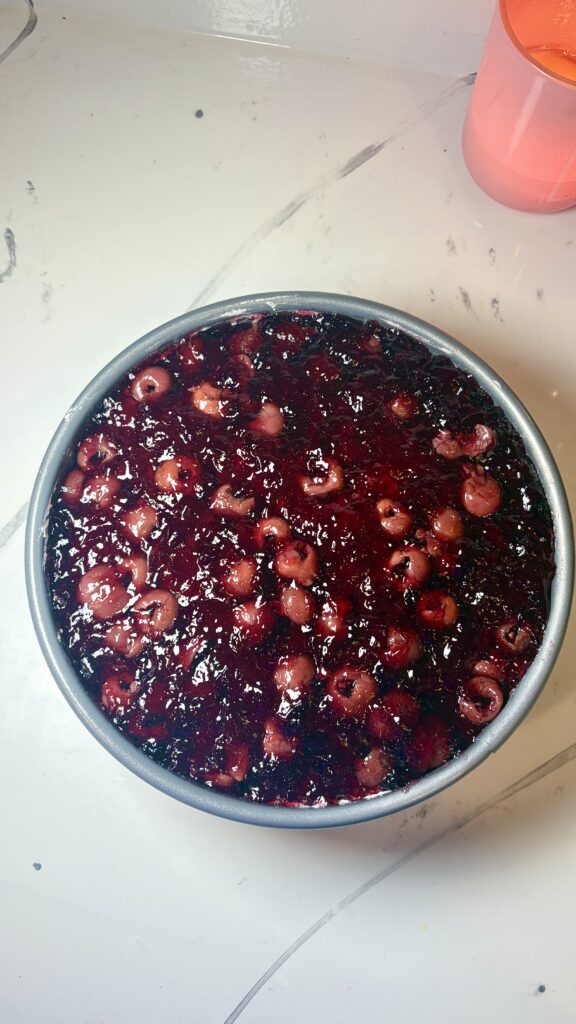
Carefully spoon the partially thickened cherry mixture over the chilled mascarpone filling. Gently distribute the cherries and Jell-O evenly across the entire surface.
Chill & Serve
13. Chill until completely set.
Return the assembled cheesecake to the refrigerator and chill for at least 3–4 additional hours, or until the filling and cherry topping are completely set. For the best texture and cleanest slices, refrigerate the cheesecake overnight.
14. Remove from the pan.
When you’re ready to serve, carefully run a thin knife around the inside edge of the springform pan if necessary. Release the latch and gently remove the outer ring.
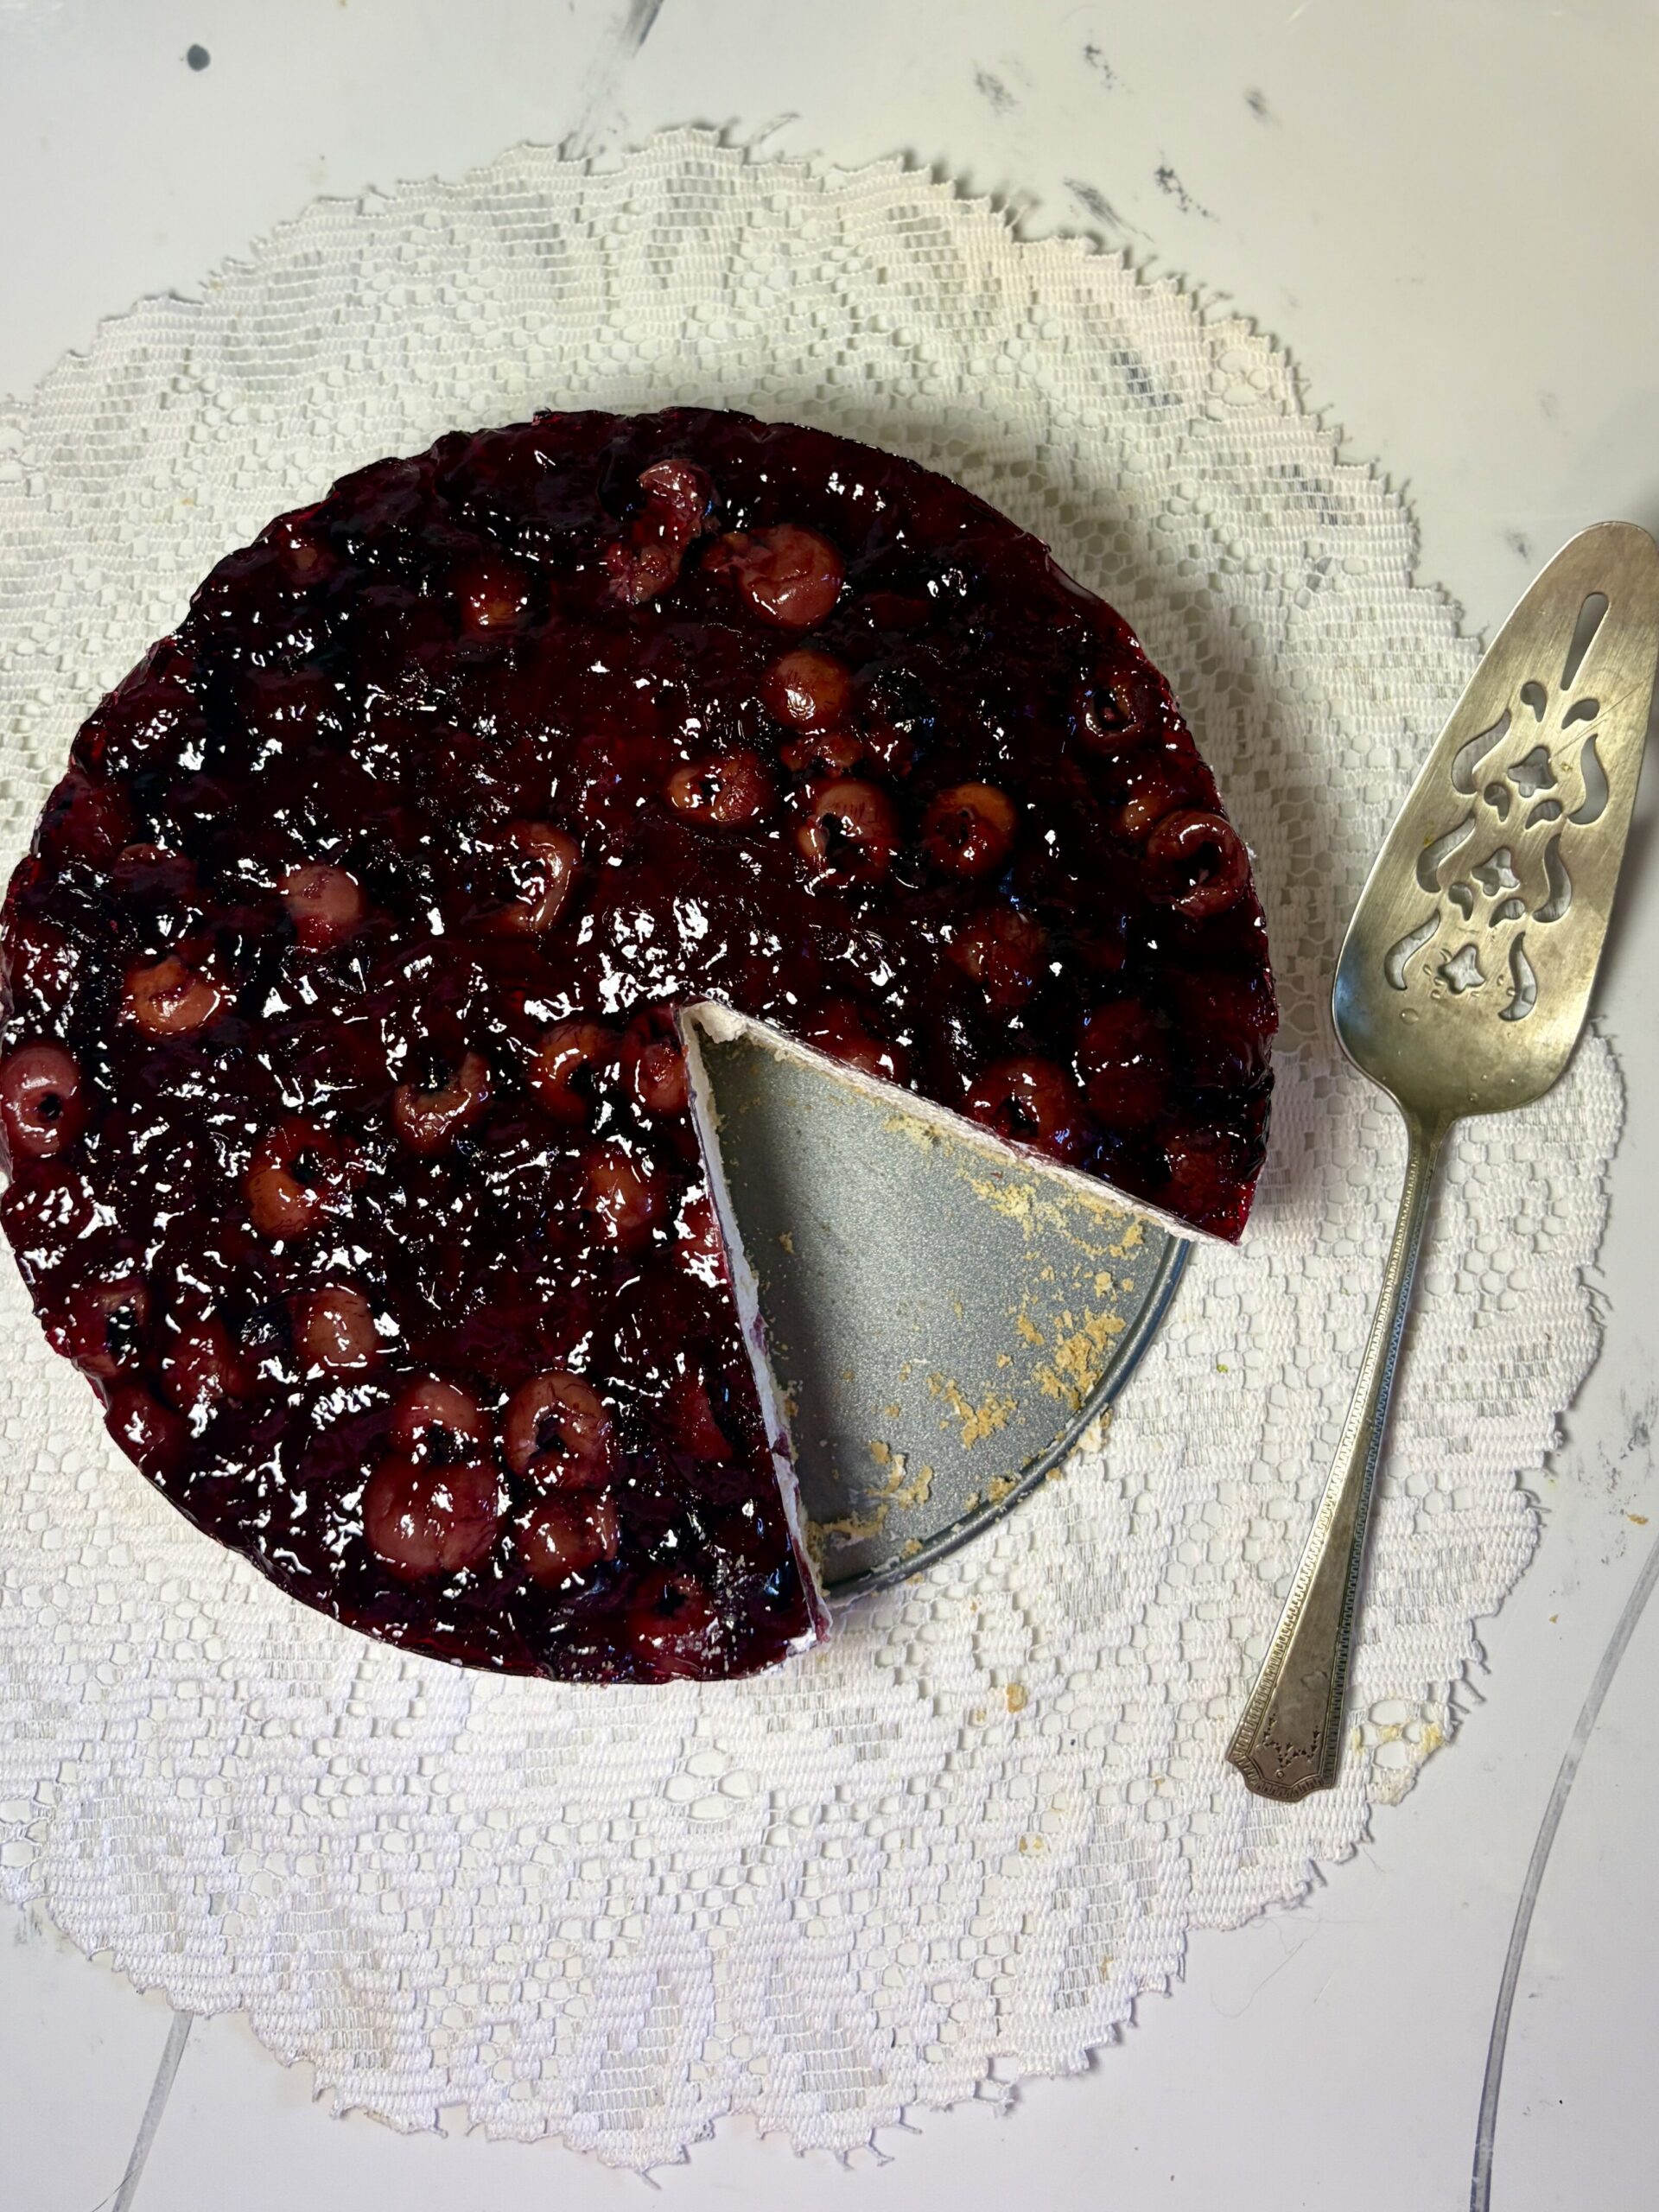
15. Slice and enjoy!
Serve the cheesecake cold and store any leftovers covered in the refrigerator.