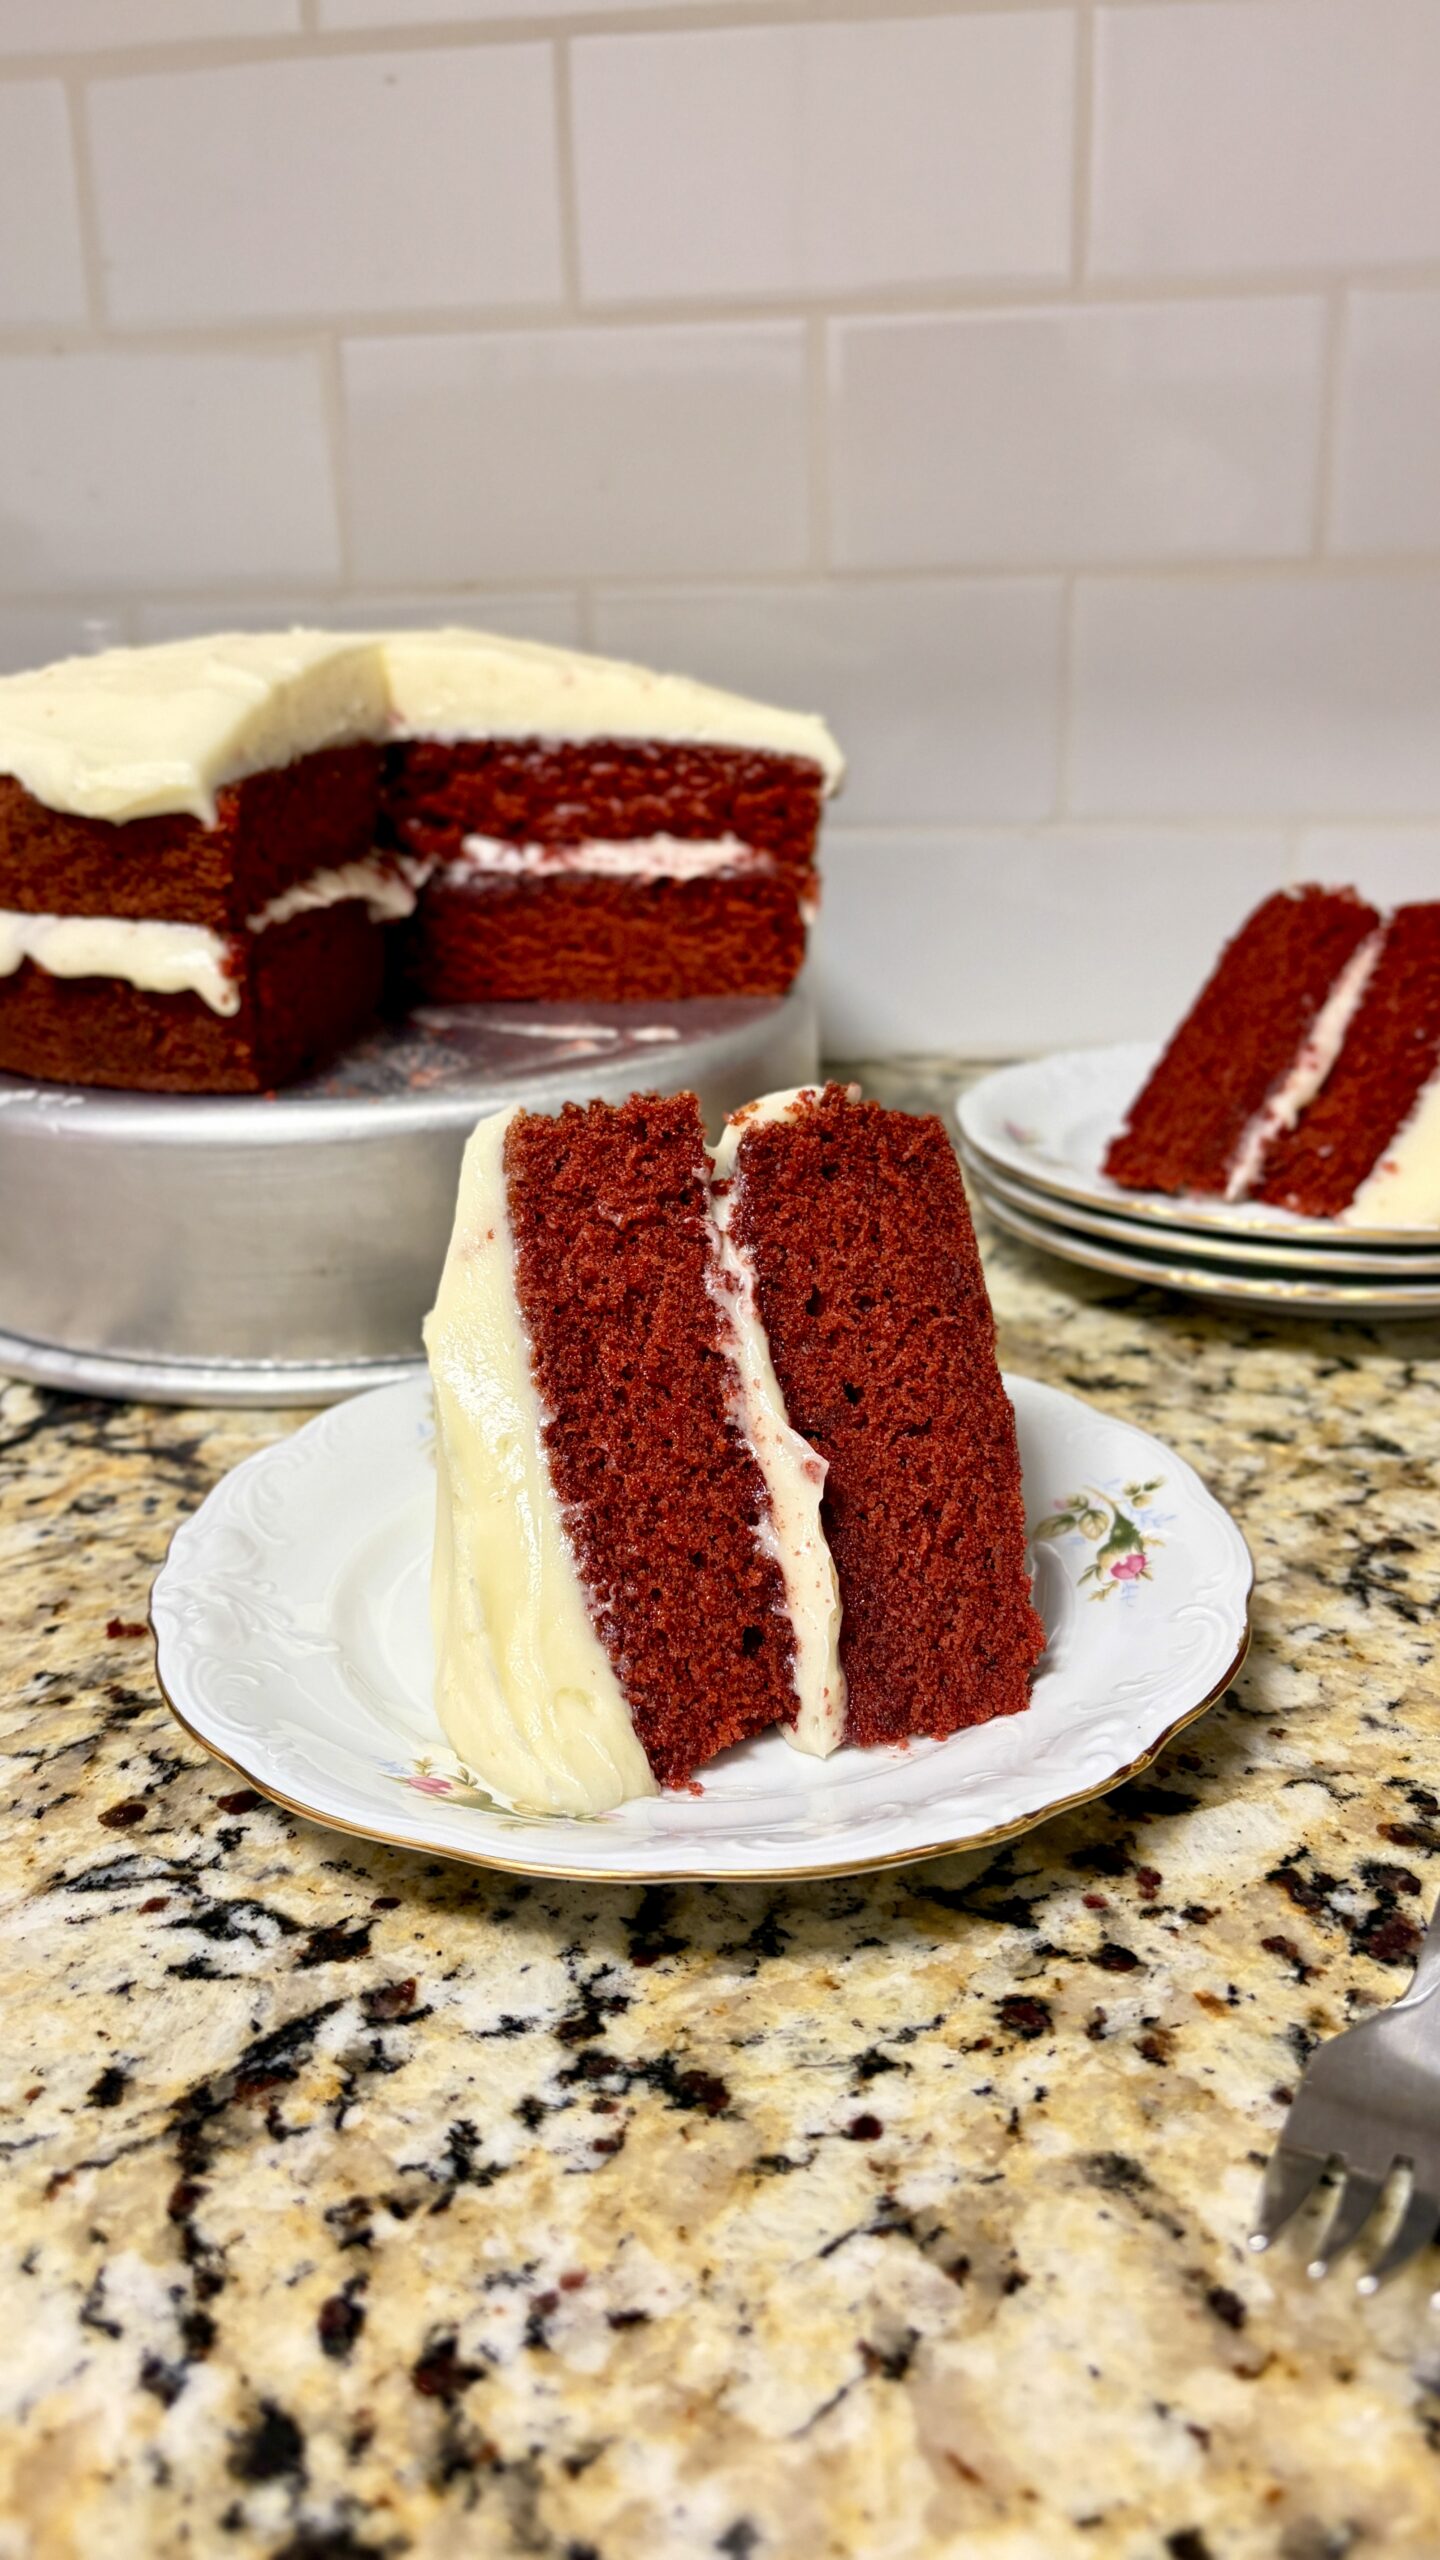
Red Velvet Cake
Red velvet cake has always been one of my favorite desserts growing up—and honestly, who doesn’t love red velvet cake? It has that signature velvety crumb, just a hint of cocoa, and the dreamiest cream cheese frosting. If you’ve never been a red velvet fan, I’d love the chance to change your mind with this recipe.
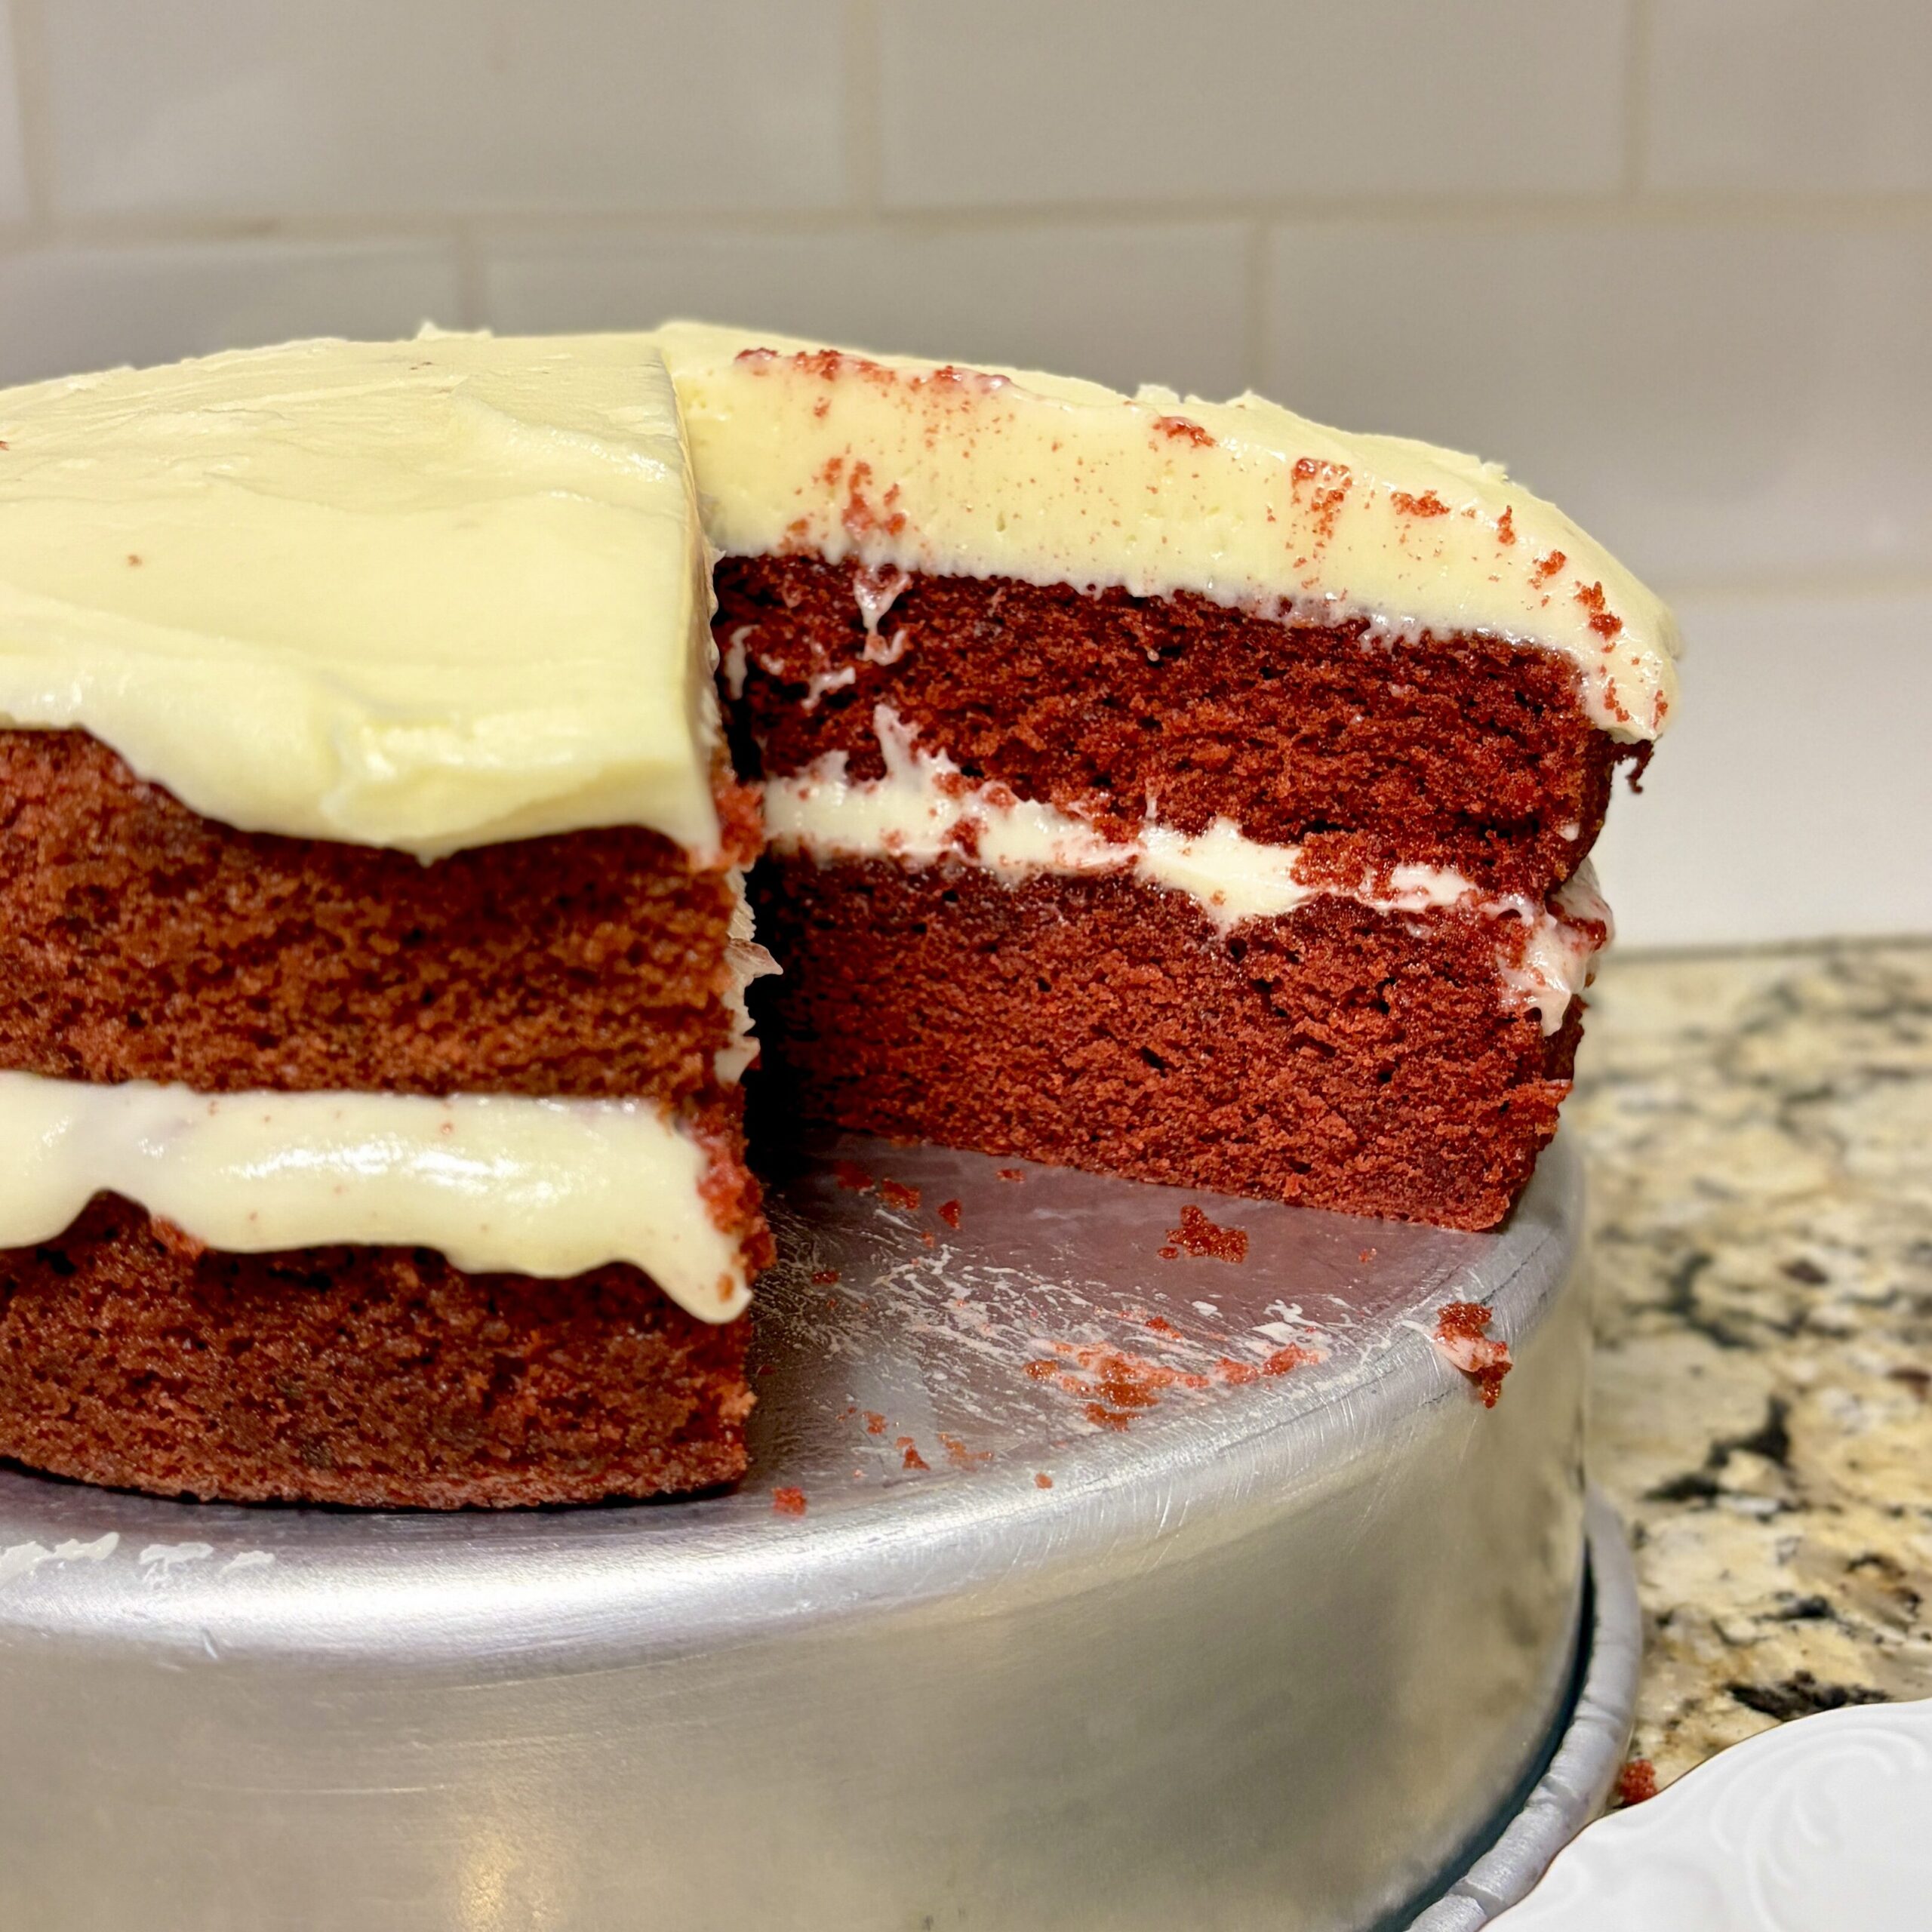
I recently made this homemade red velvet cake for my little brother’s graduation, and it couldn’t have been a more fitting choice because it’s his absolute favorite cake. Watching my family gather around the table for slices after dinner and hearing everyone rave about how moist and delicious it was made the day even sweeter.
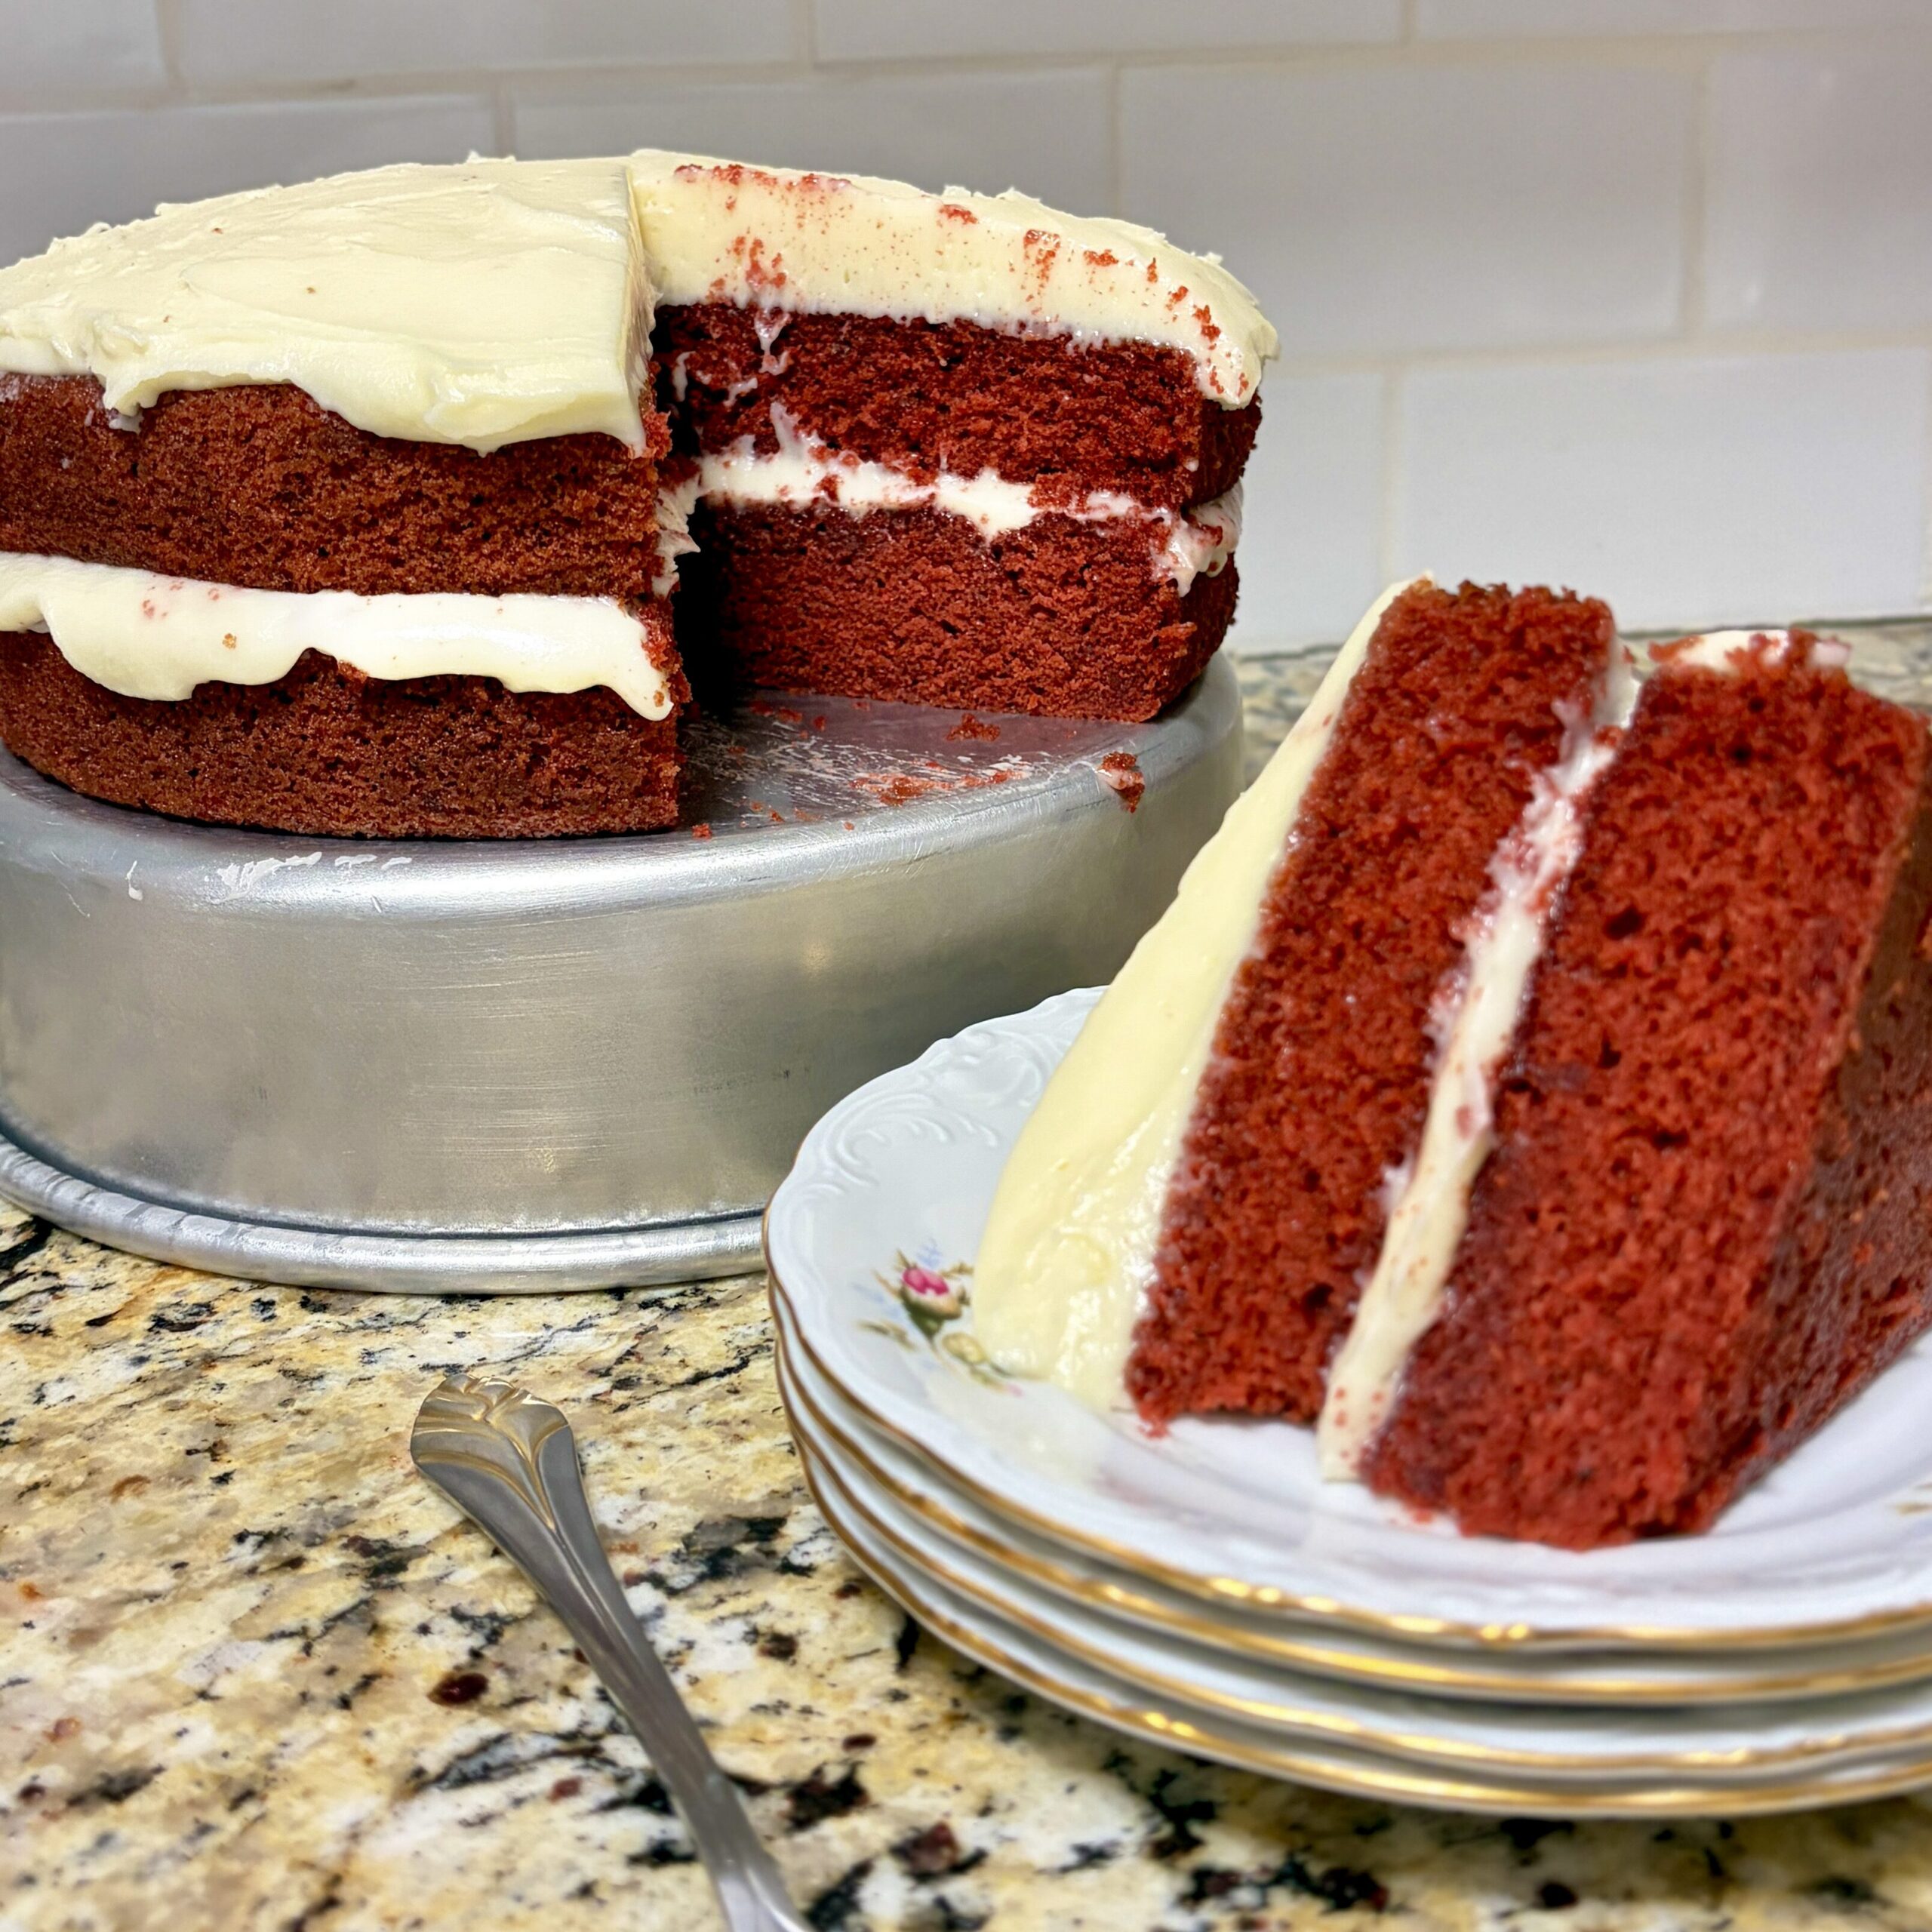
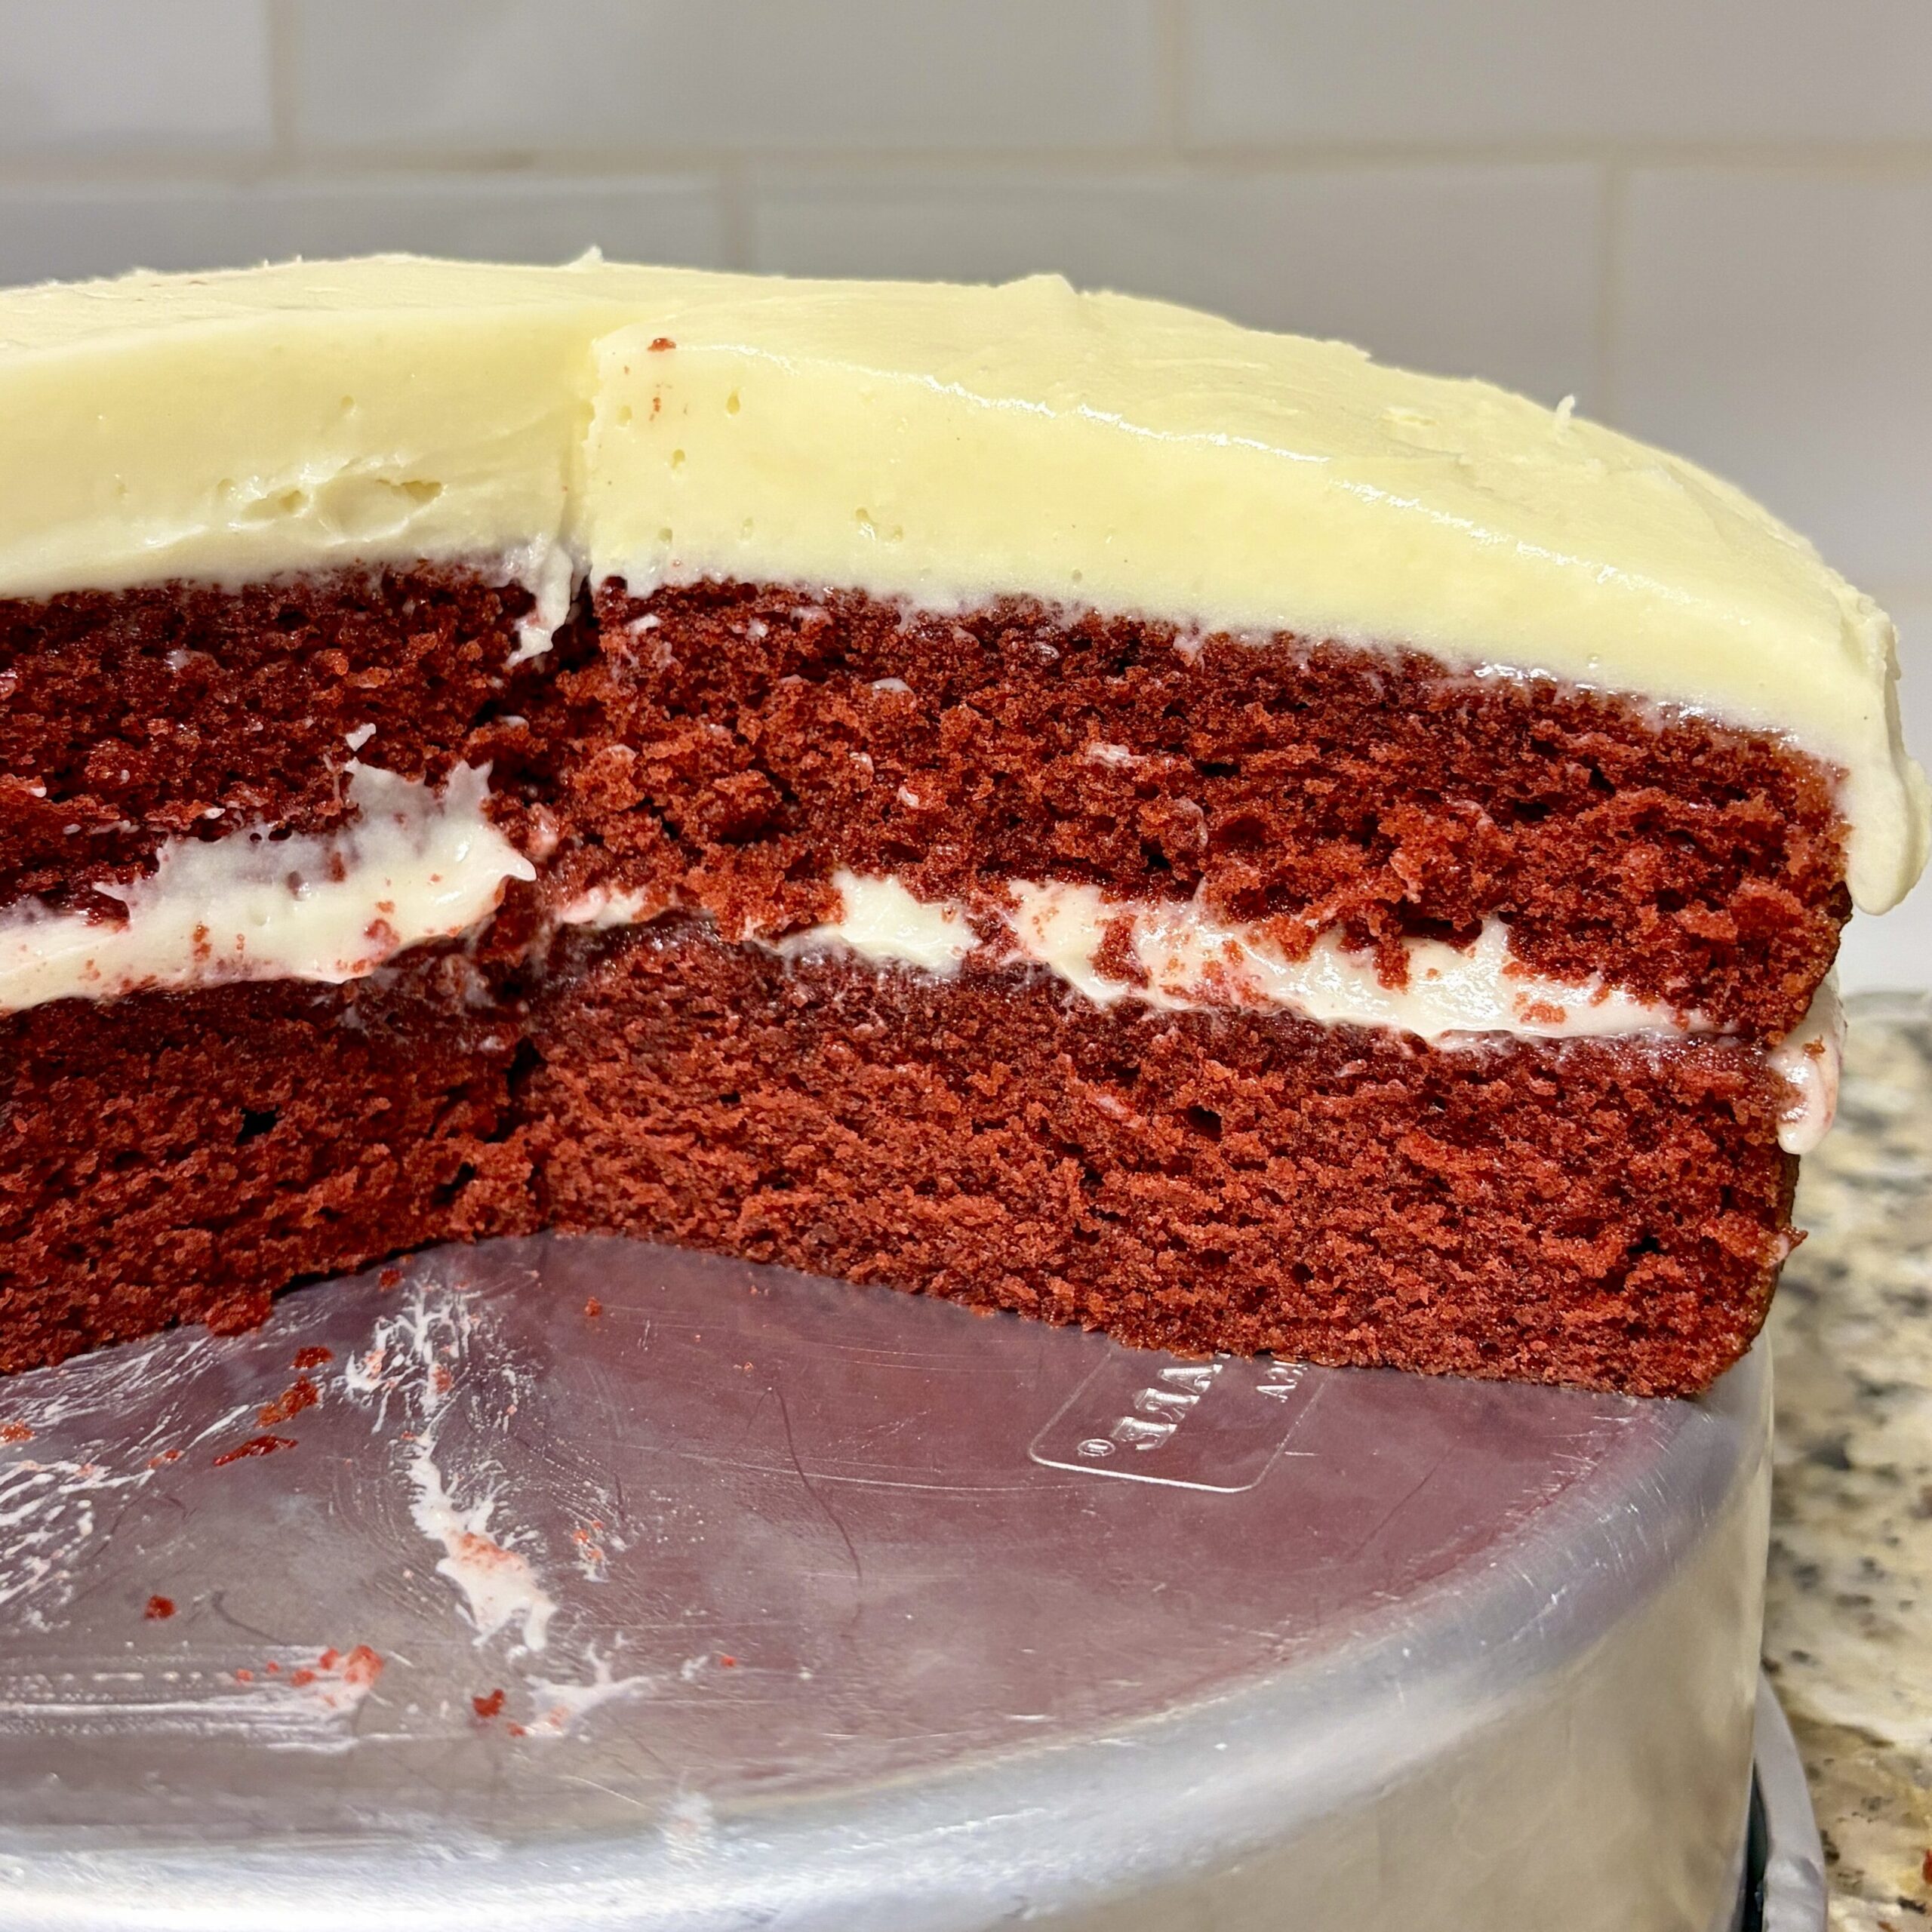
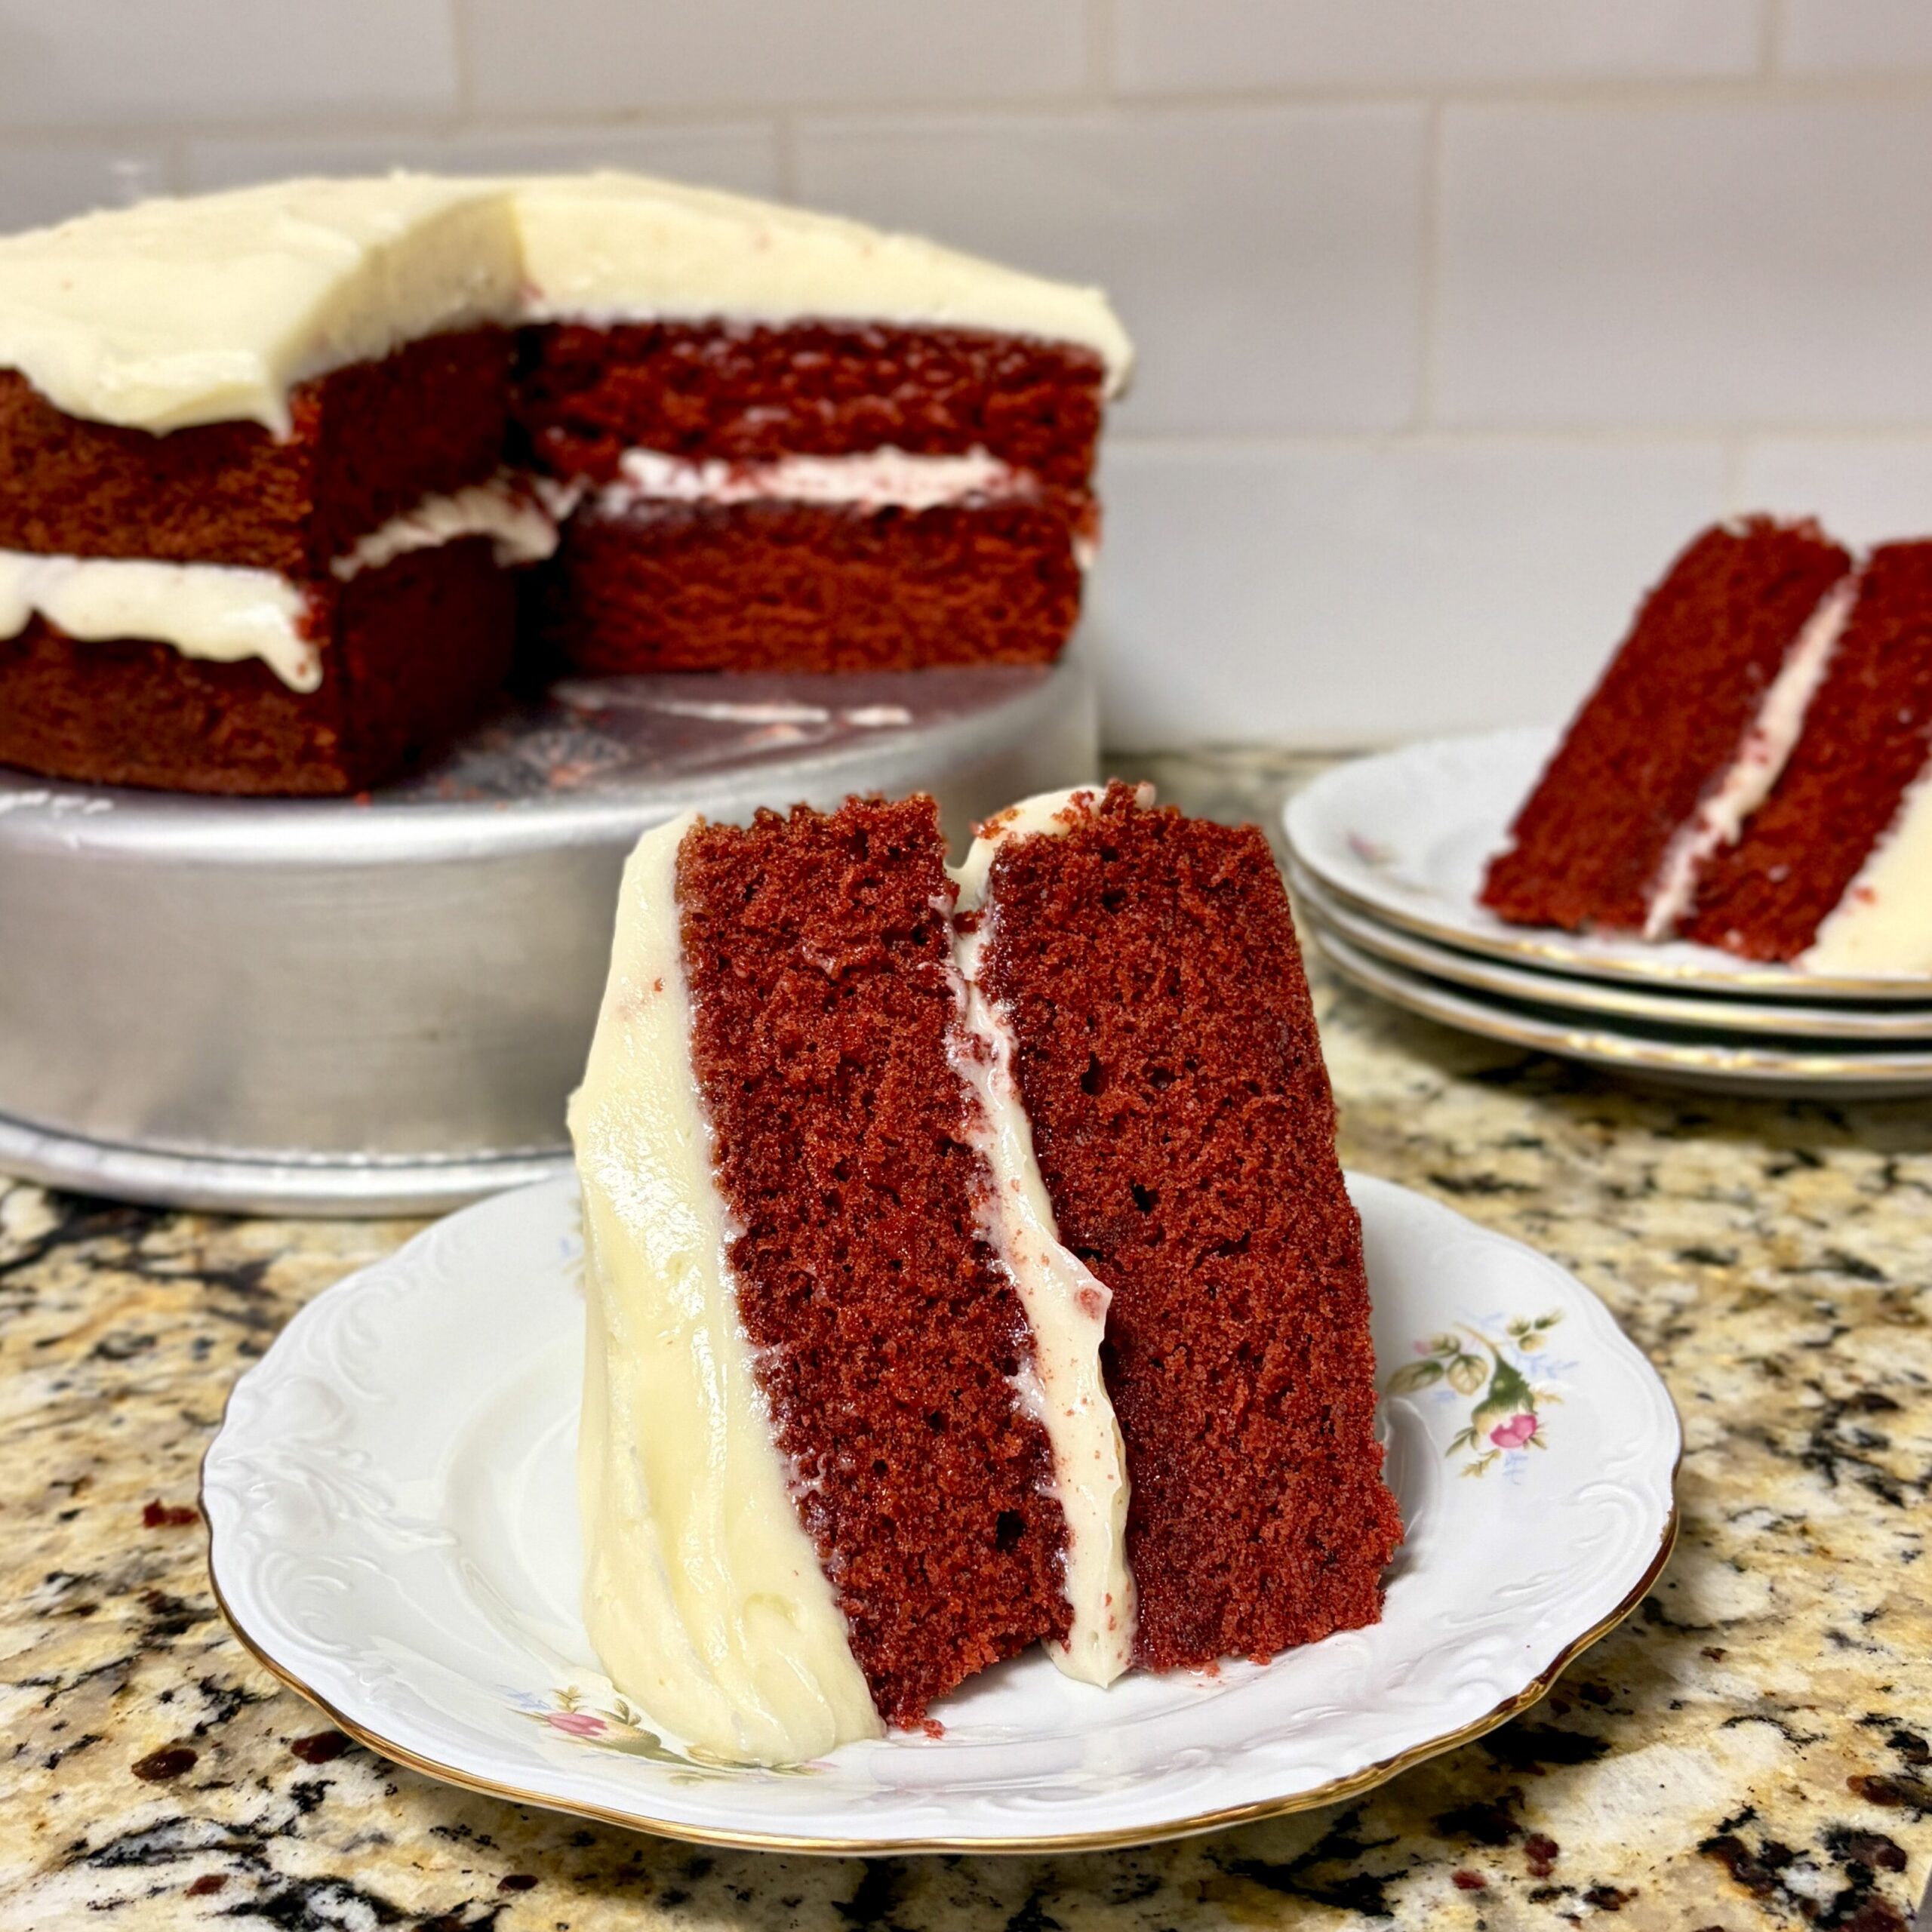
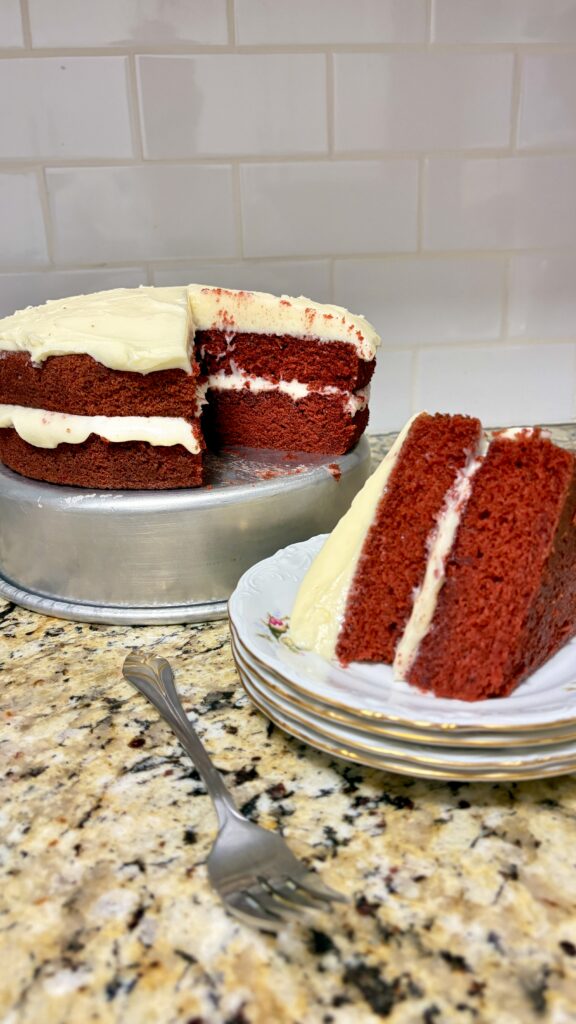
This red velvet cake is unbelievably soft, incredibly moist, and topped with the most luscious homemade cream cheese frosting that’s rich, tangy, and perfectly balanced—not overly sweet. Whether you’re celebrating a birthday, graduation, Valentine’s Day, or simply craving a classic homemade cake, this recipe is guaranteed to impress.
Why You’ll Love This Recipe
- Soft, moist cake with a perfectly tender crumb.
- Rich vanilla flavor with just a hint of cocoa.
- Homemade cream cheese frosting that’s silky smooth without being overly sweet.
- Easy enough for beginner bakers but impressive enough for any celebration.
- Perfect for birthdays, graduations, Valentine’s Day, Christmas, and holidays.
- Stays moist for several days and tastes even better the next day.
Ingredient Notes
All-Purpose Flour
Regular all-purpose flour gives this cake the perfect structure while still keeping it incredibly soft and fluffy. I always recommend measuring your flour with a kitchen scale whenever possible for the most accurate results.
Dutch-Process Cocoa Powder
Red velvet cake isn’t meant to taste like chocolate cake. Just a small amount of cocoa powder gives it its signature flavor while enhancing the rich red color.
Buttermilk
Buttermilk is one of the secrets to an incredibly tender crumb. If you don’t have any on hand, simply stir together milk and vinegar and let it sit for 5–10 minutes before using.
Butter & Oil
Using both butter and oil gives this cake the best of both worlds. Butter adds incredible flavor while oil keeps the cake moist for days.
Red Gel Food Coloring
I always recommend using gel food coloring instead of liquid. It creates that gorgeous vibrant red color without thinning the batter.
Cream Cheese
Use full-fat block-style cream cheese—not whipped or spreadable cream cheese—for the smoothest frosting.
Tips for Success
- Bring all refrigerated ingredients to room temperature before baking.
- Weigh your ingredients using a kitchen scale for the most consistent results.
- Sift the dry ingredients to prevent lumps in the batter.
- Mix just until everything is combined. Overmixing can create a dense cake.
- Let the cake cool completely before frosting.
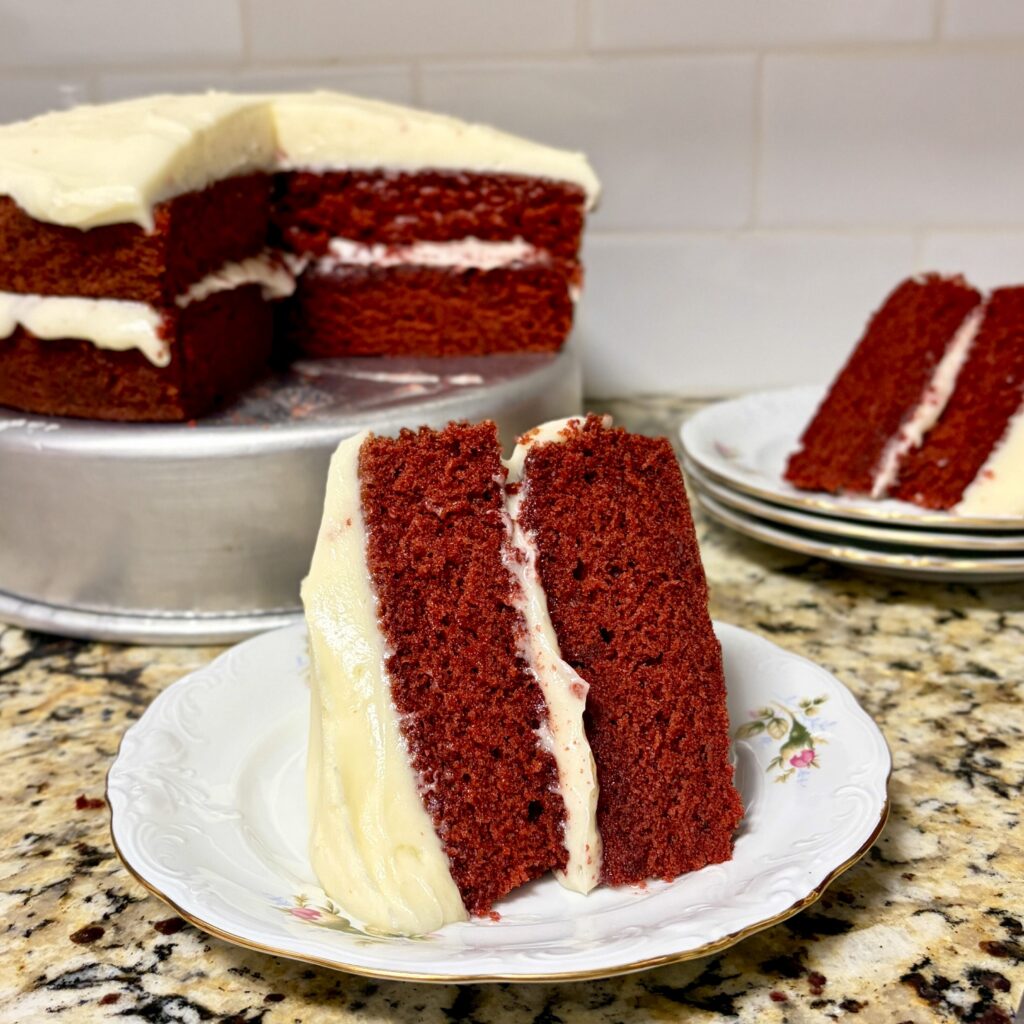
- Refrigerate the finished cake for about 30 minutes before slicing for bakery-worthy slices.
Frequently Asked Questions
Can I make this cake ahead of time?
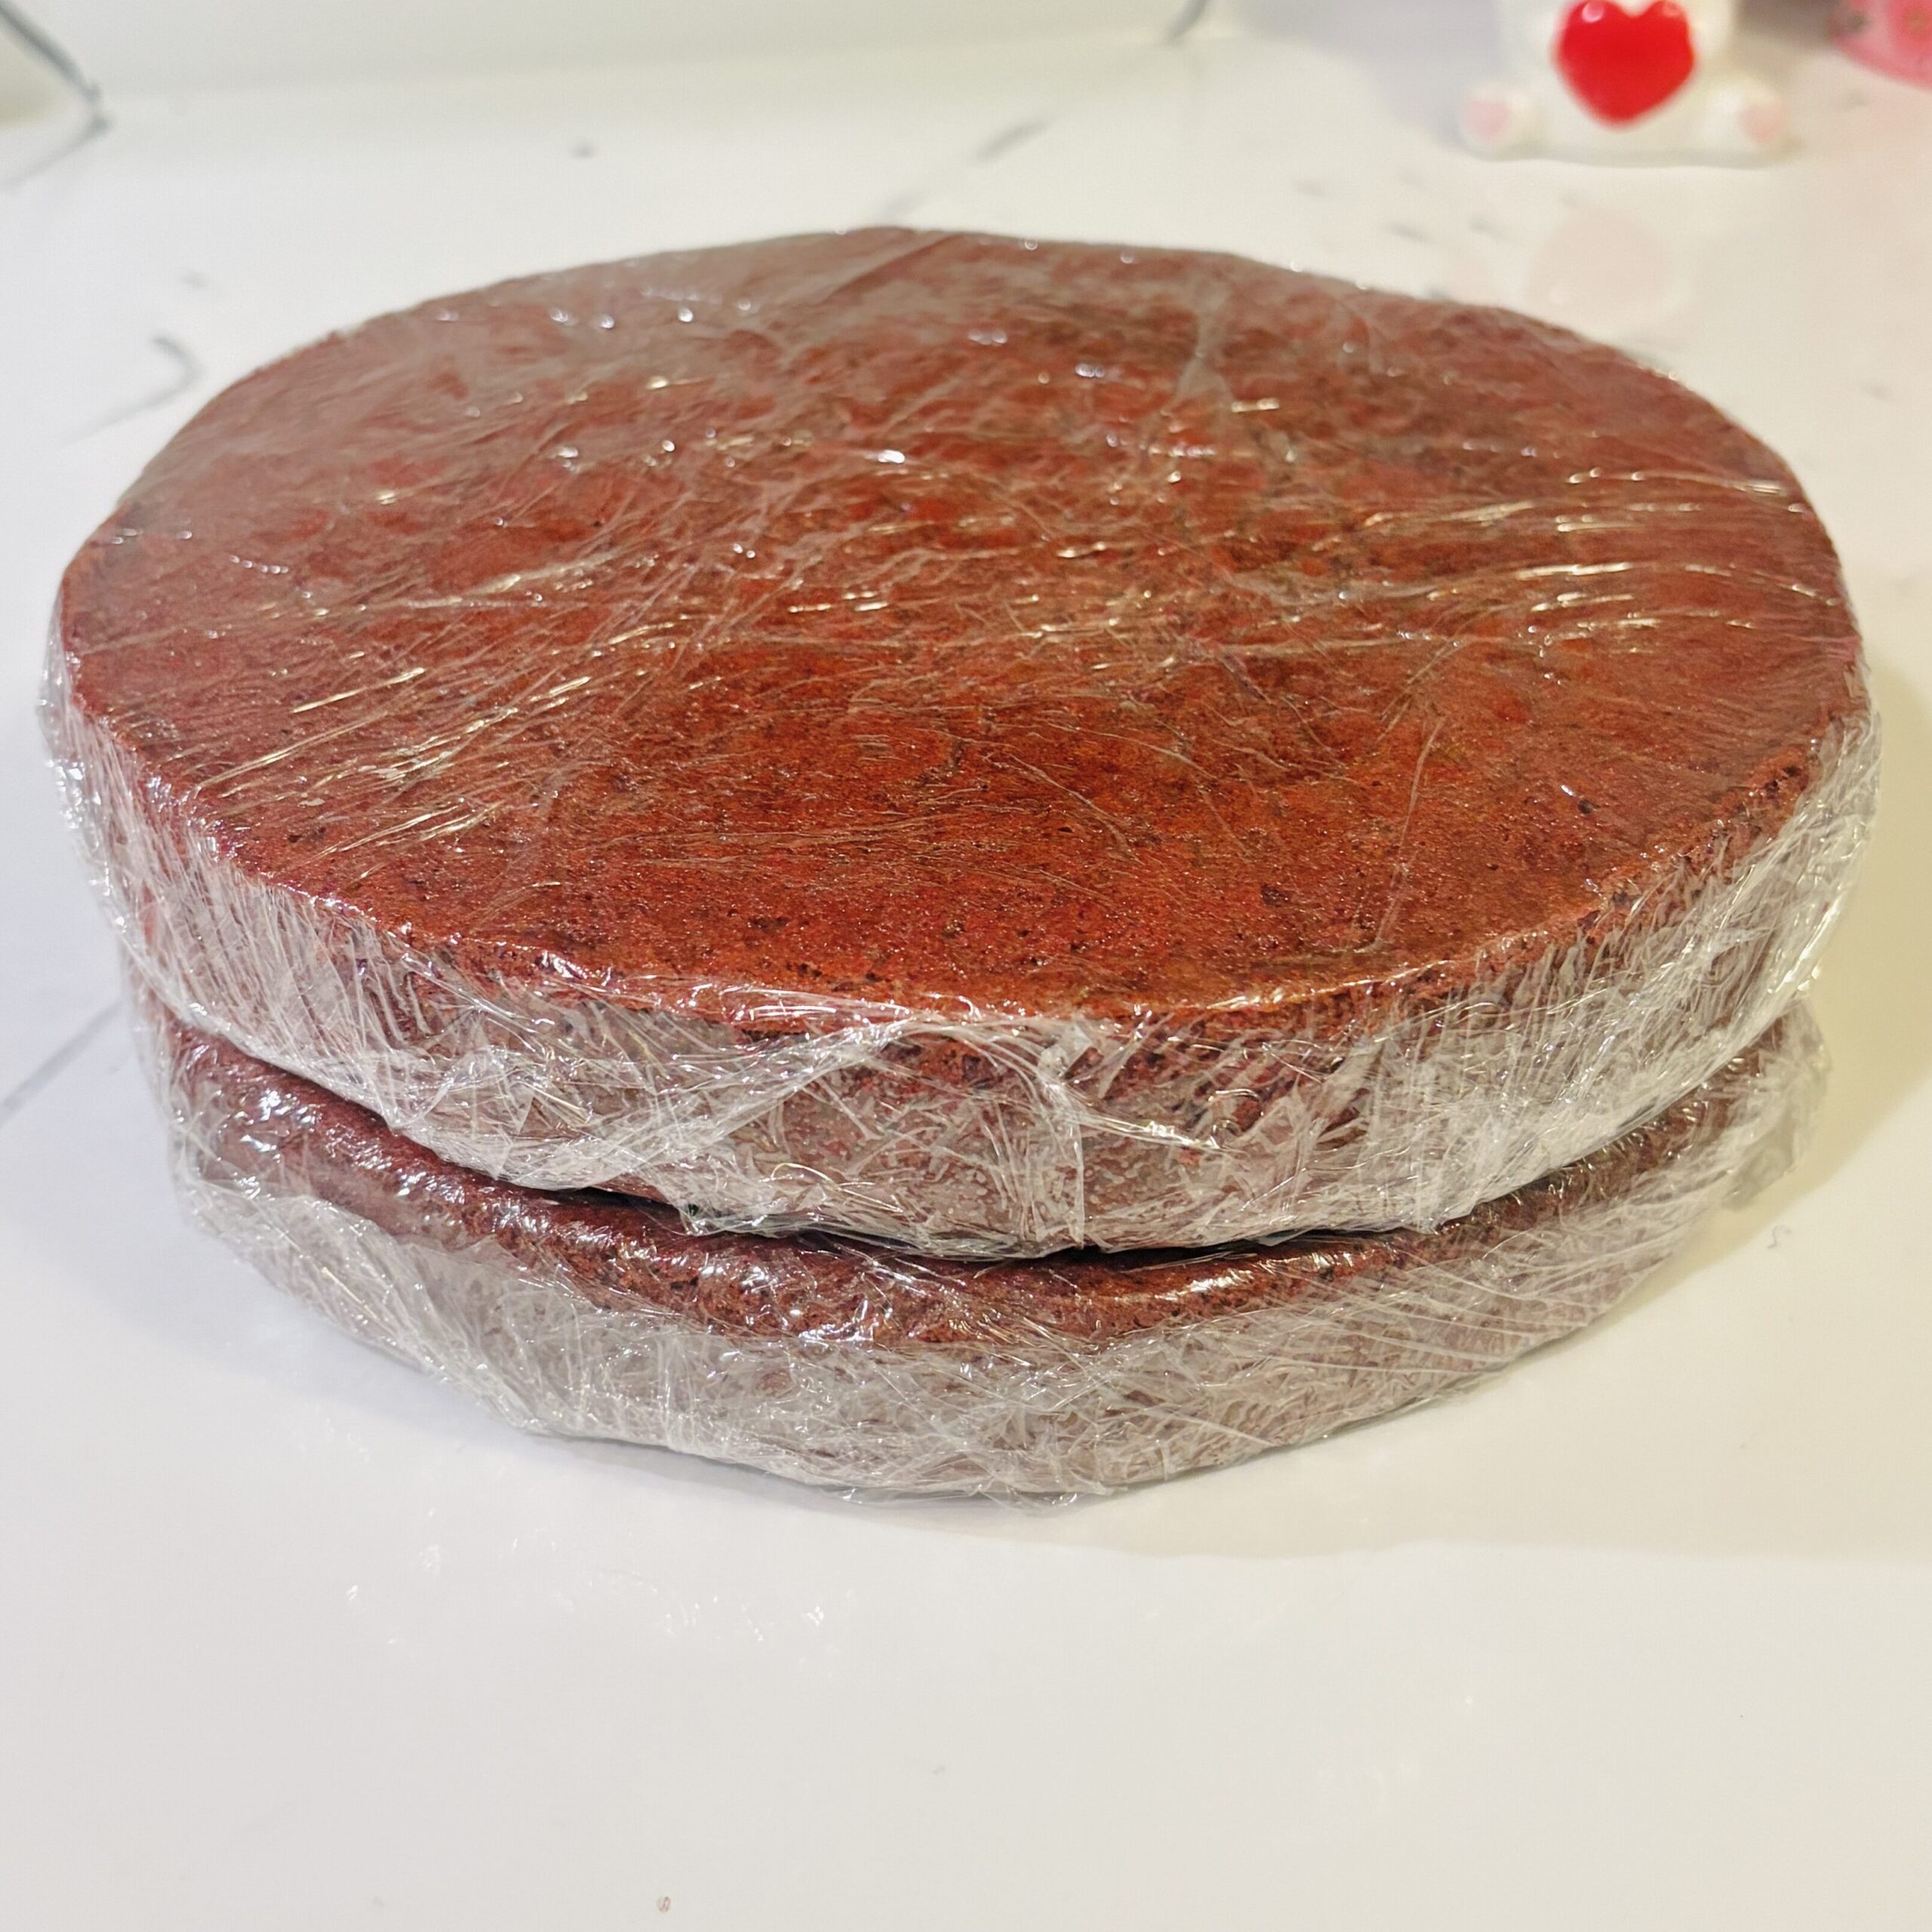
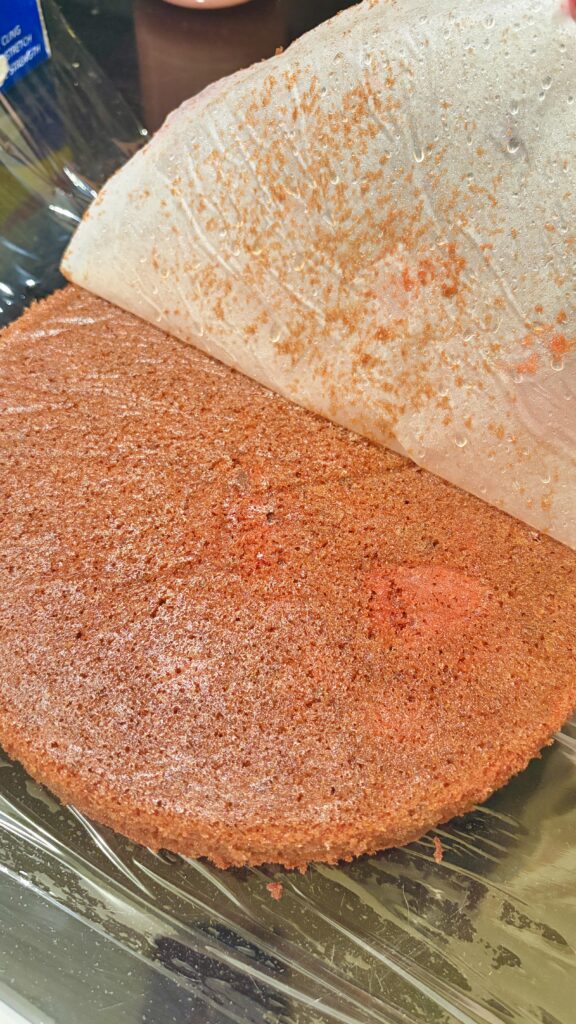
Absolutely! Bake the cake layers one day in advance, wrap them tightly in plastic wrap, and frost the cake the following day.
Can I freeze this cake?
Yes! Freeze the unfrosted cake layers for up to 3 months. Thaw overnight in the refrigerator before decorating.
Can I make cupcakes instead?
Definitely! Fill cupcake liners about two-thirds full and bake at 350°F for 18–22 minutes.
Why is there vinegar in red velvet cake?
The vinegar reacts with the baking soda and buttermilk to create an incredibly soft, tender crumb while enhancing the cake’s signature flavor.
Storage
Store the frosted cake covered in the refrigerator for up to 5 days.
Make sure to wrap tightly in plastic wrap.
For the best flavor and texture, allow slices to come to room temperature for about 20–30 minutes before serving.
Freezing
Freeze unfrosted cake layers for up to 3 months.
Wrap each cooled cake layer tightly in plastic wrap followed by aluminum foil. Thaw overnight in the refrigerator before frosting.
Shop My Favorite Baking Tools
If you’re planning to make this red velvet cake, these are some of my favorite baking tools that I use in my own kitchen. I’ve linked everything below to make shopping easy!
♡ 8-Inch Round Cake Pans
My go-to cake pans for evenly baked, perfectly tall cake layers.
♡ Offset Spatula
A must-have for creating smooth, bakery-style frosting and clean edges.
♡ Rotating Cake Turntable (Optional, but highly recommended!)
Makes frosting cakes so much easier and helps create beautifully smooth sides.
♡ Red Gel Food Coloring
The key to achieving that beautiful vibrant red color without watering down the batter.
♡ Parchment Paper
Makes removing cake layers from the pans effortless every single time.
♡ Digital Kitchen Scale
One of my favorite baking tools! Measuring ingredients by weight gives the most accurate and consistent results.
Some of the links above are affiliate links, which means I may earn a small commission at no additional cost to you. Thank you so much for supporting Bonia Bakery—it truly helps me continue creating and sharing free recipes with you! ♡
Ingredients
For the Red Velvet Cake
- 300 g (2½ cups) all-purpose flour
- 12 g (2 tablespoons) Dutch-process cocoa powder
- 1 teaspoon baking soda
- 1½ teaspoons kosher salt
- 113 g (½ cup) unsalted butter, softened
- 110 g (½ cup) neutral oil (such as vegetable or canola oil)
- 250 g (1¼ cups) granulated sugar
- 4 large eggs, room temperature
- 1 tablespoon vanilla extract
- 2½ teaspoons red gel food coloring
- 320 g (1⅓ cups) buttermilk, room temperature
- 1 teaspoon white vinegar
For the Cream Cheese Frosting
- 8 ounces full-fat block cream cheese, softened
- 8 ounces unsalted butter, softened
- 1 tablespoon vanilla extract
- ¼ teaspoon kosher salt
- 3½–4 cups powdered sugar, sifted
Instructions
Make the Cake
- Preheat your oven to 350°F. Grease and line two 8-inch cake pans with parchment paper and lightly grease the parchment.
- In a medium bowl, whisk together the flour, cocoa powder, baking soda, and salt. Set aside.
- In the bowl of a stand mixer fitted with the paddle attachment, beat together the butter, oil, and granulated sugar on medium speed for about 2–3 minutes, until light and fluffy.
- Add the eggs one at a time, mixing well after each addition. Scrape down the bowl as needed.
- Add the vanilla extract and red gel food coloring and mix until fully combined.
- In a measuring cup, whisk together the buttermilk and vinegar.
- With the mixer on low speed, alternate adding the dry ingredients and the buttermilk mixture, beginning and ending with the dry ingredients. Mix just until incorporated. Be careful not to overmix.
- Divide the batter evenly between the prepared cake pans and smooth the tops.
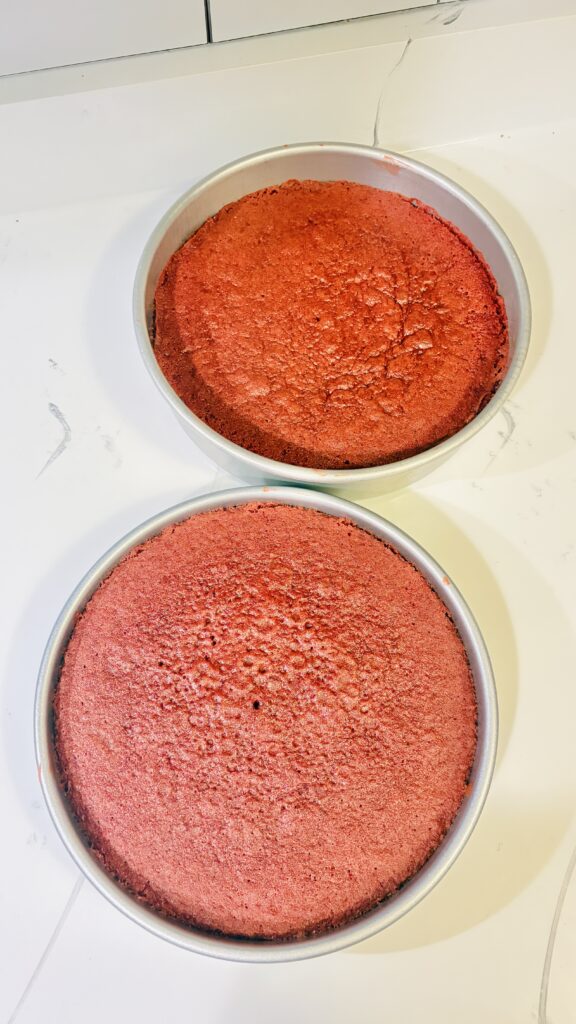
- Bake for 28–32 minutes, or until a toothpick inserted into the center comes out with just a few moist crumbs attached.
- Let the cakes cool in their pans for 15 minutes, then carefully turn them out onto a wire rack to cool completely before frosting.
Make the Cream Cheese Frosting
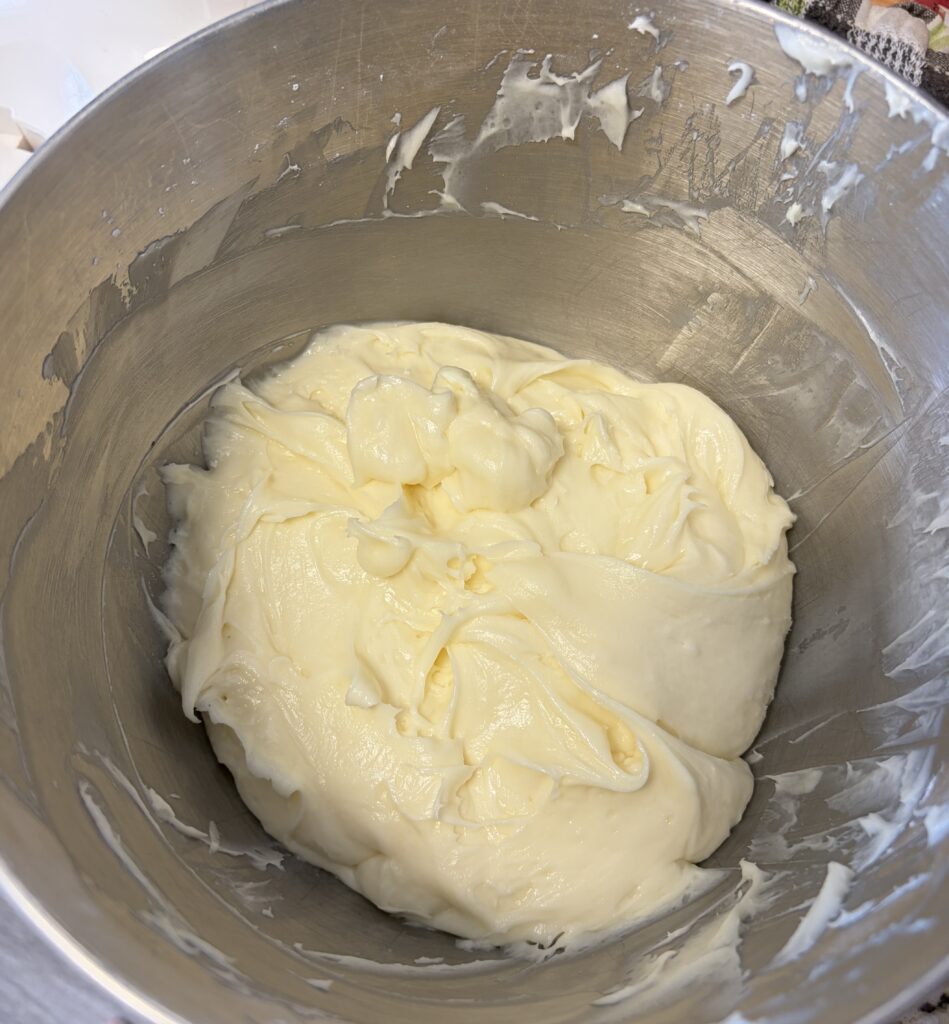
- In the bowl of a stand mixer fitted with the paddle attachment, beat together the softened butter and cream cheese until smooth and fluffy, about 2–3 minutes.
- Add the vanilla extract and salt.
- Gradually add the sifted powdered sugar, about one cup at a time, mixing on low speed until incorporated.
- Once all the powdered sugar has been added, increase the speed to medium-high and beat for another 1–2 minutes until the frosting is light, creamy, and fluffy.
Assemble the Cake
- Place one cooled cake layer onto a cake stand or serving plate.
- Spread an even layer of cream cheese frosting over the top.
- Place the second cake layer on top.
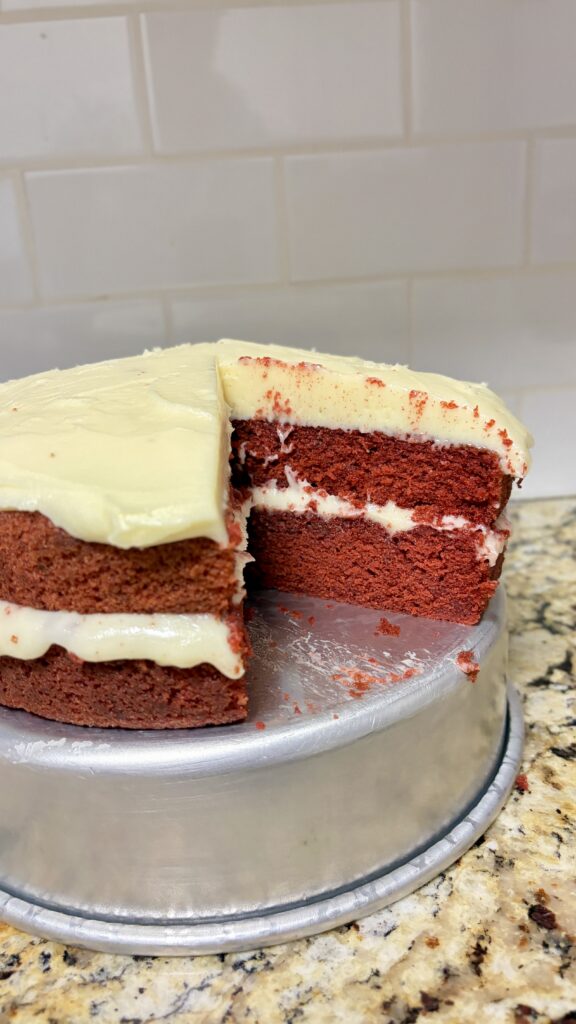
- Frost the top and sides of the cake with the remaining frosting using an offset spatula.
- Refrigerate the cake for 20–30 minutes before slicing for clean, bakery-style slices.
Before you go ❤️
If you make this Red Velvet Cake, I’d absolutely love to see it! Leave a comment below to let me know how it turned out, and don’t forget to tag @boniabakery on Instagram so I can see your beautiful creations. Your support truly means the world to me.